How To Setup Light Ring For Vlogs?
Creating captivating and professional-quality vlogs is an art, and lighting plays an essential role in this process. One of the most effective tools for achieving well-lit, visually appealing videos is the light ring. This versatile piece of equipment is a staple for content creators, offering an even distribution of light that enhances the subject's appearance while minimizing harsh shadows. This article provides a comprehensive guide on how to set up a light ring for your vlogs, ensuring your content shines—literally and figuratively.
Why Use a Light Ring?
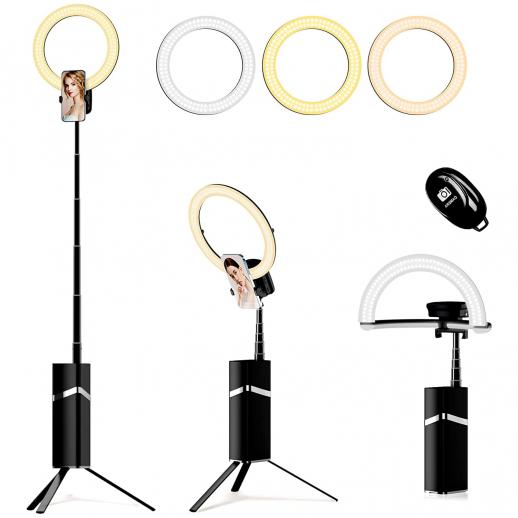
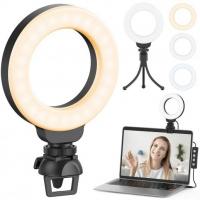
A light ring, often referred to as a ring light, is a circular lighting device that evenly illuminates subjects by reducing shadows and distributing light uniformly. Its unique circular design creates a flattering glow, making it ideal for vlogging, makeup tutorials, photography, and video calls. The key advantages include:
- Soft, Even Lighting: Prevents unflattering shadows on the subject’s face.
- Catchlight Effect: Produces a halo-like reflection in the eyes, adding a professional touch.
- Versatility: Suitable for various setups and purposes.
With these benefits in mind, let’s dive into the specifics of setting up and optimizing a light ring for vlogging.
---
Step-by-Step Guide to Setting Up a Light Ring
1. Choose the Right Light Ring
The first step is selecting a light ring that fits your needs. Consider:
- Size: Light rings range from small (6-8 inches) for close-up work to large (18 inches or more) for wider scenes.
- Adjustability: Opt for a light ring with adjustable brightness and color temperature to suit different environments.
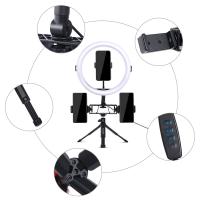
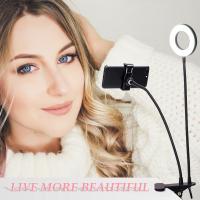
- Mounting Options: Some models come with a phone or camera holder in the center, while others require external mounting.
- Portability: If you vlog in multiple locations, choose a lightweight and portable model.
2. Position the Light Ring
Once you’ve chosen your light ring, positioning it correctly is crucial. Follow these steps:
- Height and Angle: Place the light ring at eye level for the most flattering angle. If you're filming from a table, use a tabletop stand; for standing shots, use a tripod.
- Distance: Maintain a distance of about 2-3 feet between the light ring and your face. This distance ensures the light evenly illuminates your features without being overly harsh.
- Camera Placement: Position your camera or phone in the center of the ring, or just below it, to maximize the lighting effect.
3. Adjust Brightness and Color Temperature
Lighting conditions vary based on the environment, so fine-tuning your light ring is essential:
- Brightness: Set the brightness to a level that highlights your features without washing out your skin tone.
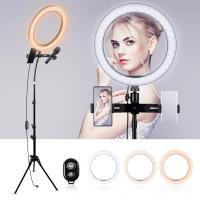
- Color Temperature: Adjust the light temperature (measured in Kelvin) based on the ambiance. Use cooler tones (5000-6500K) for daylight-like lighting and warmer tones (3000-4500K) for a cozy, indoor look.
4. Minimize Glare and Shadows
Avoid common lighting mistakes:
- Avoid Overexposure: Excessive brightness can create a washed-out appearance.
- Check for Shadows: Ensure no unintended shadows fall on your face by adjusting the angle and intensity of the light.
- Diffuse the Light: If your light ring doesn’t come with a diffuser, use a white sheet or frosted plastic to soften the light.
5. Integrate Other Lighting Sources
For a more dynamic setup:
- Use Background Lighting: Add small lights in the background to create depth and separation from the background.
- Combine with Natural Light: Utilize daylight from windows as a supplementary light source for a balanced look.
---
Pro Tips for Enhanced Vlogging Quality
Optimize Your Camera Settings
Even with perfect lighting, your camera settings must complement the setup:
- Exposure: Keep your exposure balanced to avoid overly bright or dark footage.
- White Balance: Match your camera's white balance with the light ring’s color temperature for consistent results.
- Focus: Ensure the subject (usually your face) is in sharp focus to make the most of the lighting.
Experiment with Angles and Styles
Varying angles and lighting styles can make your vlogs more engaging:
- Side Lighting: Rotate the light ring slightly to one side for a dramatic effect.
- Backlighting: Use the light ring from behind to create an ethereal glow.
- Close-Ups: Place the light closer for detailed shots, such as makeup tutorials.
Invest in Quality Accessories
Enhance your light ring setup with useful accessories:
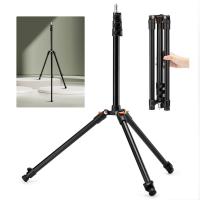
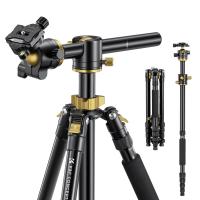
- Tripod: A stable tripod prevents shaky footage and allows precise height adjustments.
- Diffusers: Add-on diffusers provide additional control over light intensity and softness.
- Remote Controls: Many light rings include remote controls for adjusting settings on the fly.
---
Common Mistakes to Avoid
While setting up a light ring is straightforward, avoid these pitfalls to ensure a seamless vlogging experience:
1. Incorrect Distance: Placing the light ring too close or too far can lead to uneven lighting or loss of detail.
2. Ignoring Power Sources: Ensure your light ring is compatible with the available power supply, whether it's USB-powered or requires an adapter.
3. Overlooking Ambient Light: Failing to account for surrounding light sources can result in inconsistent lighting.
---
Case Study: Transforming a Vlogging Setup with a Light Ring
Consider a beginner vlogger using standard desk lamps for lighting. While functional, this setup often creates harsh shadows and uneven lighting. Upon integrating a light ring:
- Improved Visual Quality: The even illumination instantly enhances skin tone and minimizes shadows.
- Professional Aesthetic: The light ring’s catchlight effect adds a cinematic quality to the eyes.
- Increased Engagement: Viewers are more likely to engage with well-lit, visually appealing content.
---
FAQs About Light Rings
Q1: Can I use a light ring for outdoor vlogging?
Yes, but ensure it’s portable and equipped with a rechargeable battery. Combine it with natural light for optimal results.
Q2: What’s the best way to reduce the “ring” reflection in glasses?
Adjust the angle of the light ring slightly above or to the side of the subject to minimize reflections.
Q3: Are expensive light rings worth the investment?
While budget-friendly options work well for beginners, investing in a high-quality light ring offers better durability, brightness, and additional features like remote control.
---
Final Thoughts
A light ring is a game-changer for vloggers, offering an affordable and efficient way to enhance video quality. By following the setup steps and tips outlined in this guide, you can create professional-grade content that captivates your audience. Whether you're a seasoned content creator or just starting, mastering light ring setup ensures your videos are not only visually stunning but also stand out in the ever-competitive world of vlogging.
Remember, lighting is not just about visibility—it’s about setting the tone, enhancing your subject, and creating a connection with your audience. So, invest in the right light ring, experiment with different setups, and watch your vlogging game reach new heights.


![【$25.99 Flash Deal One order per customer】Selfie Ring Light with Cell Phone Holder for Live Stream and Makeup, LED Light [3-Light Mode] [10-Level Brightness] with Remote Control and Flexible Hose Bracket for iPhone Android【Ship to the US Only】 【$25.99 Flash Deal One order per customer】Selfie Ring Light with Cell Phone Holder for Live Stream and Makeup, LED Light [3-Light Mode] [10-Level Brightness] with Remote Control and Flexible Hose Bracket for iPhone Android【Ship to the US Only】](https://img.kentfaith.com/cache/catalog/products/us/KF34.001/KF34.001-1-200x200.jpg)











There are no comments for this blog.