How To Setup Selfie Stick Bluetooth Remote?
Setting Up a Selfie Stick Bluetooth Remote: A Comprehensive Guide
In the age of social media and digital photography, capturing the perfect selfie has become an art form. Whether you're a seasoned influencer or just someone who loves to document life's moments, a selfie stick with a Bluetooth remote can be an invaluable tool. However, setting up this device can sometimes be a bit tricky, especially for those who are not tech-savvy. This article aims to provide a detailed, step-by-step guide on how to set up a selfie stick Bluetooth remote, ensuring you can capture those perfect shots with ease.
Understanding the Components
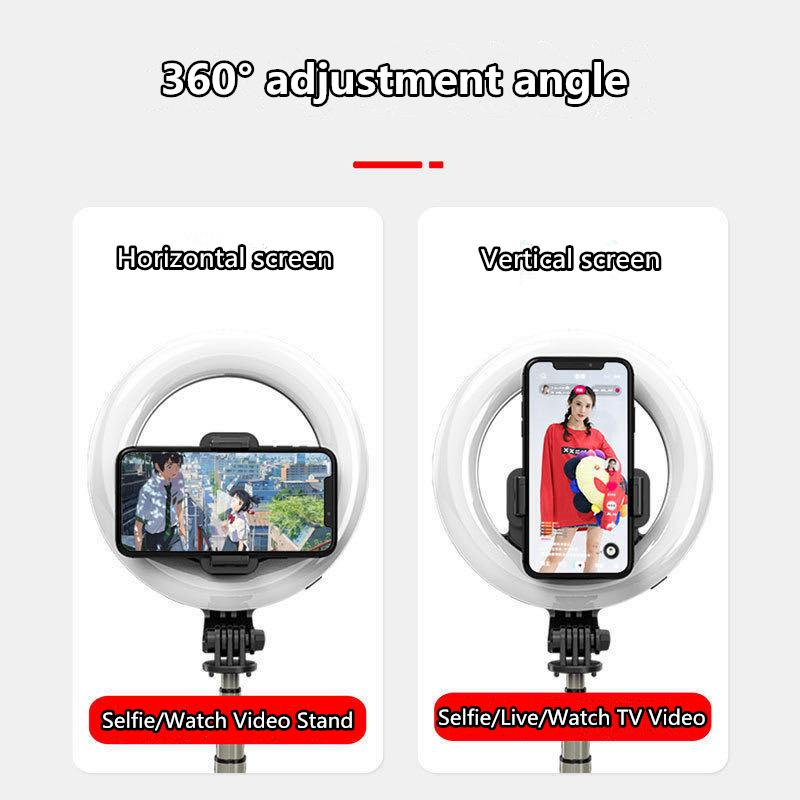
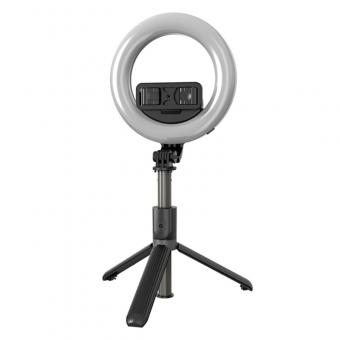
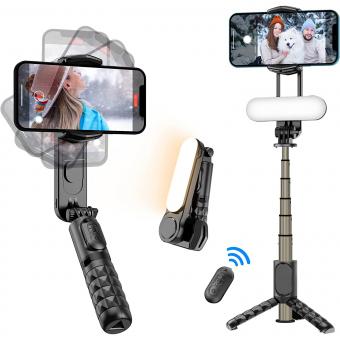
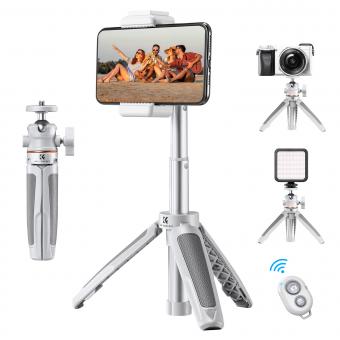
Before diving into the setup process, it's essential to understand the components of your selfie stick and Bluetooth remote. Typically, a selfie stick package includes:
1. Selfie Stick: The extendable rod that holds your smartphone.
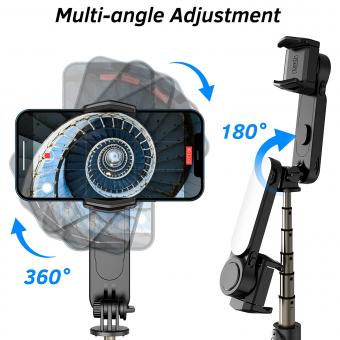
2. Phone Holder: The clamp that secures your phone to the stick.
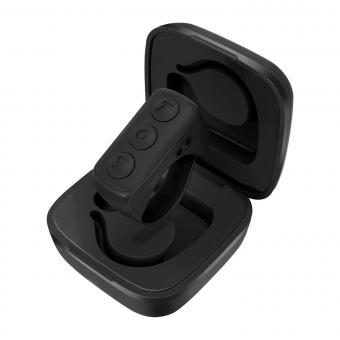
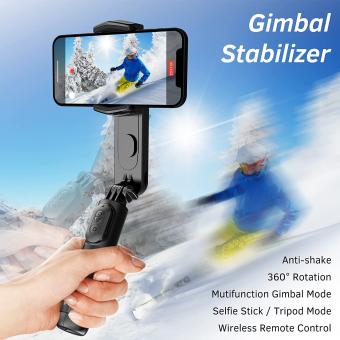
3. Bluetooth Remote: A small, detachable device that connects to your phone via Bluetooth to take photos remotely.
4. Charging Cable: If your remote is rechargeable, it will come with a USB cable for charging.
Step-by-Step Setup Guide
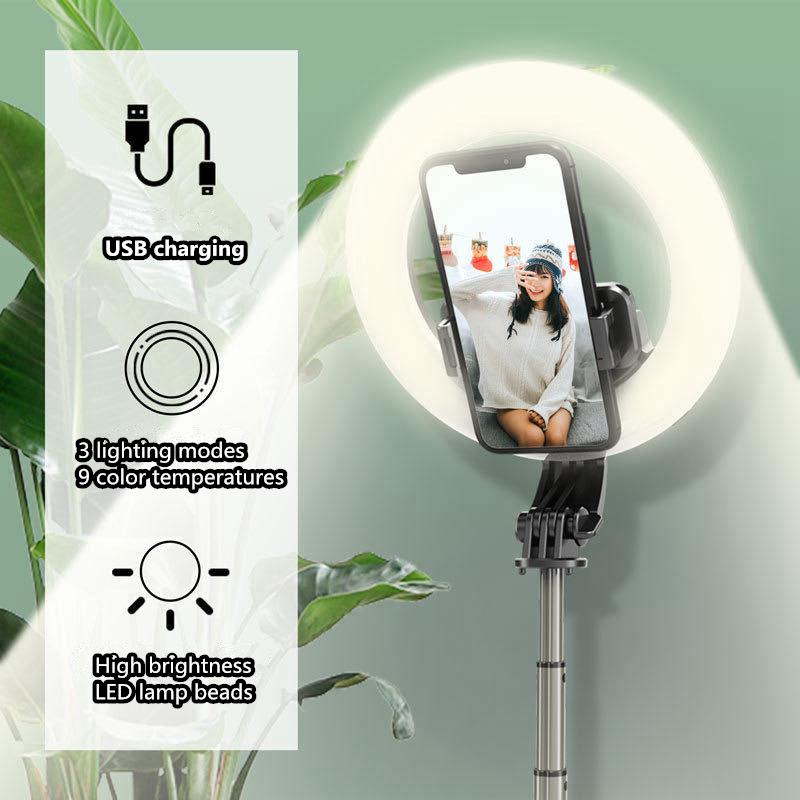
Step 1: Charge the Bluetooth Remote
Before you start, ensure that your Bluetooth remote is fully charged. Connect the remote to a power source using the provided USB cable. Charging times may vary, but it usually takes about 1-2 hours for a full charge. Some remotes have an LED indicator that turns off or changes color when fully charged.
Step 2: Attach Your Phone to the Selfie Stick
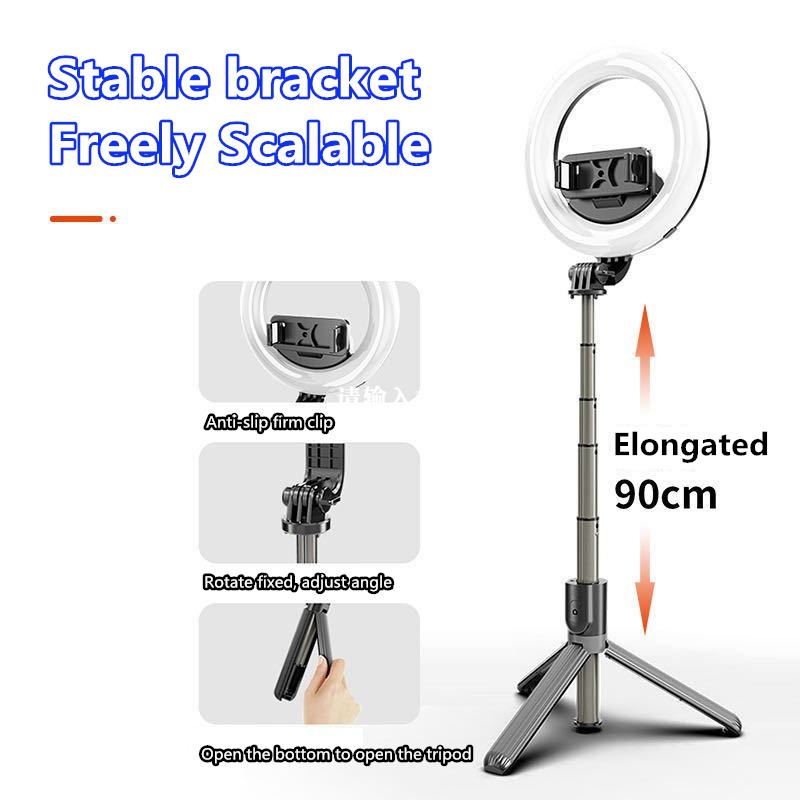
1. Extend the Phone Holder: Pull the phone holder apart to fit your smartphone. Most holders are adjustable and can accommodate various phone sizes.
2. Secure Your Phone: Place your phone in the holder and ensure it is tightly secured. The phone should not wobble or move when the stick is extended.
Step 3: Turn On the Bluetooth Remote
Locate the power button on your Bluetooth remote and press it to turn it on. An LED light will usually blink, indicating that the remote is in pairing mode.
Step 4: Pair the Remote with Your Smartphone
1. Open Bluetooth Settings: On your smartphone, go to the settings menu and open the Bluetooth settings.
2. Search for Devices: Your phone will start searching for available Bluetooth devices. Look for the name of your Bluetooth remote in the list of available devices.
3. Pair the Device: Tap on the name of the Bluetooth remote to pair it with your phone. You may be prompted to enter a passcode, which is usually "0000" or "1234". Once paired, the LED light on the remote will stop blinking and remain steady.
Step 5: Test the Connection
Open your phone's camera app and use the Bluetooth remote to take a test photo. Press the button on the remote, and if everything is set up correctly, your phone should capture a photo. If the remote does not work, ensure it is fully charged and properly paired with your phone.
Troubleshooting Common Issues
Despite following the steps, you may encounter some issues. Here are common problems and their solutions:
Remote Not Pairing
- Ensure Bluetooth is On: Double-check that your phone's Bluetooth is turned on.
- Restart Devices: Turn off both your phone and the Bluetooth remote, then turn them back on and try pairing again.
- Forget Device: If the remote was previously paired with another device, go to your phone's Bluetooth settings, find the remote in the list of paired devices, and select "Forget This Device". Then, try pairing again.
Remote Not Working
- Check Battery: Ensure the remote is fully charged.
- Re-pair the Device: Sometimes, unpairing and then re-pairing the remote can resolve connectivity issues.
- Compatibility: Ensure your phone is compatible with the Bluetooth remote. Some older phone models may not support certain Bluetooth versions.
Phone Not Fitting in Holder
- Adjust Holder: Make sure the phone holder is fully extended and can accommodate your phone's size.
- Remove Phone Case: If your phone has a bulky case, try removing it to fit the holder better.
Tips for Optimal Use
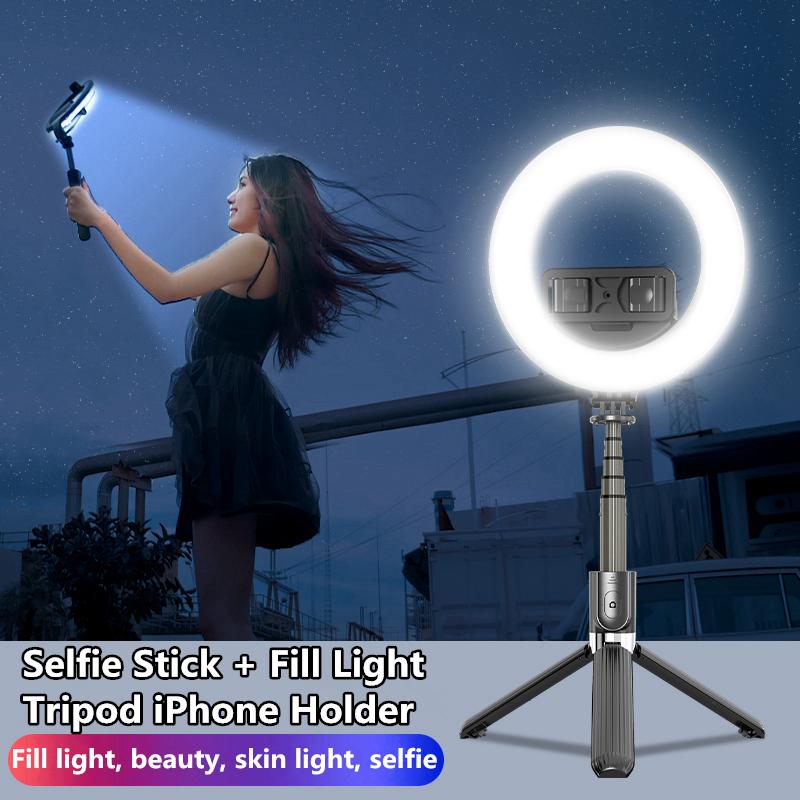
1. Use a Tripod: Some selfie sticks come with a tripod feature. Utilize this for more stable and professional-looking photos.
2. Adjust Angles: Experiment with different angles and stick lengths to find the best shot.
3. Lighting: Ensure you have good lighting. Natural light is often the best for selfies.
4. Clean Lens: Always clean your phone's camera lens for the clearest photos.
Setting up a selfie stick Bluetooth remote may seem daunting at first, but with this comprehensive guide, you should be able to get it up and running in no time. By following these steps, you can ensure that your device is correctly set up, allowing you to capture those perfect moments effortlessly. Whether you're on a solo adventure or capturing memories with friends and family, a selfie stick with a Bluetooth remote can significantly enhance your photography experience. Happy snapping!

