How To Setup Wireless Ip Security Camera System?
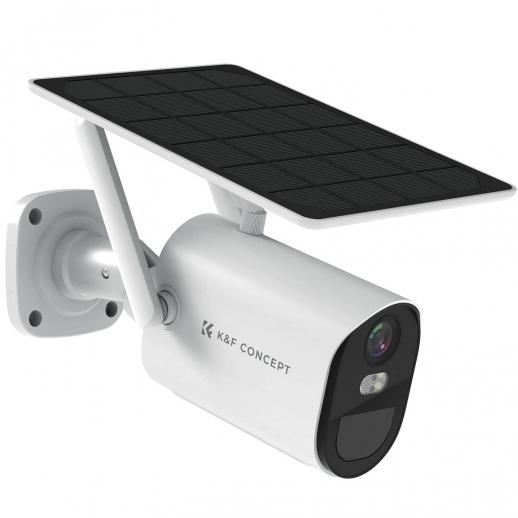
With the growing need for home and business security, wireless IP (Internet Protocol) cameras have become an essential tool for ensuring safety. They provide real-time monitoring, remote access, and robust security features without the hassle of extensive wiring. If you’re considering setting up a wireless IP security camera system, this article will guide you through the process step-by-step, addressing common challenges and offering practical solutions.
---
Understanding Wireless IP Camera Systems
Before diving into the setup process, it’s important to understand what a wireless IP security camera system entails. These cameras connect to your Wi-Fi network and transmit video data to a designated storage device or cloud server. Unlike traditional analog CCTV cameras, IP cameras offer high-definition video quality, advanced features like motion detection, and the convenience of remote viewing through smartphones or computers.
---
Step 1: Planning Your Security System
The first and most crucial step is planning the system. This involves the following:
1. Determine Your Needs
- Coverage Areas: Identify which areas require surveillance, such as entry points, driveways, or interior spaces.
- Camera Types: Decide between indoor, outdoor, or PTZ (pan-tilt-zoom) cameras depending on your coverage needs.
- Number of Cameras: Count the total cameras needed to avoid blind spots.
2. Evaluate Network Requirements
- Ensure your Wi-Fi network is stable and has sufficient bandwidth to support the cameras. Each IP camera typically requires 1-5 Mbps depending on the video quality.
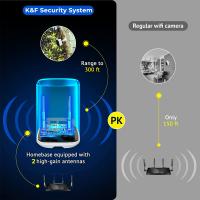
- Position the cameras within the effective range of your router.
---
Step 2: Gathering Equipment
To set up a wireless IP security camera system, you’ll need:
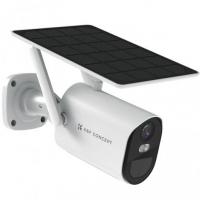
- Wireless IP cameras
- A Wi-Fi router
- A network video recorder (NVR) or cloud storage subscription
- Power adapters or PoE (Power over Ethernet) equipment if supported
- A smartphone or computer for configuration
- Mounting tools (brackets, screws, etc.)
---
Step 3: Installing the Cameras
1. Choose Optimal Locations
- Mount cameras at a height of 8-10 feet for optimal coverage and to prevent tampering.
- Ensure outdoor cameras are weatherproof and placed under eaves or overhangs for added protection.
2. Mount the Cameras
- Use the provided brackets and screws to securely install the cameras.
- Ensure the cameras are angled properly to cover the intended areas.
3. Power Up
- Connect the cameras to a power source using the included adapters. For PoE-supported cameras, you can use a single Ethernet cable for both power and data transmission.
---
Step 4: Configuring the Cameras
1. Connect to Wi-Fi
- Follow the manufacturer’s instructions to connect each camera to your Wi-Fi network. This typically involves:
- Downloading the camera’s app on your smartphone.
- Scanning the QR code on the camera or entering its unique ID.
- Following the app’s prompts to connect to your network.
2. Assign IP Addresses
- Access the camera’s settings through the app or a web interface.
- Assign static IP addresses to each camera to avoid conflicts or disconnections.
3. Test Connectivity
- Verify that each camera streams live video to the app or your computer.
---
Step 5: Setting Up Storage
1. NVR Connection
- If using an NVR, connect it to your router via Ethernet.
- Add the cameras to the NVR system through its interface.
2. Cloud Storage
- Subscribe to a cloud storage plan if preferred.
- Ensure the cameras are linked to your cloud account for automated uploads.
---
Step 6: Configuring Advanced Features
Most wireless IP cameras come with advanced features to enhance security and usability. Configure these based on your needs:
1. Motion Detection
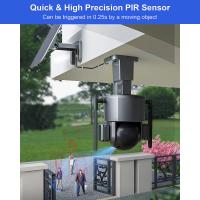
- Set up motion detection zones to avoid false alerts from areas like swaying trees.
- Adjust sensitivity levels to reduce unnecessary notifications.
2. Notifications and Alerts
- Enable push notifications or email alerts to receive updates when motion is detected.
3. Scheduling
- Create surveillance schedules to activate cameras only during specific hours.
4. Remote Access
- Enable remote access through the app or a web portal.
- Ensure the connection is secured with strong passwords and two-factor authentication.
---
Step 7: Securing Your System
Security is paramount when using wireless IP cameras. Follow these best practices:
- Use Strong Passwords: Change default passwords to unique, strong ones for each camera.
- Update Firmware: Regularly update the camera’s firmware to patch security vulnerabilities.
- Enable Encryption: Use WPA3 encryption on your Wi-Fi network for added security.
- Monitor Access: Restrict access to trusted devices and users only.
---
Common Challenges and Solutions
1. Weak Wi-Fi Signal
- Solution: Use a Wi-Fi extender or mesh network to improve coverage.
- Tip: Position the router centrally and reduce interference from other devices.
2. Power Outages
- Solution: Use UPS (Uninterruptible Power Supply) units for backup power.
3. Privacy Concerns
- Solution: Place cameras in non-invasive areas and use covers when privacy is required.
4. Compatibility Issues
- Solution: Verify that all cameras and the NVR are from the same manufacturer or support ONVIF standards.
---
Troubleshooting Tips
If you encounter issues during setup:
- No Live Feed: Check the Wi-Fi connection and camera settings.
- Camera Offline: Reboot the router and camera, then reconfigure the connection.
- Poor Video Quality: Lower the resolution or adjust the camera’s angle for better lighting.
---
Maintaining Your Security System
After setup, maintaining your system is essential for long-term reliability:
- Regular Inspections: Check camera positions and connections monthly.
- Storage Management: Delete old recordings to free up space.
- Software Updates: Update apps, firmware, and NVR software regularly.
---
Conclusion
Setting up a wireless IP security camera system may seem daunting at first, but with proper planning and careful execution, it can be a straightforward process. By understanding your requirements, investing in the right equipment, and following this step-by-step guide, you can create a robust security solution for your home or business. Remember to prioritize security and maintenance to ensure your system operates efficiently for years to come.













There are no comments for this blog.