How To Setup Your Lights For A Video?
Setting up lights for video production is an essential skill to master if you want to create professional-looking content. Good lighting can make a significant difference in the quality of your videos, and it helps convey your message more effectively. This article will guide you through the essential steps for setting up your lights for video production, covering lighting types, techniques, and tips to ensure your videos look their best.
Understanding Lighting Types
1. Key Light:
The key light is the primary source of light in your setup. It’s usually placed at a 45-degree angle to the subject, creating shadows and depth. This light should be the brightest compared to the others in your setup, and its position and intensity significantly impact the overall look of your video.
2. Fill Light:
The fill light is used to soften the shadows created by the key light. It’s usually positioned on the opposite side of the key light and at a lower intensity. The fill light ensures that the shadows are not too harsh, providing a more balanced look.
3. Back Light (Rim Light):
The back light is positioned behind the subject, often at a high angle, and it helps to separate the subject from the background. It creates a rim of light around the subject’s head and shoulders, adding depth and dimension to the scene.
4. Background Light:
The background light illuminates the backdrop of your shot. This can add texture and depth to the setting, preventing the background from looking flat and uninteresting.
Essential Lighting Techniques
1. Three-Point Lighting:
The three-point lighting technique is the most basic and commonly used setup in video production. It involves three lights: key light, fill light, and back light. This configuration ensures that the subject is well-lit from different angles, creating a natural and dynamic look.
2. High-Key Lighting:
High-key lighting involves using bright lights to create a soft, even illumination with minimal shadows. This technique is often used in genres like comedy and beauty videos, where a cheerful and clean aesthetic is desired.
3. Low-Key Lighting:
In contrast, low-key lighting uses a key light with little or no fill light, resulting in darker shadows and a more dramatic look. This technique is commonly used in genres like horror and film noir, where mood and tension are critical.
4. Natural Lighting:
Leveraging natural light can be both a cost-effective and aesthetically pleasing option. Position your subject near a window or use reflectors to direct sunlight onto the scene. Keep in mind that natural light changes throughout the day, so plan your shoots accordingly.
Practical Steps to Set Up Video Lighting
1. Assess Your Environment:
Take note of the room size, available natural light sources, and background elements. These factors will influence your lighting setup and the type of lights you need.
2. Choose Your Lighting Equipment:
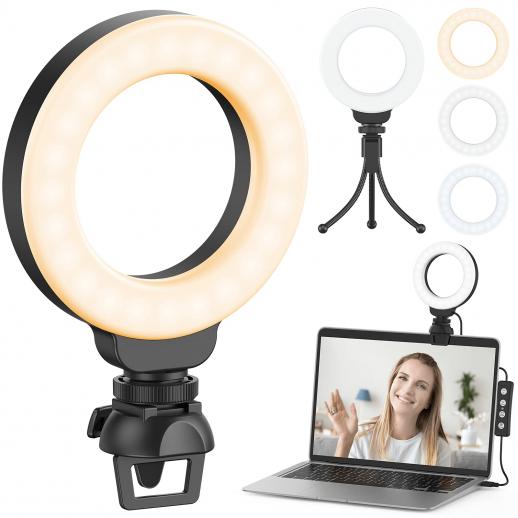
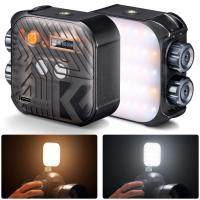
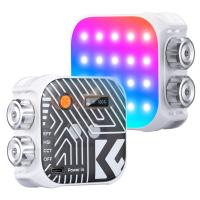
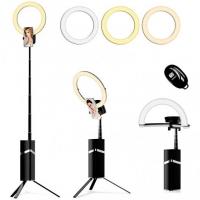
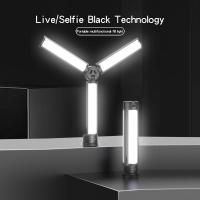
Invest in quality lighting equipment. LED lights are popular due to their energy efficiency, adjustable settings, and durability. Softboxes and ring lights can also be valuable additions, particularly for softer and evenly distributed light.
3. Position Your Key Light:
Start by placing the key light at a 45-degree angle from the subject, either to the left or right. Adjust the height so that the light is slightly above the subject’s eye level, angling it down to avoid unflattering shadows.
4. Set Up Fill Light:
Position the fill light on the opposite side of the key light at a lower intensity. The fill light’s purpose is to lighten the shadows created by the key light without creating new ones. You can adjust the distance and angle to achieve the desired softness.
5. Add the Back Light:
Place the back light behind the subject, aimed at the back of their head and shoulders. Adjust its height and angle to ensure it creates a subtle rim of light, effectively separating the subject from the background.
6. Illuminate the Background:
If your scene benefits from a lighted background, set up a background light to add depth and interest. Consider using colored gels to create different moods and effects.
Tips for Effective Lighting
1. Test and Adjust:
Before recording, take test shots to see how the lighting looks on camera. Adjust the positioning and intensity of the lights as needed until you achieve the desired look.
2. Use Diffusers:
Diffusers soften harsh light, reducing unflattering glare and shadows. You can use professional diffusers or even DIY options like white bedsheets or parchment paper.
3. Avoid Mixed Lighting:
Mixing different types of light sources, such as daylight and tungsten, can result in an unbalanced color temperature. Stick to one type of lighting for consistency.
4. Control Light Spill:
Use flags, barn doors, and grids to control where the light falls. This helps to focus the illumination on the subject and prevent it from spilling into unwanted areas.
5. Mind the Shadows:
Pay attention to the shadows cast by your lights. Hard shadows can be distracting, so use fill lights, diffusers, or bounce boards to control them.
Common Lighting Mistakes to Avoid
1. Overexposing the Subject:
Too much light can wash out the subject, losing detail and color. Ensure your lights are not too bright, and adjust camera settings to suit the lighting.
2. Underexposing the Scene:
Insufficient lighting can result in a noisy and grainy video. Ensure your scene is adequately lit by using enough light sources and adjusting their intensity.
3. Unnatural Light Angles:
Placing lights at unnatural angles can create unflattering shadows and highlights. Stick to tried-and-true angles like the 45-degree setup for a more appealing look.
4. Ignoring the Background:
Pay attention to how the background is lit. A well-lit subject against a dark or poorly lit background can look odd. Use background lights to add depth and context to the shot.
Conclusion
Setting up lights for video production might seem daunting at first, but with the right techniques and equipment, you can achieve professional results. Start with the basics of three-point lighting, adjust to your specific needs, and don’t hesitate to experiment with different setups and angles. Remember that good lighting enhances the storytelling in your videos, making them more engaging and visually appealing. Whether you're a beginner or a seasoned content creator, mastering lighting will significantly elevate the quality of your video production.










There are no comments for this blog.