How To Soften Flash On Camera?
When it comes to photography, lighting is one of the most crucial elements that can make or break a shot. One common challenge photographers face is dealing with the harshness of a camera's flash. A direct flash can create unflattering shadows, overexposed highlights, and a generally harsh look that detracts from the overall quality of the image. Fortunately, there are several techniques and tools available to soften the flash and achieve a more natural, pleasing light. In this article, we will explore various methods to soften the flash on your camera, providing practical solutions to enhance your photography skills.
Understanding the Problem
Before diving into the solutions, it's essential to understand why direct flash often results in harsh lighting. When the flash is pointed directly at the subject, it creates a small, intense light source that casts sharp shadows and highlights. This can lead to an unflattering, artificial look. The goal of softening the flash is to diffuse the light, making it more even and natural.
Methods to Soften Flash
1. Use a Diffuser
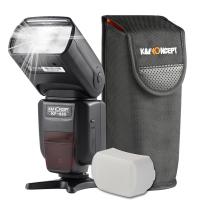
A diffuser is a simple and effective tool that scatters the light from the flash, reducing its intensity and creating a softer, more even illumination. There are various types of diffusers available, including:
- Clip-on Diffusers: These are small, portable devices that attach directly to the flash unit. They are convenient and easy to use, making them a popular choice for many photographers.
- Softboxes: These are larger diffusers that can be attached to the flash. They provide a more significant softening effect and are ideal for portrait photography.
- DIY Diffusers: If you don't have a commercial diffuser, you can create one using household items like a white plastic bag, a piece of white cloth, or even a coffee filter. Simply place the material over the flash to diffuse the light.
2. Bounce the Flash
Bouncing the flash off a surface, such as a wall or ceiling, can significantly soften the light. This technique works by reflecting the light, spreading it over a larger area and reducing its intensity. To bounce the flash:
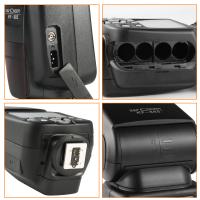
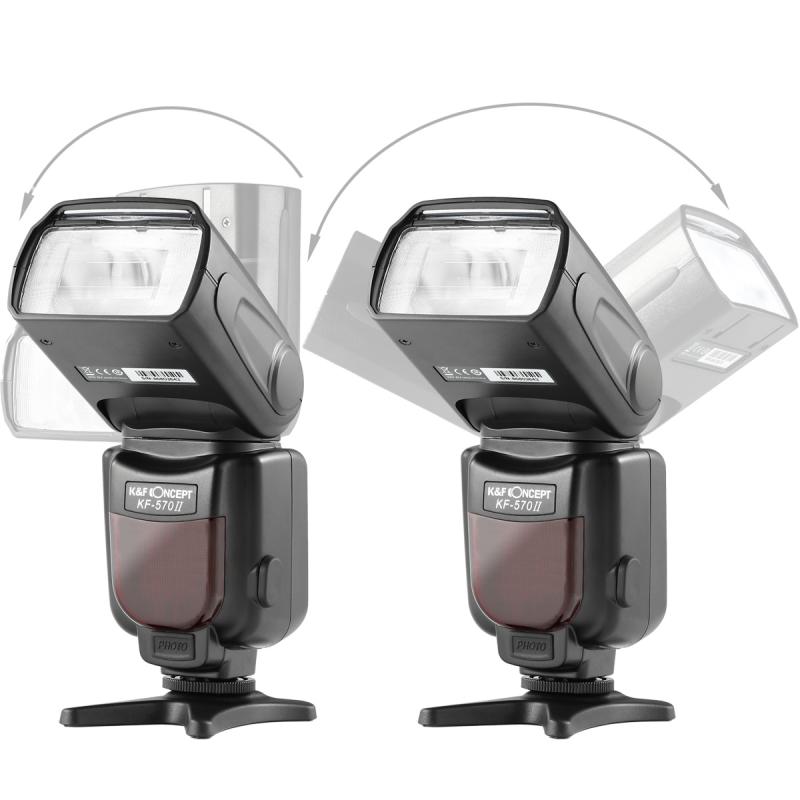
- Tilt the Flash Head: Most external flash units have a tilting head that allows you to angle the flash towards a surface. Aim the flash at a nearby wall or ceiling to bounce the light onto your subject.
- Use a Reflector: If there are no suitable surfaces to bounce the flash, you can use a reflector. Reflectors come in various sizes and materials, including white, silver, and gold. Position the reflector to catch the flash and direct the softened light onto your subject.
3. Use Flash Modifiers
Flash modifiers are accessories designed to alter the quality and direction of the light from your flash. Some popular flash modifiers include:
- Bounce Cards: These are small, white cards that attach to the flash unit. They help to bounce some of the light forward while diffusing the rest, creating a softer effect.
- Snoots: A snoot is a tube-like attachment that narrows the beam of light from the flash. While snoots are typically used to create a focused light, they can also be used to control the direction and spread of the light, helping to soften it.
- Grids: Grids are honeycomb-like attachments that control the spread of light. They can be used to soften the flash by directing the light more precisely and reducing its intensity.
4. Adjust Flash Settings
Modern cameras and flash units offer various settings that can help you control the intensity and quality of the flash. Some useful settings include:
- Flash Exposure Compensation (FEC): This setting allows you to adjust the power of the flash. Reducing the flash power can help to soften the light and create a more natural look.
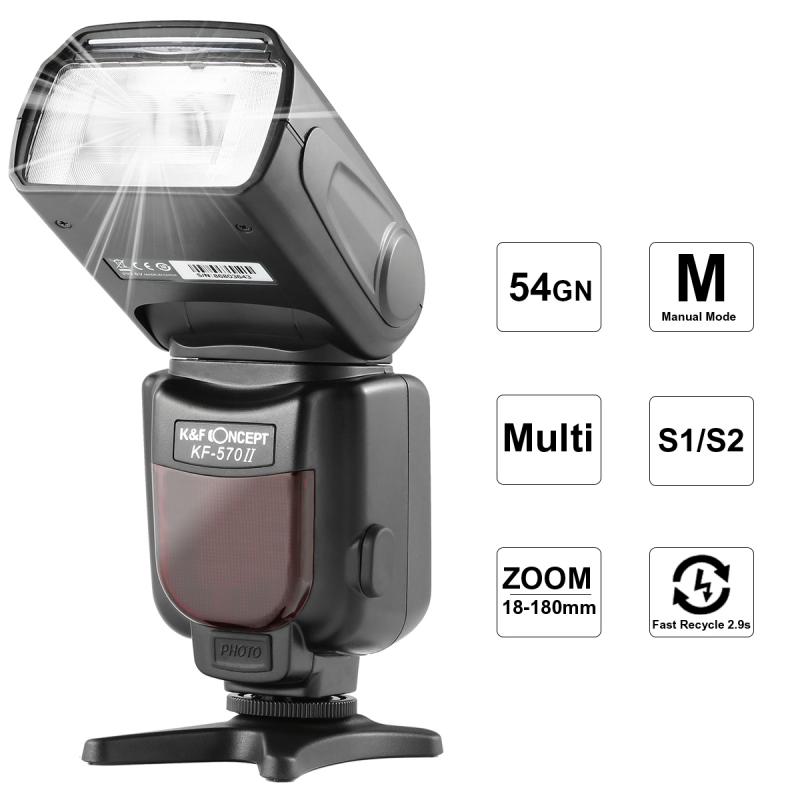
- Manual Flash Mode: If your flash unit has a manual mode, you can set the flash power manually. This gives you greater control over the intensity of the light and allows you to experiment with different settings to achieve the desired effect.
- High-Speed Sync (HSS): HSS allows you to use the flash at higher shutter speeds, which can help to balance the ambient light and reduce the harshness of the flash.
5. Use Natural Light
Whenever possible, try to incorporate natural light into your shots. Natural light is often softer and more flattering than artificial flash. You can use the flash as a fill light to complement the natural light, reducing shadows and adding a touch of brightness without overpowering the scene.
- Position Your Subject: Place your subject near a window or another source of natural light. Use the flash to fill in any shadows and create a balanced exposure.
- Use Reflectors: Reflectors can help to bounce natural light onto your subject, reducing the need for flash and creating a softer, more even illumination.
Practical Tips for Softening Flash
- Experiment with Angles: The angle at which you position the flash can have a significant impact on the quality of the light. Try different angles to see how they affect the softness and direction of the light.
- Combine Techniques: Don't be afraid to combine multiple techniques to achieve the desired effect. For example, you can use a diffuser in conjunction with bouncing the flash or adjusting the flash settings.
- Practice and Review: Take the time to practice using different methods to soften the flash. Review your shots and make adjustments as needed to improve the quality of the light.
Softening the flash on your camera is an essential skill for any photographer looking to create more natural, flattering images. By using diffusers, bouncing the flash, employing flash modifiers, adjusting flash settings, and incorporating natural light, you can achieve a softer, more even illumination that enhances the overall quality of your photos. Remember to experiment with different techniques and settings to find what works best for your specific shooting conditions. With practice and patience, you'll be able to master the art of softening flash and take your photography to the next level.


