How To Solar Power A 9 Volt Camera?
How to Solar Power a 9-Volt Camera: A Step-by-Step Guide
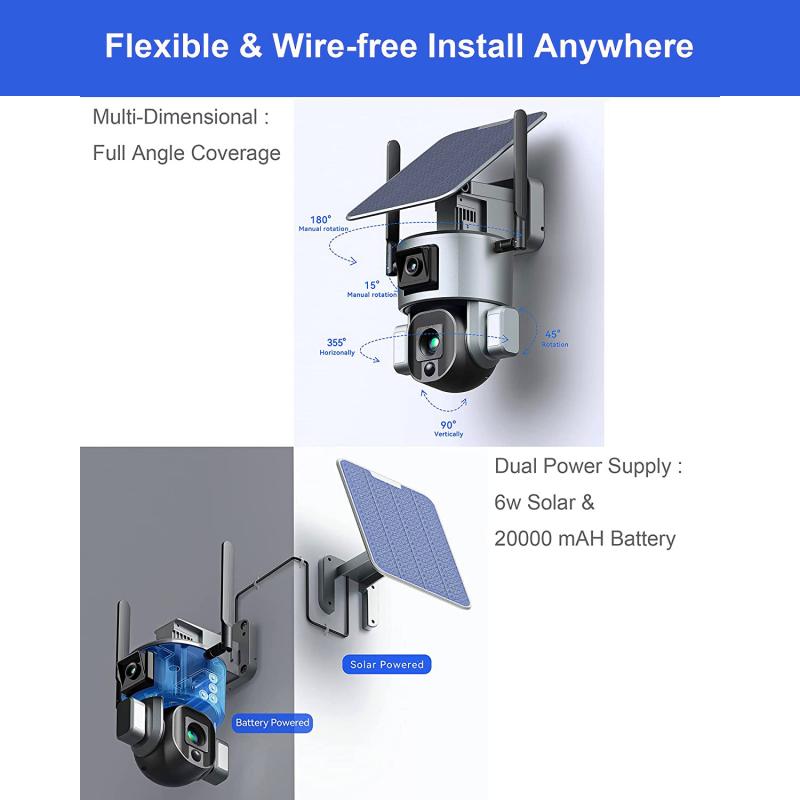
The growing interest in renewable energy solutions, especially solar power, has opened doors for adapting electronic devices to run on sustainable energy sources. A 9-volt camera, often used in security, surveillance, or creative projects, can effectively be powered by solar energy with the right components and setup. This guide will provide a detailed, step-by-step approach to achieving this, helping you understand the practical aspects of powering your camera sustainably.
---
Understanding Solar Power and Its Relevance
Solar power harnesses energy from the sun using photovoltaic (PV) cells, converting it into electricity. For devices requiring continuous operation, such as a 9-volt camera, solar energy can ensure uninterrupted functionality while reducing dependence on traditional electricity. A properly designed solar setup offers long-term cost savings and a reduced carbon footprint.
Key aspects to consider when planning a solar-powered solution include:
1. Power Requirements: Knowing the exact voltage and current needs of the device.
2. Solar Panel Sizing: Ensuring sufficient energy generation.
3. Energy Storage: Storing excess energy for nighttime or cloudy conditions.
4. Voltage Regulation: Providing stable and appropriate voltage to the camera.
---
Step 1: Determine the Camera's Power Needs
The first step is to understand your camera's energy consumption. A typical 9-volt camera may require a current ranging from 300 mA to 1 A, depending on its features such as resolution, infrared capability, and recording duration.
- Voltage: 9 volts (as specified).
- Power (W) = Voltage (V) × Current (A). For example, a 9-volt, 500 mA camera uses approximately 4.5 watts.
This calculation is crucial to ensure the solar panel and storage system can meet the camera's demands.
---
Step 2: Choose the Right Solar Panel
Selecting an appropriately sized solar panel is critical. Panels are rated by their power output (in watts) under standard conditions.
- Sizing the Panel: A 9-volt camera consuming 4.5 watts continuously will need a panel that generates slightly more than this to compensate for inefficiencies and variable sunlight availability.
- Daily Energy Requirement = 4.5 W × 24 hours = 108 watt-hours.
- Considering solar panel efficiency (~80%), you'll need a panel rated around 15–20 watts, depending on your location and average sunlight hours per day.
Look for panels with higher wattage in areas with limited sunlight to ensure reliability.
---
Step 3: Incorporate Energy Storage
Cameras often operate 24/7, making energy storage a vital component of the setup. Batteries store energy during the day and release it at night or during low-sunlight conditions.
1. Battery Selection:
- Opt for a rechargeable battery with sufficient capacity, such as lithium-ion or lead-acid types.
- Battery Capacity (Ah) = Daily Energy Requirement (Wh) ÷ Battery Voltage (V).
- For a 12-volt battery system: \( \frac{108 \text{ Wh}}{12 \text{ V}} = 9 \text{ Ah} \).
- Choose a battery with at least 20–30% additional capacity for longevity.
2. Charge Controller:
- Use a solar charge controller to regulate charging and discharging, protecting the battery from overcharging or deep discharge.
---
Step 4: Regulate the Voltage
Most solar setups produce 12 volts or higher, while your camera operates at 9 volts. A voltage regulator or DC-DC step-down converter is required to match the camera's input requirements.
- Features to Look For:
- Adjustable voltage output.
- High efficiency (90%+).
- Overload protection.
---
Step 5: Assemble the Components
With the components ready, the next step is assembly. Here’s how to connect them effectively:
1. Position the Solar Panel:
- Install the panel in a location with maximum sunlight exposure, ideally at an angle facing the equator.
- Use sturdy mounts to secure the panel against wind and environmental factors.
2. Connect the Charge Controller:
- Attach the solar panel to the input terminals of the charge controller.
- Connect the battery to the charge controller’s battery terminals.
3. Integrate the Voltage Regulator:
- Connect the battery output to the input of the DC-DC converter.
- Adjust the converter to output precisely 9 volts.
4. Power the Camera:
- Connect the regulator’s output to the camera’s power input. Test the system to ensure stable operation.
---
Step 6: Optimize and Maintain the System
After installation, optimizing and maintaining the setup is key to long-term reliability.
1. Monitor Power Output:
- Periodically check solar panel efficiency and battery charge levels.
- Use a multimeter to measure voltage and current at different points in the system.
2. Clean Solar Panels:
- Dust and debris can significantly reduce efficiency. Clean the panels regularly using a soft cloth and water.
3. Inspect Connections:
- Ensure all electrical connections are secure and free from corrosion.
4. Evaluate Energy Use:
- If the system fails to meet energy demands, consider upgrading components such as the solar panel or battery.
---
Practical Considerations and Troubleshooting
1. Weather Conditions:
- In areas with frequent overcast weather, consider a larger battery capacity and higher wattage panels to compensate for reduced sunlight.
2. Safety Measures:
- Use fuses or circuit breakers to protect against short circuits.
- Ensure all connections are waterproof to prevent damage from rain or humidity.
3. Scalability:
- If you plan to add more devices (e.g., multiple cameras), ensure the solar panel and battery system can handle the increased load.
---
Benefits of Solar Power for Cameras
- Cost Efficiency: After the initial investment, solar setups have minimal operational costs.
- Reliability: Batteries ensure round-the-clock operation, even during power outages.
- Eco-Friendliness: Reduces reliance on fossil fuels and grid power, contributing to sustainability.
---
Conclusion
Solar power offers a practical and sustainable way to power a 9-volt camera, making it an ideal solution for remote or off-grid locations. By carefully evaluating the camera's power needs, selecting appropriate components, and maintaining the system, you can ensure efficient and reliable operation. While the initial setup may require effort and investment, the long-term benefits make it a worthwhile endeavor for both environmental and economic reasons.
By following this guide, you’ll not only gain insight into solar energy applications but also contribute to a greener, more sustainable future.













-200x200.jpg)







There are no comments for this blog.