How To Store Switch Games On Sd Card?
In the ever-evolving world of gaming, the Nintendo Switch has carved out a significant niche for itself, thanks to its hybrid nature that allows for both handheld and docked play. One of the key aspects of maximizing your Nintendo Switch experience is managing storage effectively, especially when it comes to storing games on an SD card. This article will delve into the practical steps and considerations for storing Switch games on an SD card, ensuring you can enjoy your gaming library without constantly worrying about running out of space.
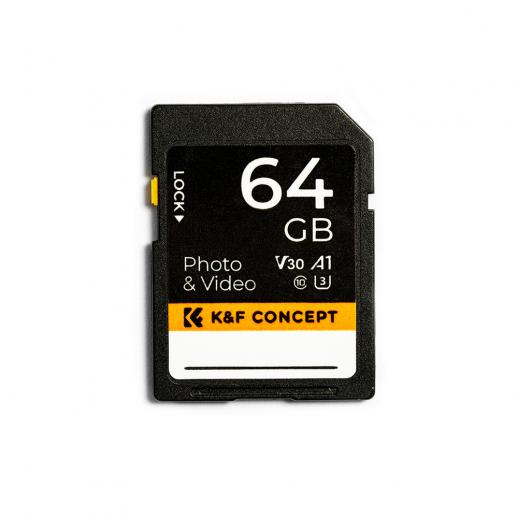
Understanding the Need for an SD Card
The Nintendo Switch comes with a modest internal storage capacity of 32GB, which can quickly fill up with just a few game downloads, updates, and save files. Given the size of modern games, this internal storage is often insufficient for avid gamers. This is where an SD card becomes essential. By expanding your storage capacity with an SD card, you can store more games, downloadable content (DLC), and updates without having to delete existing content.
Choosing the Right SD Card
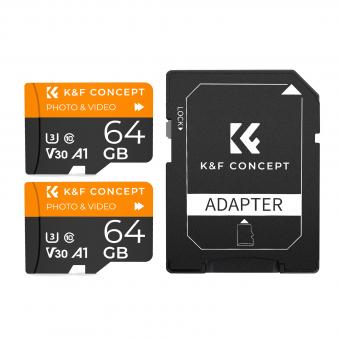
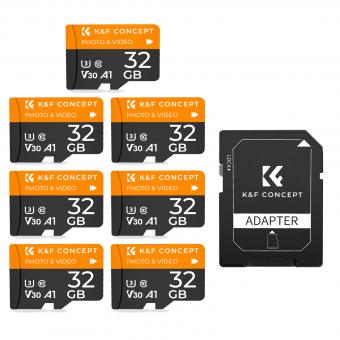
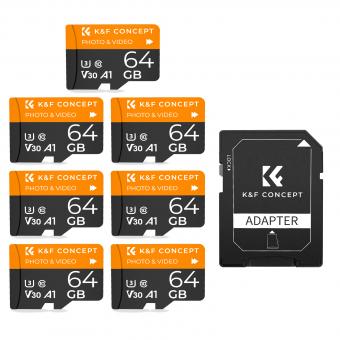
Before diving into the process of storing games on an SD card, it’s crucial to choose the right one. Here are some factors to consider:
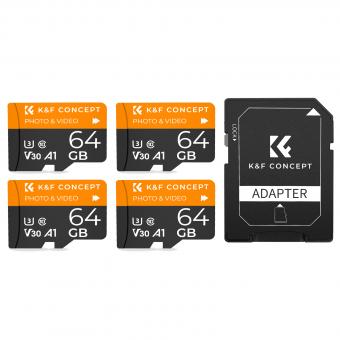
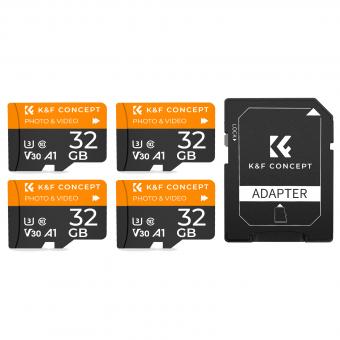
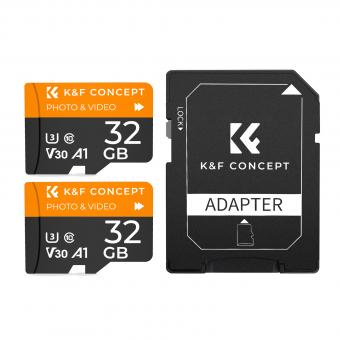
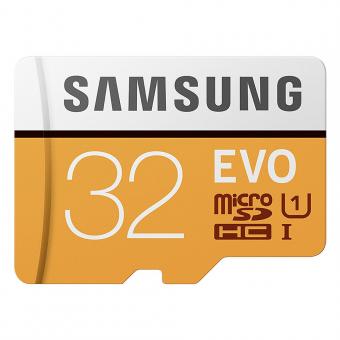
1. Capacity: SD cards come in various capacities, ranging from 32GB to 1TB. Depending on your gaming habits and the size of your game library, you should choose a card that offers ample space. For most users, a 128GB or 256GB card strikes a good balance between cost and capacity.
2. Speed: The speed of the SD card affects how quickly games load and how smoothly they run. Look for cards with a high read and write speed. The Nintendo Switch supports UHS-I cards, and a card with a speed class of U3 or higher is recommended for optimal performance.
3. Brand and Reliability: Opt for reputable brands like SanDisk, Samsung, or Kingston. These brands are known for their reliability and performance, reducing the risk of data corruption or card failure.
Formatting the SD Card
Once you have chosen the right SD card, the next step is to format it for use with your Nintendo Switch. Here’s how to do it:
1. Insert the SD Card: Power off your Nintendo Switch and insert the SD card into the slot located behind the kickstand.
2. Power On and Format: Turn on your Switch. If the card is not already formatted, the system will prompt you to format it. Follow the on-screen instructions to complete the process. Note that formatting the card will erase all data on it, so ensure it’s empty or that you have backed up any important files.
Transferring Games to the SD Card
With the SD card formatted and ready, you can now transfer games to it. There are two main methods to do this: downloading games directly to the SD card or moving existing games from the internal storage to the SD card.
Downloading Games Directly to the SD Card
When you download a new game from the Nintendo eShop, the Switch will automatically save it to the SD card if one is inserted and there is sufficient space. This is the simplest method, as it requires no additional steps beyond the initial download.
Moving Existing Games to the SD Card
If you already have games stored on the internal memory and want to free up space, you can move them to the SD card. Here’s how:
1. Access Data Management: From the Home menu, go to System Settings > Data Management.
2. Move Data: Select “Move Data Between System / microSD Card.” You will see options to move data from the system memory to the microSD card and vice versa.
3. Select Games: Choose the games or applications you want to move and confirm your selection. The system will transfer the data to the SD card.
Managing Your Storage
Effective storage management is key to ensuring a smooth gaming experience. Here are some tips to help you manage your storage efficiently:
1. Regularly Check Storage: Periodically check your storage usage by going to System Settings > Data Management. This will help you keep track of how much space you have left and plan accordingly.
2. Delete Unused Games: If you have games that you no longer play, consider deleting them to free up space. You can always re-download them from the eShop if you want to play them again.
3. Backup Save Data: While game data can be re-downloaded, save data is often irreplaceable. Use the Nintendo Switch Online service to back up your save data to the cloud, ensuring you don’t lose your progress.
4. Organize Your Library: Keep your game library organized by categorizing games based on your preferences. This can make it easier to find and manage your games.
Troubleshooting Common Issues
Despite following the best practices, you may encounter some issues when using an SD card with your Nintendo Switch. Here are some common problems and their solutions:
1. SD Card Not Recognized: If your Switch doesn’t recognize the SD card, ensure it’s properly inserted and formatted. Try reformatting the card using a computer if the issue persists.
2. Slow Performance: If games are loading slowly, it could be due to a low-speed SD card. Consider upgrading to a faster card with a higher speed class.
3. Data Corruption: Data corruption can occur due to improper ejection or a faulty card. Always power off your Switch before removing the SD card and use reliable brands to minimize this risk.
Storing Nintendo Switch games on an SD card is a practical solution to the limited internal storage of the console. By choosing the right SD card, formatting it correctly, and managing your storage efficiently, you can ensure a seamless gaming experience. Regularly checking your storage, backing up save data, and troubleshooting common issues will help you make the most of your expanded storage capacity. With these steps, you can focus on what truly matters: enjoying your favorite games without interruption.

