How To Take Pictures With Studio Lighting?
Studio lighting is a critical skill that can dramatically increase the quality of your photographs. The ability to control and manipulate light allows photographers to create mood, highlight details, and produce images with stunning clarity and depth. In this comprehensive guide, we will delve into the various aspects of studio lighting, providing you with practical advice and techniques to enhance your studio photography.
Understanding Studio Lighting Basics
Before diving into the specifics of how to take photos with studio lighting, it’s important to understand the basic components:
1. Light Sources: Studio lighting can include various sources such as strobes (flash units), continuous lights (such as LEDs or tungsten lights), and natural light modifiers (like reflectors).
2. Modifiers: Umbrellas, softboxes, snoots, and barn doors are tools used to modify the light. They can diffuse, focus, or shape the light to achieve the desired effect.
3. Equipment Setup: Stands, backdrops, clamps, and other accessories help in arranging the lighting setup and maintaining the compositional elements.
Choosing the Right Light Source
The first step in setting up studio lighting is selecting the appropriate light source for your needs:
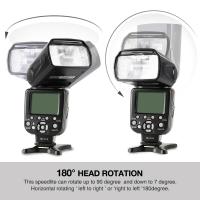
- Strobes (Flash Units): These lights are powerful and versatile. They are ideal for freezing motion and producing high-intensity bursts of light. They usually come with a wide range of modifiers.
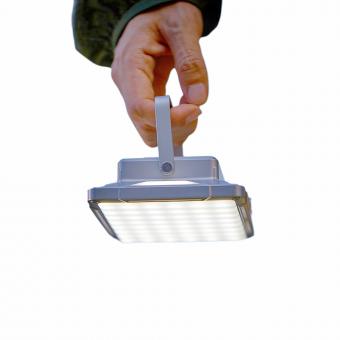
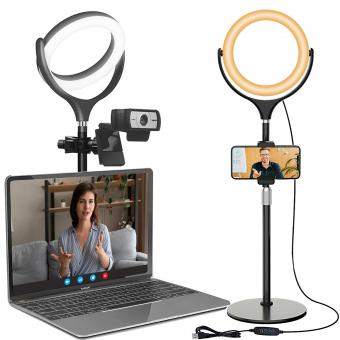
- Continuous Lights: These lights provide constant illumination, making it easier to see how the light affects the subject in real-time. LEDs are commonly used for their energy efficiency and cool temperatures.
- Natural Light Modifiers: Reflectors and diffusion panels can help manipulate natural light when used in combination with artificial sources.
Setting up Your Studio Lighting
1. Key Light (Main Light):
The key light is the primary source of illumination in your setup. It sets the overall exposure value and defines the shading and details of the subject.
- Placement: Position the key light 45 degrees to the side and above the subject, aiming downwards. This creates a natural and flattering shadow pattern.
- Modifiers: Use a softbox or umbrella to diffuse the light, which helps in reducing harsh shadows and provides a soft, even illumination.
2. Fill Light:
The fill light is used to lighten shadows created by the key light, bringing detail to darker areas without creating additional shadows.
- Placement: Place the fill light on the opposite side of the key light, usually at a lower intensity.
- Modifiers: Using a reflector or a softbox can help in providing a softer and more diffused fill light.
3. Back Light (Hair Light):
The backlight helps to separate the subject from the background, adding depth and a professional look.
- Placement: Position the backlight behind the subject, elevated slightly above their height.
- Modifiers: Use barn doors or grids to focus the light specifically on the subject without spilling onto the background.
4. Background Light:
Background lights illuminate the background and can create a sense of depth and context in your photographs.
- Placement: Aim the light at the background from either side, ensuring even coverage.
- Modifiers: Use gels to add color or different effects to the background.
Tips for Lighting Techniques
1. Three-Point Lighting:
This classic technique includes a key light, fill light, and backlight, providing a balanced and visually appealing look. It is ideal for portraits and product photography.
2. Rembrandt Lighting:
Named after the painter, this technique uses one key light placed at a 45-degree angle to create a small triangle of light on the cheek opposite the light. It’s great for creating dramatic, deep shadows.
3. Broad and Short Lighting:
- Broad Lighting: The key light illuminates the side of the face turned towards the camera, making the face appear wider. It’s beneficial for narrow-faced subjects.
- Short Lighting: The key light illuminates the side of the face turned away from the camera, creating more shadows and making the face appear slimmer. Ideal for broader-faced subjects.
4. Butterfly Lighting:
The key light is placed directly in front of and above the subject, creating a small shadow under the nose resembling a butterfly. This technique accentuates cheekbones and is commonly used in beauty photography.
Practical Considerations
1. Metering and Exposure:
Using a light meter can help measure the exact light intensity and ensure consistent exposure. Setting the camera’s exposure manually allows for better control over the final image.
2. Color Temperature:
Matching the color temperature of all your lighting sources ensures uniform lighting. Using gels or adjusting the white balance on your camera can correct color discrepancies.
3. Controlling Reflections:
In product photography, controlling reflections and highlights is crucial. Using polarizing filters, proper angles, and diffusion materials can minimize unwanted reflections.
4. Experimentation:
Every subject is different, and the best way to learn studio lighting is through practice. Experiment with different setups, distances, and angles to find what works best for your specific scenario.
Final Thoughts
Mastering studio lighting takes time and practice, but the rewards are worth the effort. With controlled lighting, you can create professional-looking images that highlight the subject’s features, create mood, and communicate your artistic vision. Follow the principles and techniques outlined in this guide, and you’ll be well on your way to taking stunning photographs with studio lighting.
Remember, photography is both a science and an art form. While technical knowledge is essential, the creativity and personal touch you bring to each shoot truly make the difference. Happy shooting!


