How To Test The Microphone?
Testing a microphone is a crucial step to ensure that it functions correctly, whether you're preparing for a podcast, a live performance, or a virtual meeting. A malfunctioning microphone can lead to poor audio quality, miscommunication, and a generally unprofessional experience. This article will guide you through the various methods and tools available to test your microphone effectively. We will cover both hardware and software aspects, as well as troubleshooting common issues.
Understanding the Basics
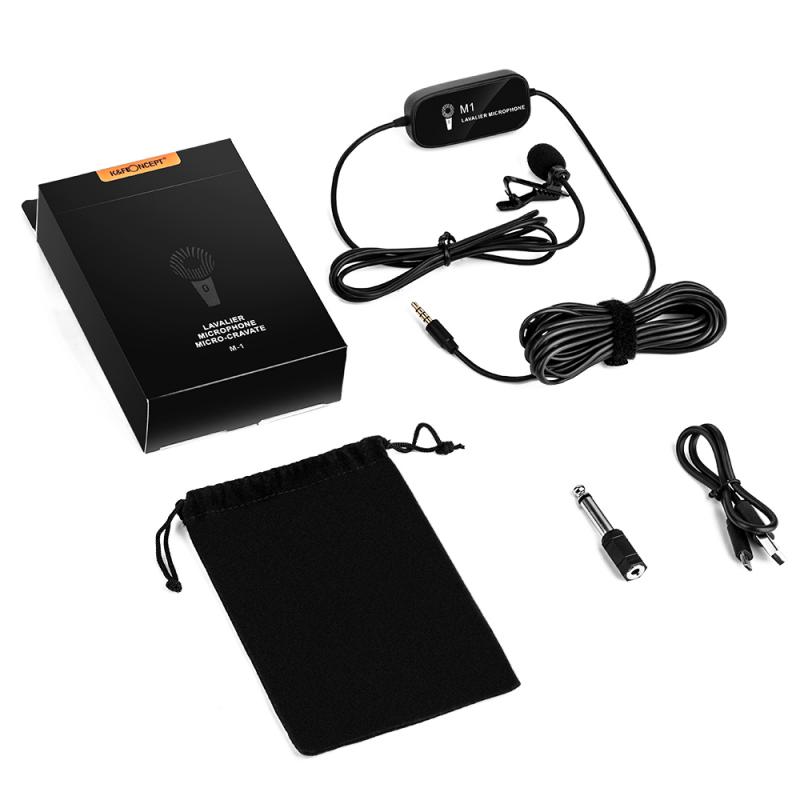
Before diving into the testing process, it's essential to understand the basic components of a microphone setup. Typically, a microphone system includes the microphone itself, a cable, an audio interface or mixer, and the recording or broadcasting software. Each of these components can affect the overall performance, so it's crucial to test them individually and collectively.
Step-by-Step Guide to Testing Your Microphone
1. Visual Inspection
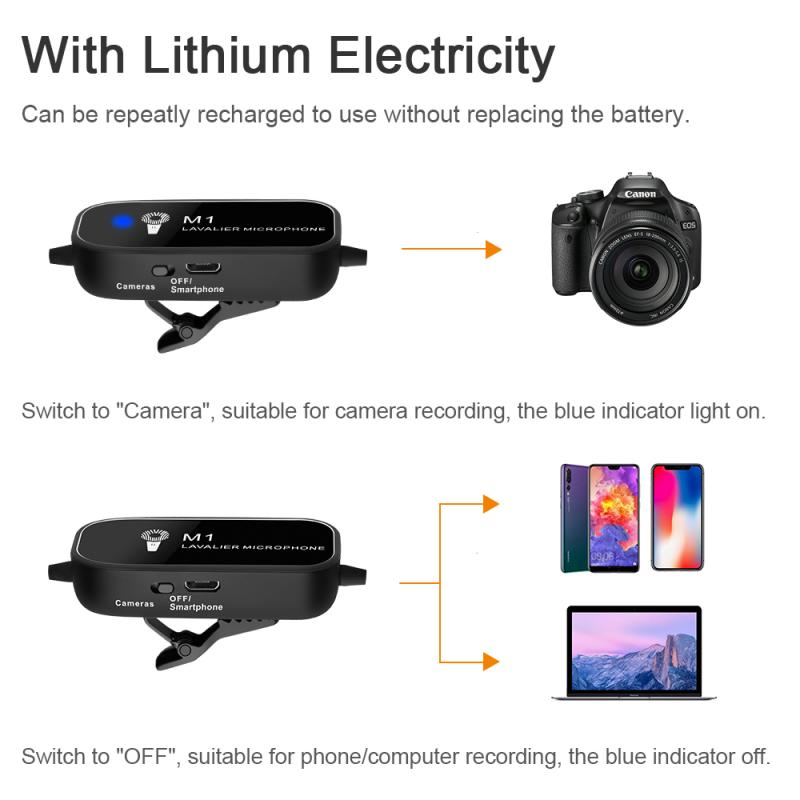
Start with a visual inspection of your microphone and its components. Check for any visible damage to the microphone, cable, and connectors. Ensure that all connections are secure and that there are no frayed wires or loose parts.
2. Initial Hardware Test
Plug your microphone into the audio interface or mixer and ensure that it is receiving power if it requires phantom power (usually 48V for condenser microphones). Most audio interfaces and mixers have an LED indicator to show that the microphone is receiving power.
3. Basic Sound Check
Perform a basic sound check by speaking or singing into the microphone. Listen through headphones connected to the audio interface or mixer. Adjust the gain and volume levels to ensure that the sound is clear and free from distortion. If you hear any crackling or popping sounds, it may indicate a problem with the cable or connectors.
4. Software Configuration
Open your recording or broadcasting software and ensure that the microphone is selected as the input device. Most software will have an audio settings menu where you can choose the input source. Test the microphone by recording a short audio clip and playing it back. Listen for any issues such as low volume, distortion, or background noise.
Advanced Testing Methods
1. Frequency Response Test
A frequency response test helps you understand how your microphone captures different frequencies. Use a frequency response testing tool or software to generate a range of frequencies and record them through your microphone. Analyze the recording to see if the microphone captures all frequencies accurately. This test is particularly useful for professional audio applications where sound quality is paramount.
2. Polar Pattern Test
Microphones have different polar patterns, such as cardioid, omnidirectional, and bidirectional, which affect how they pick up sound from different directions. Test the polar pattern by speaking or making noise from various angles around the microphone. Ensure that the microphone captures sound according to its specified polar pattern.
3. Latency Test
Latency is the delay between speaking into the microphone and hearing the sound through the headphones or speakers. High latency can be problematic, especially for live performances or real-time communication. Use latency testing software to measure the delay and adjust your audio interface or software settings to minimize it.
Troubleshooting Common Issues

1. No Sound
If you don't hear any sound from the microphone, check the following:
- Ensure that the microphone is properly connected to the audio interface or mixer.
- Verify that the microphone is selected as the input device in your software.
- Check if the microphone requires phantom power and ensure it is turned on.
- Test the microphone with a different cable or audio interface to rule out hardware issues.
2. Low Volume
If the microphone volume is too low, try these steps:
- Increase the gain on your audio interface or mixer.
- Check the input volume settings in your recording or broadcasting software.
- Ensure that the microphone is positioned correctly and that you are speaking directly into it.
- Test the microphone with a different preamp or audio interface to see if the issue persists.
3. Distortion
Distortion can occur if the microphone signal is too strong. To fix this:
- Lower the gain on your audio interface or mixer.
- Move the microphone further away from the sound source.
- Use a pop filter to reduce plosive sounds that can cause distortion.
4. Background Noise
Background noise can be a significant issue, especially in noisy environments. To reduce background noise:
- Use a noise gate or noise reduction software.
- Position the microphone closer to the sound source.
- Use a directional microphone with a cardioid or hypercardioid polar pattern to minimize background noise.
Testing your microphone is an essential step to ensure high-quality audio for any application. By following the steps outlined in this article, you can identify and resolve common issues, ensuring that your microphone performs at its best. Whether you're a podcaster, musician, or virtual meeting participant, a well-tested microphone can make a significant difference in your audio quality and overall experience.
Remember, the key to effective microphone testing is a systematic approach. Start with a visual inspection, perform basic hardware and software tests, and then move on to advanced testing methods if necessary. By doing so, you can ensure that your microphone is ready for any recording or broadcasting task.


