How To Transfer Photos From Micro Sd Card?
In today's digital age, microSD cards have become essential for storing media such as photos and videos. Whether you're switching devices or simply need to back up your images, transferring photos from a microSD card is a fundamental skill. In this article, we'll comprehensively walk you through the various methods you can use to transfer your treasured memories from a microSD card to a different device. We'll cover everything from using adapters and USB card readers to direct wireless transfers and cloud storage.
Preparation is Key
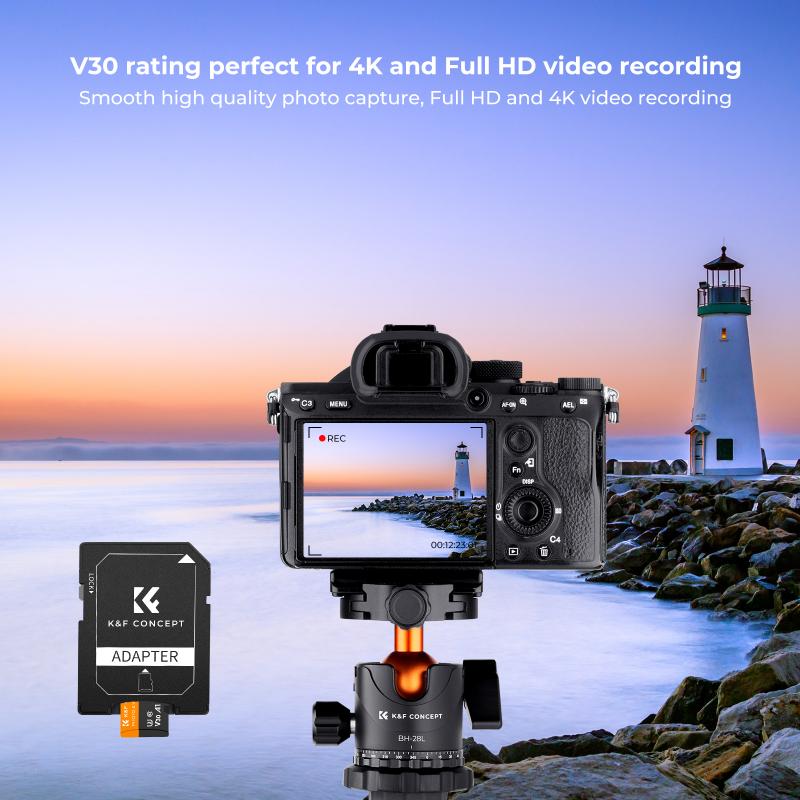
Before you begin transferring photos from your microSD card, it's important to have a few things ready:
1. A Compatible Device: Make sure the device you're transferring to has enough storage space.
2. Necessary Accessories: Depending on your chosen method, gather needed accessories like microSD adapters, card readers, or USB cables.
3. Backup Plan: Always have a backup plan in case something goes wrong. This could mean having a secondary storage option like an external hard drive or cloud storage.
Methods of Transferring Photos
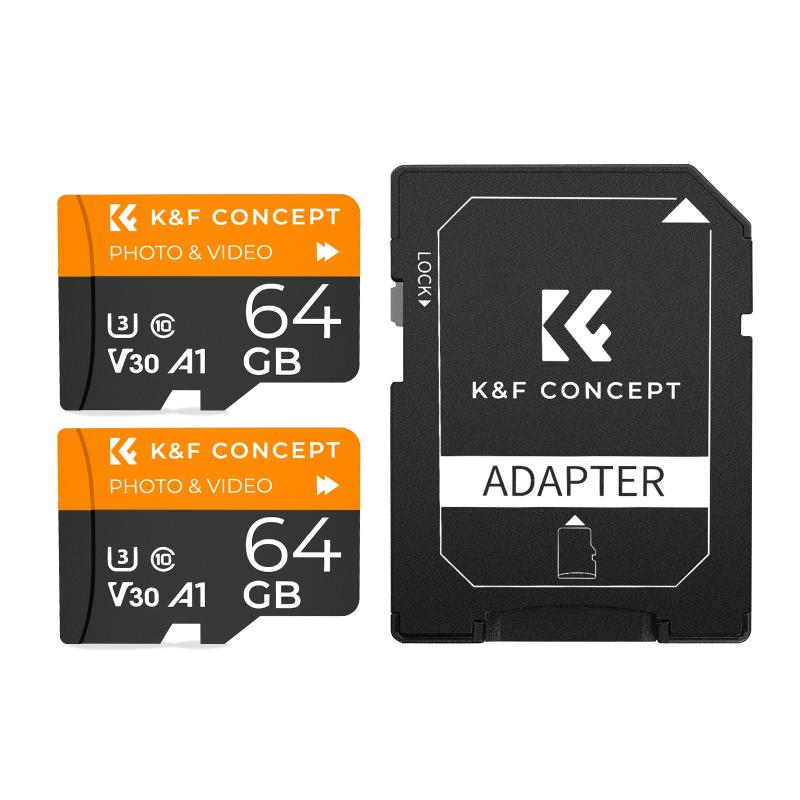
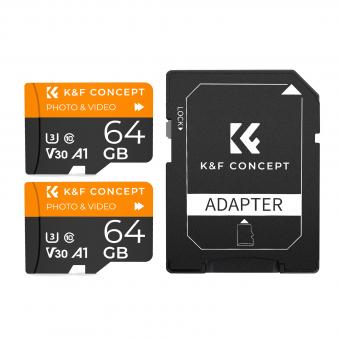
1. Using a MicroSD to SD Adapter
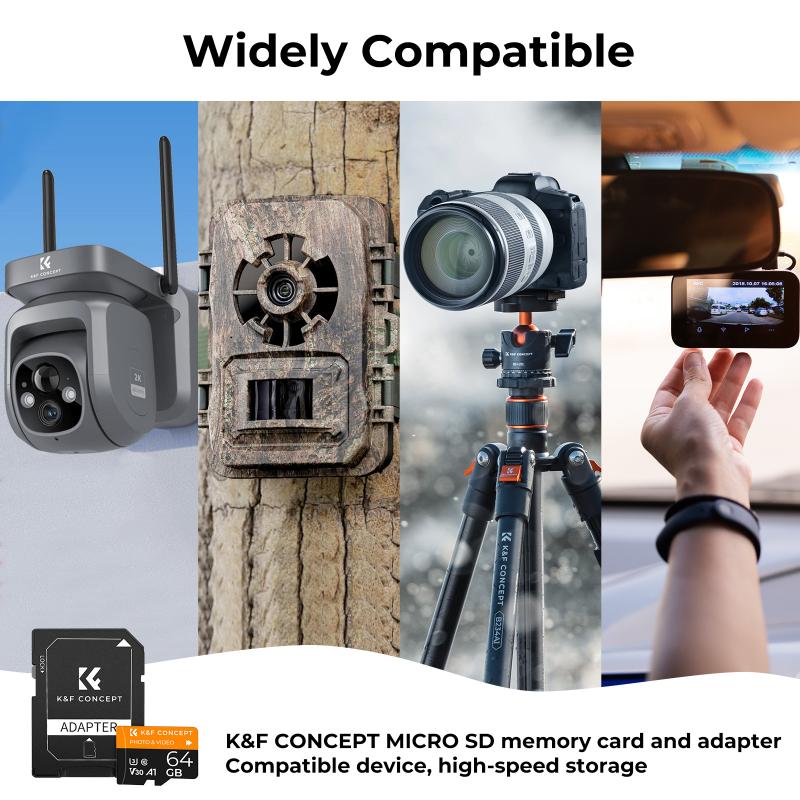
A microSD to SD adapter is a straightforward tool to use if your computer or laptop has an SD card slot. Here’s a step-by-step guide:
1. Insert the microSD Card: Place your microSD card into the SD adapter.
2. Insert the Adapter: Insert the SD adapter into your computer’s SD card slot.
3. Locate the Card: Open File Explorer (Windows) or Finder (Mac) to locate the card.
4. Select Photos: Browse through the files to select the photos you wish to transfer.
5. Copy and Paste: Simply copy and paste (or drag and drop) the files to your desired location on your computer or external storage device.
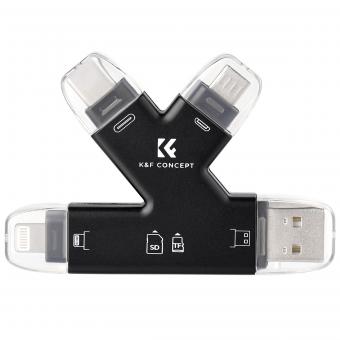
2. Using a USB Card Reader

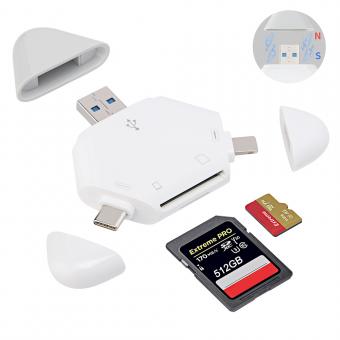
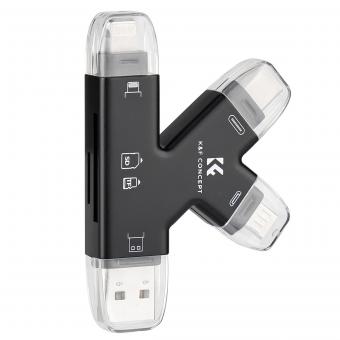
USB card readers, either built-in or external, can be lifesavers when dealing with devices that lack SD card slots. Here’s how:
1. Connect your Card Reader: Plug the USB card reader into an available USB port on your computer.
2. Insert the microSD Card: Place your microSD card into the connected card reader.
3. Access the Card: Just like with the adapter, open File Explorer or Finder.
4. Transfer the Photos: Select the photos and drag them to the folder where you want to store them.
3. Using Your Smartphone
For users who predominantly use their smartphones for capturing photos, transferring files directly from a mobile device can be quite convenient. Here’s how:
1. Insert MicroSD Card: Insert the microSD card into your smartphone’s slot.
2. Access Storage: Go to your phone’s file manager. On Android, this is usually found under "My Files" or "Files," and in iOS, you typically need a third-party app or a connected camera kit adapter.
3. Select and Share: Locate your photos, select them, and share them through available connectivity options like email, Bluetooth, or direct USB transfer using a cable.
4. Transfer to Computer: If using a direct USB transfer, plug your phone into your computer and follow on-screen prompts to transfer the photos.
4. Using Wireless Transfer
Modern technology has facilitated wireless transfer methods that eliminate the need for physical connections. Let’s delve into a few wireless options:
a. Bluetooth Transfer
1. Pair Devices: Ensure both devices (ex: phone and laptop) are Bluetooth-enabled and paired.
2. Select Photos: On your phone or sending device, select the photos you wish to transfer.
3. Send via Bluetooth: Choose the option to send the selected photos via Bluetooth to your computer.
b. Wi-Fi Transfer
Several apps like AirDroid, SHAREit, and Google Photos enable file transfers over Wi-Fi.
1. Install App: Install a transfer app on both devices.
2. Connect to Same Network: Make sure both devices are connected to the same Wi-Fi network.
3. Transfer Files: Follow app-specific instructions to select and transfer your photos.
5. Using Cloud Storage services
Cloud storage services such as Google Drive, iCloud, Dropbox, and OneDrive offer safe and efficient ways to transfer photos:
1. Upload Photos to Cloud Service: Use your phone or computer to upload photos from the microSD card to a cloud service.
2. Sync Devices: Once uploaded, you can access these photos from any device synced to the cloud account.
3. Download to New Device: Simply download the needed photos to your new device from the cloud.
Troubleshooting Common Issues
- Device Not Recognizing Card: Ensure the card is properly inserted and free from physical damage. Try using a different adapter or card reader.
- Slow Transfer Speeds: Check the USB or card reader for compatibility and ensure no intensive tasks are running in the background.
- Incomplete Transfers: Confirm there's enough storage on the receiving device and that the microSD card is not corrupted.
Final Thoughts
Transferring photos from a microSD card can seem daunting, particularly for those who are not tech-savvy. However, with the right tools and methods, it’s quite manageable and can become a routine task that you master over time.
By using adapters and card readers, wirelessly minding Bluetooth and Wi-Fi options, or leveraging cloud storage, you can make sure your precious memories are safely transferred and well-stored. Remember, always have a backup plan to protect your data, and choose the method that best fits your technological comfort level and situation.
By following this guide, you can confidently say goodbye to the days of struggling with transferring photos and hello to more organized and accessible photo storage. Happy transferring!

