How To Transfer Photos On Sd Card Android?
Transferring Photos on an SD Card in Android: A Comprehensive Guide
In the age of digital photography and smartphones, managing and transferring photos has become an essential skill. For Android users, transferring photos to an SD card can help free up internal storage, organize files, and create backups. This guide will walk you through the process of transferring photos on an SD card in Android, addressing common issues and providing practical solutions.
Understanding the Basics
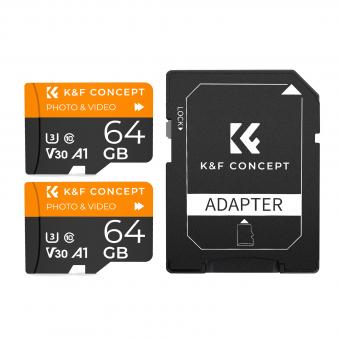
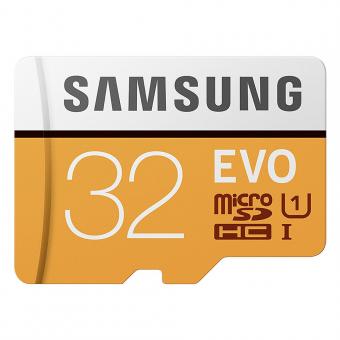
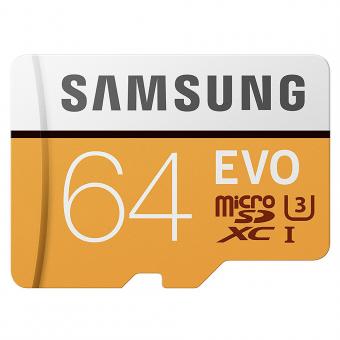
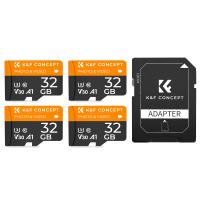
Before diving into the step-by-step process, it’s important to understand the basics of SD cards and their compatibility with Android devices. SD cards come in various sizes and formats, such as SDHC and SDXC, and not all Android devices support every type. Ensure your device is compatible with the SD card you intend to use.
Preparing Your SD Card
1. Insert the SD Card: Locate the SD card slot on your Android device. This is usually found in the SIM card tray or a dedicated slot. Insert the SD card carefully.
2. Format the SD Card: If the SD card is new or has been used in another device, it’s advisable to format it. Go to `Settings > Storage > SD Card > Format`. This will erase all data on the card, so ensure you’ve backed up any important files.
Transferring Photos Using File Manager
Most Android devices come with a built-in file manager app. If your device doesn’t have one, you can download a third-party file manager from the Google Play Store.
1. Open File Manager: Launch the file manager app on your device.
2. Navigate to Internal Storage: Find the folder where your photos are stored. This is usually the `DCIM` folder.
3. Select Photos: Tap and hold on a photo to select it. You can select multiple photos by tapping on additional ones.
4. Move or Copy Photos: Once you’ve selected the photos, tap on the `Move` or `Copy` option. Navigate to the SD card and choose the destination folder.
5. Paste Photos: Tap on `Paste` to transfer the photos to the SD card.
Using the Gallery App
Many Android devices allow you to transfer photos directly from the Gallery app.
1. Open Gallery: Launch the Gallery app on your device.
2. Select Photos: Tap and hold on a photo to select it. You can select multiple photos by tapping on additional ones.
3. Move to SD Card: Tap on the `More` or `Options` menu (usually represented by three dots). Select `Move to SD card` or `Copy to SD card`.
Using a Computer
Transferring photos via a computer can be more efficient, especially if you have a large number of photos.
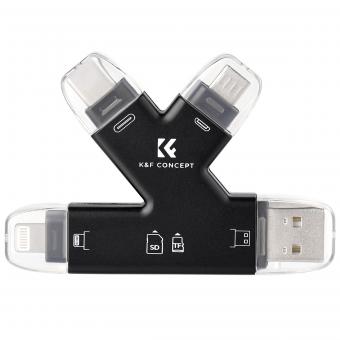
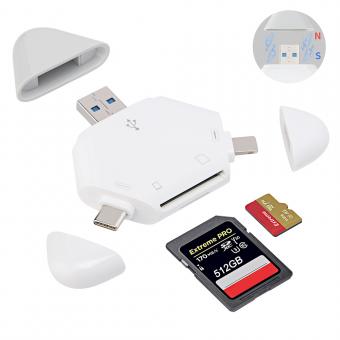
1. Connect Your Device: Use a USB cable to connect your Android device to your computer.
2. Enable File Transfer Mode: On your Android device, you may need to select `File Transfer` or `MTP` mode from the notification panel.
3. Access Device Storage: On your computer, open `File Explorer` (Windows) or `Finder` (Mac) and locate your device.
4. Transfer Photos: Navigate to the `DCIM` folder on your device. Copy the photos you want to transfer and paste them into a folder on your SD card.
Automating the Process
If you frequently transfer photos to your SD card, you might want to automate the process.
1. Use a Third-Party App: Apps like `FolderSync` or `Auto Transfer to SD Card` can automate the transfer process. Download and configure the app according to your preferences.
2. Set Up Automatic Transfers: These apps allow you to set up rules for automatic transfers, such as transferring new photos to the SD card at regular intervals.
Troubleshooting Common Issues
1. SD Card Not Recognized: If your device doesn’t recognize the SD card, try reinserting it or using a different card. Ensure the card is formatted correctly.
2. Transfer Errors: If you encounter errors during the transfer, ensure there’s enough space on the SD card. Restart your device and try again.
3. Slow Transfer Speeds: Transfer speeds can vary based on the SD card’s class and your device’s capabilities. Using a higher-class SD card can improve speeds.
Benefits of Transferring Photos to an SD Card
1. Free Up Internal Storage: Transferring photos to an SD card can free up valuable internal storage, improving your device’s performance.
2. Organize Photos: Keeping photos on an SD card can help you organize them better, making it easier to find specific photos.
3. Backup: An SD card can serve as a backup for your photos, protecting them in case of device failure.
Transferring photos to an SD card on an Android device is a straightforward process that can significantly enhance your device’s performance and organization. Whether you use a file manager, the Gallery app, or a computer, the steps are simple and effective. By understanding the basics, preparing your SD card, and following the outlined methods, you can easily manage your photo storage and ensure your precious memories are safely backed up.

