How To Transfer Switch Memory Card?
Transferring a memory card on the Nintendo Switch can seem like a daunting task, but with the right steps and guidance, it’s a hassle-free process. Whether you're upgrading to a larger card, backing up data, or simply looking to manage your storage more efficiently, understanding how to perform this transfer without compromising your saved games and downloaded content is essential. This guide will provide a detailed walkthrough for memory card transfers on the Nintendo Switch, ensuring you can accomplish the task smoothly and confidently.
Why Transfer Your Switch Memory Card?
There are several reasons you might want to transfer your Switch's memory card:
1. Upgrading Storage Capacity: If you’ve run out of space on your current card, upgrading to a larger one can give you more room for games, saves, and apps.
2. Backing Up Data: Transferring data to a new card or secondary storage can serve as a backup in case of data corruption or loss.
3. Organizing Content: Keeping your content organized and transferring unwanted or rarely used data to another card can improve system performance and ease of access.
Preparations Before the Transfer
Before starting the memory card transfer process, there are a few preparations you'll need to make:
1. Backup Your Data: Make sure you have all your current data saved. If you have important saves or game data, back it up using cloud saves if you have a Nintendo Online membership.
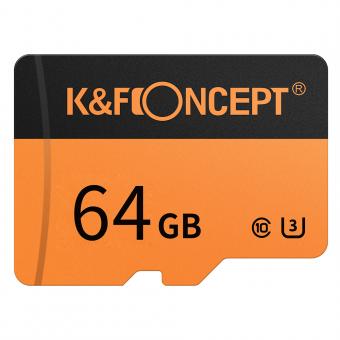
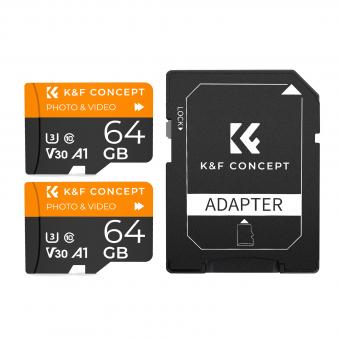
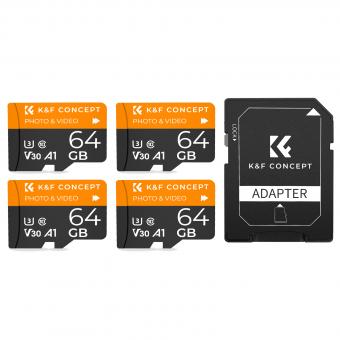
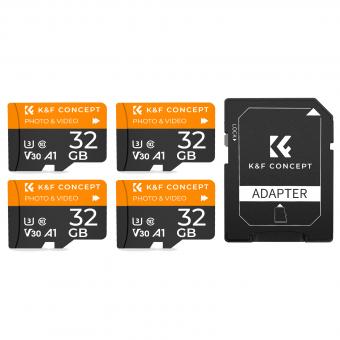
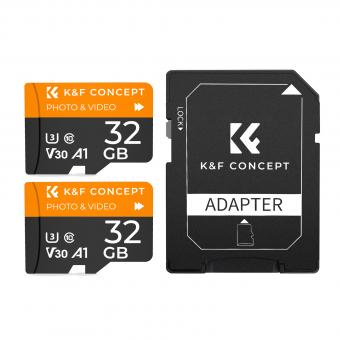
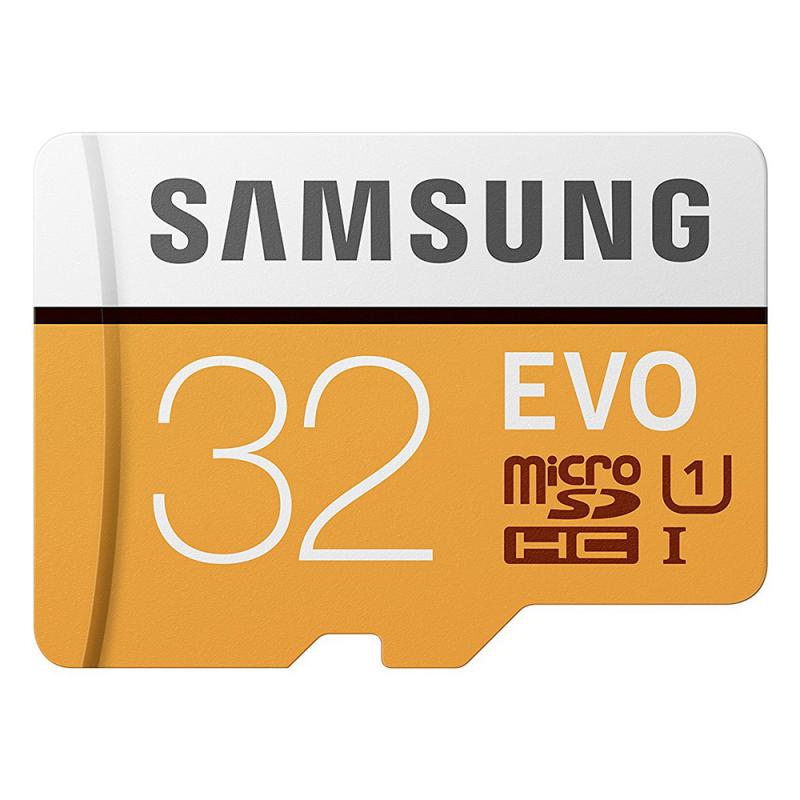
2. Compatible Memory Card: Ensure your new memory card is compatible with the Nintendo Switch. The Switch supports microSD, microSDHC, and microSDXC cards.
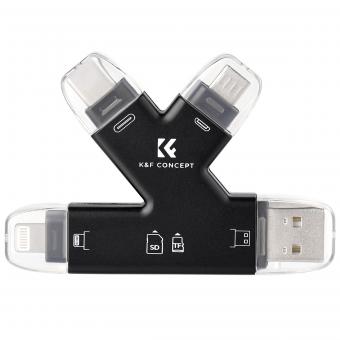
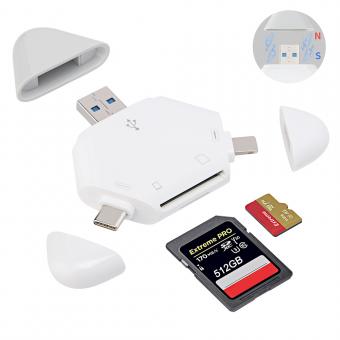
3. Card Reader or Adapter: You will need a computer with a built-in card reader or an external USB card reader to facilitate the transfer.
Step-by-Step Guide to Transfer Your Switch Memory Card
1. Power Down Your Nintendo Switch
Before removing the old memory card, turn off your Nintendo Switch completely to avoid any data corruption. Hold the power button for a few seconds until the power options appear, then select "Power Off."
2. Remove the Old Memory Card
Locate the microSD card slot on your Switch, which is under the kickstand. Carefully eject the old memory card by gently pressing it until it clicks.
3. Insert the New Memory Card
Insert the new (larger capacity) memory card into the slot under the kickstand. Make sure it’s seated properly.
4. Format the New Memory Card
Power up your Nintendo Switch, navigate to System Settings > System > Formatting Options > Format microSD Card. This step is crucial to ensure your Switch recognizes the new card and can save data to it correctly. Note: Formatting will erase all content on the new card, so make sure it’s empty or back up any data you need.
5. Transfer Data via a Computer
Copy Data from Old Card to Computer:
1. Insert the old memory card into your computer’s card reader.
2. Open the folder window to view the card’s files.
3. Copy all the files from the memory card to a dedicated folder on your computer.
Copy Data from Computer to New Card:
1. Remove the old card from the card reader and insert the new card (formatted by your Switch).
2. Open the new card’s folder window.
3. Drag all the files you previously copied to the computer onto the new memory card.
6. Reinsert the New Memory Card Into the Switch
Once the copying process is complete, remove the new card from the computer and insert it back into your Nintendo Switch.
7. Confirm Data Transfer
Turn on your Nintendo Switch. Check your games and save files to ensure all data has been transferred properly.
Tips for a Smooth Transfer
- Consistent File Structure: The Switch's file structure must be consistent, so ensure you copy the entire "Nintendo" folder without altering the directory or file names.
- Avoid Interruptions: During the data transfer, avoid interruptions like unplugging the card reader or turning off the computer to prevent data corruption.
- Keep Backups: It’s always beneficial to keep periodic backups of your game data on an external drive or cloud service, particularly if you have crucial progress in your games.
Troubleshooting Common Issues
Even with careful preparation, issues can arise during the transfer process. Here are a few common problems and solutions:
- Data Corruption: If your files seem corrupted or games don’t load correctly, try copying the data again, ensuring that no files are accidentally skipped or altered.
- Card Not Recognized: Make sure the new memory card is formatted correctly and is inserted properly. If the issue persists, the card might be faulty or incompatible.
- Games Not Appearing: If downloaded games don’t show up, ensure the transfer included the entire "Nintendo" folder. Sometimes, restarting the Switch can also help to recognize the new data.
Transferring a memory card for your Nintendo Switch may require some time and caution, but it’s a straightforward process that can significantly enhance your gaming experience. By following the steps outlined above, you can safely upgrade to a larger memory card, back up your data, or organize your content, ensuring you always have ample space for your favorite games. Remember, a little preparation goes a long way in ensuring a smooth and successful transfer, allowing you to focus on what you do best — enjoying your games.

