How To Turn Off Auto Filter On Camera?
In the age of digital photography, cameras have become more sophisticated, offering a plethora of features designed to enhance the quality of images. One such feature is the auto filter, which automatically applies filters to photos to improve their appearance. While this can be beneficial for casual photographers, it can be a hindrance for those who prefer to have full control over their images. If you find yourself in the latter category, you might be wondering how to turn off the auto filter on your camera. This article will guide you through the process, providing practical solutions and tips to help you regain control over your photography.
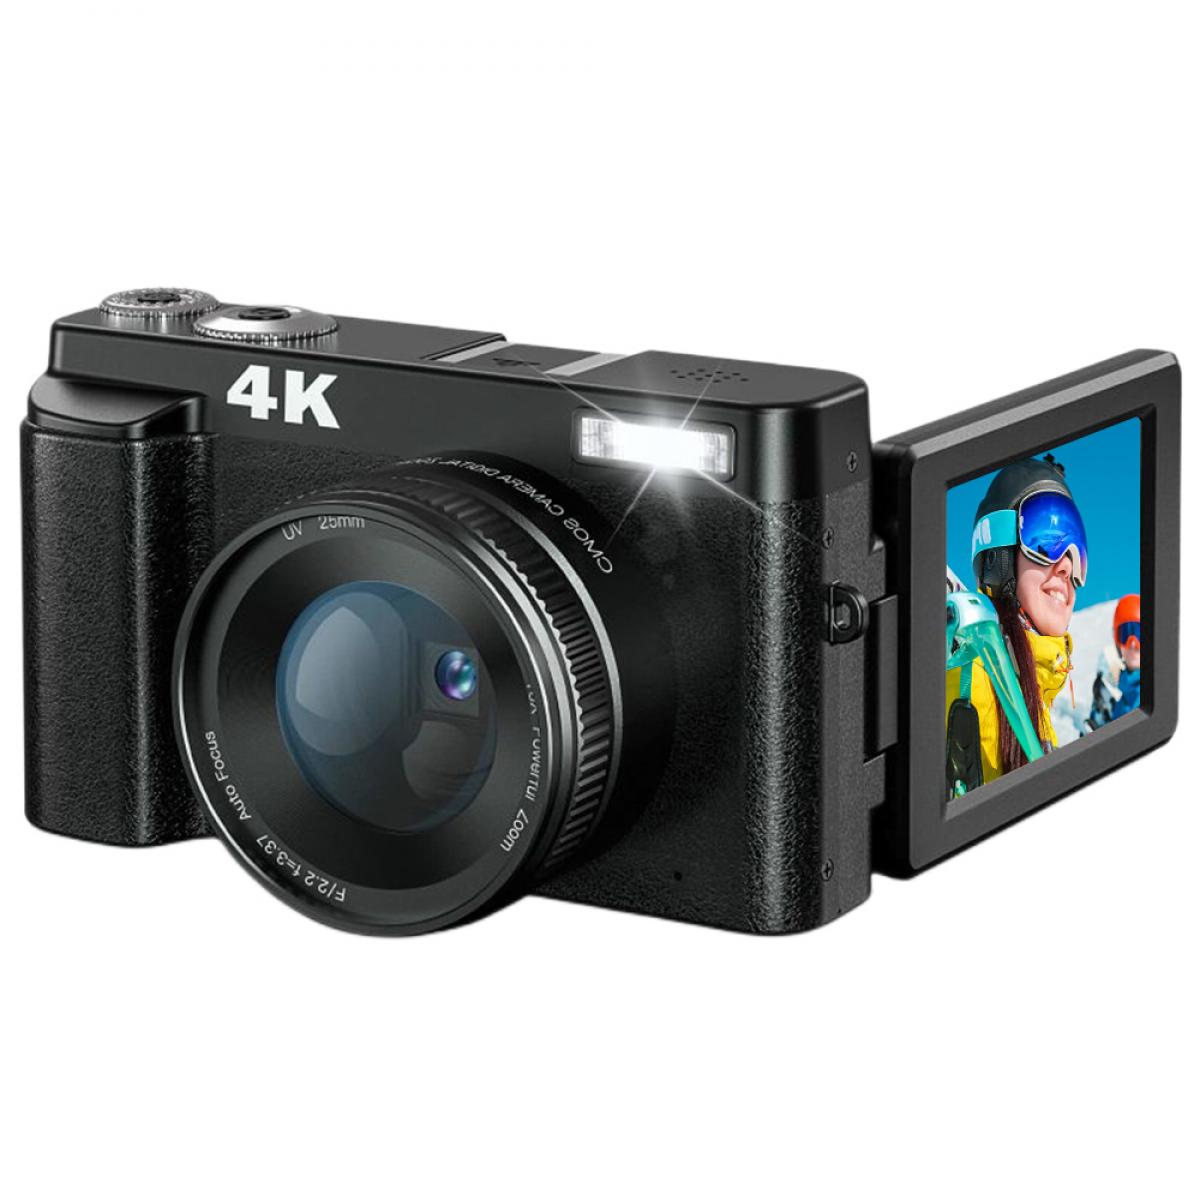
Understanding Auto Filters
Before diving into the steps to disable auto filters, it's essential to understand what they are and why they exist. Auto filters are pre-programmed settings in your camera that automatically adjust various aspects of your photos, such as brightness, contrast, saturation, and sharpness. These filters are designed to enhance the overall look of your images, making them more visually appealing without requiring manual adjustments.
While auto filters can be convenient, they can also be limiting. For instance, they might not always produce the desired effect, especially in complex lighting conditions. Additionally, they can interfere with your creative vision, as they apply a standardized look to all your photos.
Identifying Your Camera Model
The first step in turning off the auto filter is to identify your camera model. Different cameras have different settings and menu structures, so knowing your specific model will help you navigate the process more efficiently. You can usually find the model number on the camera body or in the user manual.
Accessing the Camera Menu
Once you have identified your camera model, the next step is to access the camera menu. This is typically done by pressing the "Menu" button on your camera. The location of this button can vary depending on the model, but it is usually found on the back or top of the camera.
Navigating to the Filter Settings
After accessing the camera menu, you will need to navigate to the filter settings. This can usually be found under a section labeled "Image Settings," "Picture Control," "Creative Filters," or something similar. The exact wording may vary depending on your camera model.
Disabling the Auto Filter
Once you have located the filter settings, look for an option that allows you to disable the auto filter. This might be labeled as "Auto Filter," "Creative Filter," "Picture Style," or "Scene Mode." Select this option and choose "Off" or "None" to disable the auto filter.
Customizing Your Settings
After turning off the auto filter, you may want to customize your camera settings to achieve the desired look for your photos. This can include adjusting the white balance, ISO, shutter speed, and aperture. By manually controlling these settings, you can have greater creative freedom and produce images that align with your vision.
Saving Your Settings
Once you have customized your settings, be sure to save them. This will ensure that your camera retains these settings even after it is turned off. The process for saving settings can vary depending on your camera model, so refer to your user manual for specific instructions.
Practical Tips for Better Photography
Now that you have turned off the auto filter and customized your settings, here are some practical tips to help you take better photos:
1. Understand Lighting: Lighting is one of the most critical aspects of photography. Learn how to use natural and artificial light to your advantage.
2. Experiment with Composition: Try different compositions to see what works best for your subject. Use the rule of thirds, leading lines, and other compositional techniques to create visually appealing images.
3. Practice Manual Focus: While auto-focus can be convenient, manual focus gives you more control over the sharpness of your images. Practice using manual focus to achieve the desired level of detail.
4. Shoot in RAW: Shooting in RAW format gives you more flexibility in post-processing. RAW files contain more data than JPEGs, allowing you to make more significant adjustments to your images without losing quality.
5. Use a Tripod: A tripod can help stabilize your camera, especially in low-light conditions or when using slow shutter speeds. This can result in sharper images and more precise compositions.
6. Learn Post-Processing: Post-processing is an essential part of digital photography. Learn how to use software like Adobe Lightroom or Photoshop to enhance your images and bring your creative vision to life.
Turning off the auto filter on your camera can give you greater control over your photography, allowing you to create images that align with your creative vision. By understanding your camera settings and practicing essential photography techniques, you can take your skills to the next level. Remember, photography is an art form, and the best way to improve is through practice and experimentation. So, get out there, take some photos, and have fun exploring the endless possibilities of digital photography.














There are no comments for this blog.