How To Turn On Flip Video Camera?
In today's technology-driven world, capturing life's precious moments has never been easier, thanks to the plethora of digital recording devices available. Among these devices, the Flip Video Camera stands out for its simplicity, portability, and ease of use. Whether you're an amateur videographer or simply looking to document special occasions, this guide will provide thorough instructions on how to turn on and effectively use your Flip Video Camera. We'll also cover some practical tips and troubleshooting measures to ensure you make the most out of your device.
Understanding the Basics of Your Flip Video Camera
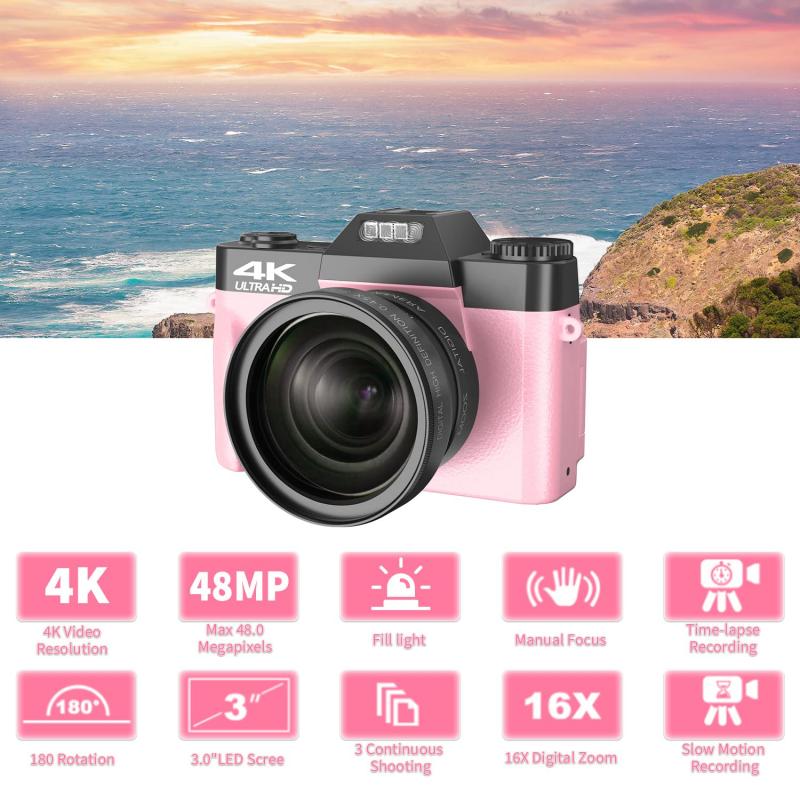
Before diving into the specifics of turning on your Flip Video Camera, it's crucial to familiarize yourself with its core components. The camera typically consists of the following parts:
1. Power Button: This is usually a physical button located either on the side or the back of the camera. Some models may feature a slide switch.
2. Record Button: Situated on the front, this button is used to start and stop video recording.
3. USB Arm: A unique feature of Flip Video Cameras is the built-in USB arm that flips out for direct connection to your computer.
4. Screen: A small LCD screen to view your recordings and navigate through the camera’s menu.
5. Lens: Positioned at the front, the lens is responsible for capturing the video.
Now that you understand the basic components, let's move on to the main topic: turning on your Flip Video Camera.
Step-by-Step Instructions to Turn On Your Flip Video Camera
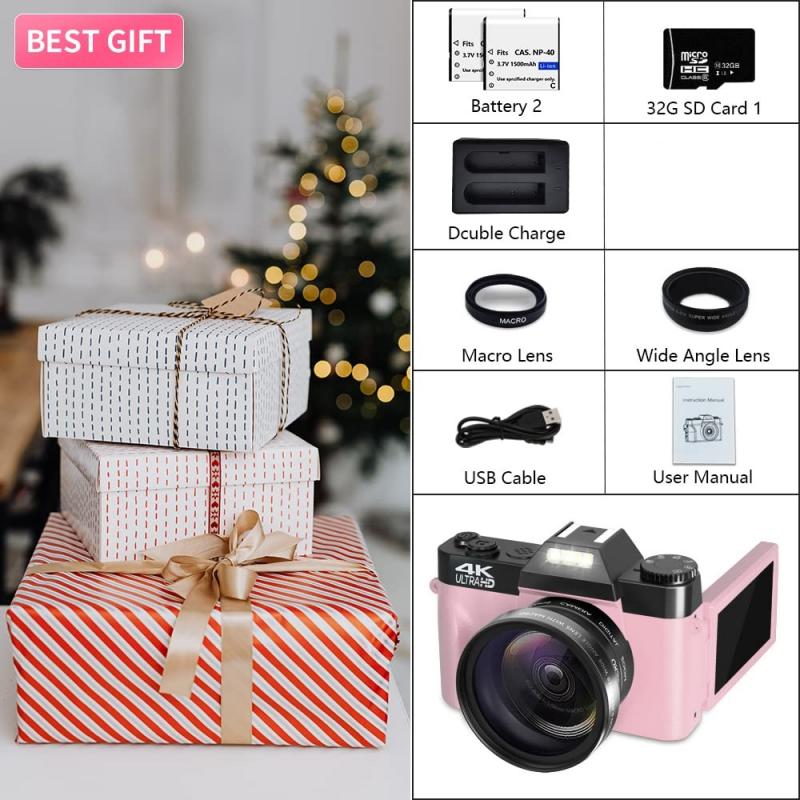
Step 1: Locate the Power Button
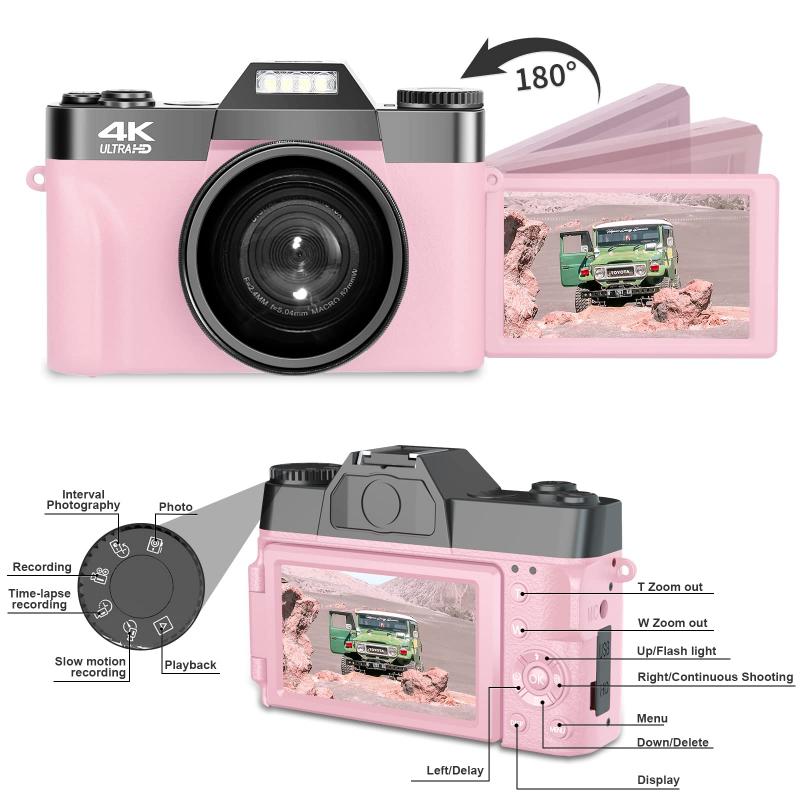
The power button is essential for turning on the Flip Video Camera. Depending on your model, it might be located on the side or back. It is usually marked with a power icon that looks like a circle with a vertical line through the top.
Step 2: Press the Power Button
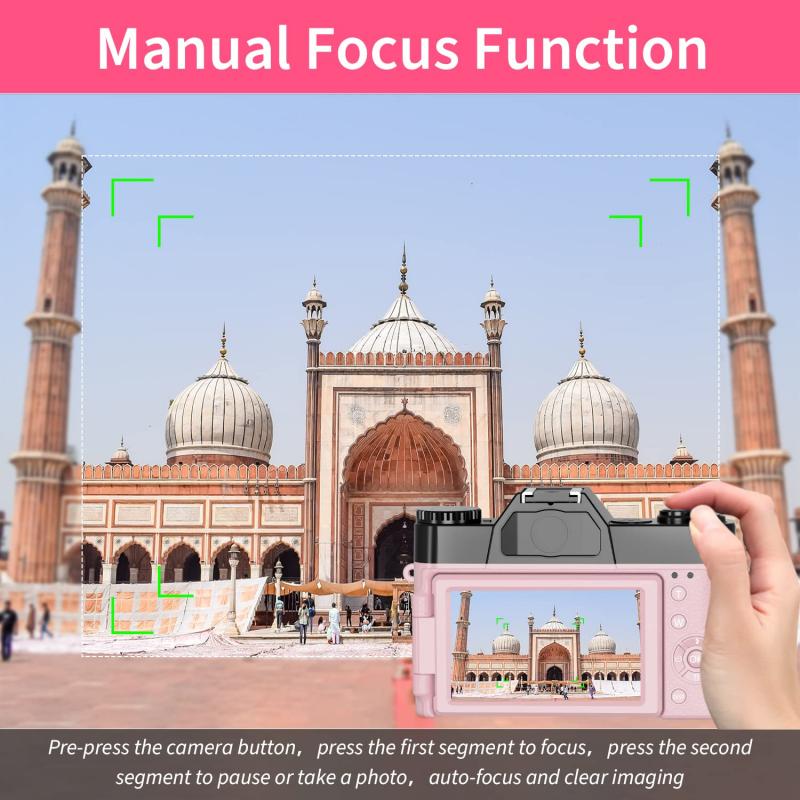
Once you’ve located the power button, press it down for about two seconds. You should see the screen light up, indicating that the camera is powering on.
Step 3: Wait for Initialization
The camera will take a moment to initialize. You’ll notice the startup screen, which may show the brand logo or a loading animation. Wait until this process is complete.
Step 4: Verify the Operational Status
When the camera is ready, you’ll see the main interface, which typically features options such as ‘Record,’ ‘Play,’ and ‘Settings.’ This indicates that your Flip Video Camera is successfully turned on and ready for use.
Practical Tips for Using Your Flip Video Camera
Battery Check
One of the most common issues users face is low battery life. Always check the battery status icon on your screen. If it’s running low, charge the device using the USB arm. Simply flip out the USB arm, connect it to your computer or a USB charger, and let it charge until it’s full.
Memory Capacity
Flip Video Cameras have a fixed internal memory. Keep an eye on the remaining storage space, especially if you plan to record longer videos. If you run out of memory, transfer your videos to a computer to free up space.
Adjusting Settings
Different lighting conditions require different settings for optimal video quality. Use the camera’s menu to adjust settings like exposure, frame rate, and resolution. Most models will have a simple menu system accessible via buttons around the screen.
Handling and Maintenance
Flip Video Cameras are designed for portability but should still be handled carefully. Always keep the lens clean, avoid exposing the camera to extreme temperatures, and store it in a protective case when not in use.
Troubleshooting Common Issues
Despite its user-friendly interface, you may occasionally encounter issues with your Flip Video Camera. Here are some common problems and their solutions:
Camera Won’t Turn On
- Check the Battery: Ensure the battery is fully charged.
- Reset the Device: Some models have a reset button that you can press with a pin.
- Professional Help: If none of these solutions work, consult the user manual or take your camera to a professional.
Screen Freezes
- Restart: Turn off the camera and turn it back on.
- Update Firmware: Ensure your camera’s firmware is up-to-date, which may involve connecting it to your computer.
Videos Not Playing Back
- Check Storage: Ensure there is sufficient memory space.
- Transfer Files: Move some videos to your computer to free up space.
- Format the Device: As a last resort, you may need to format the internal memory, but this will delete all existing videos.
Frequently Asked Questions (FAQs)
How do I know when the battery is fully charged?
Most Flip Video Cameras will have a charging indicator light. This light will either turn off or change color once the battery is fully charged.
Can I use an external microphone with my Flip Video Camera?
Most models do not support external microphones. The built-in microphone is typically sufficient for general use.
How do I transfer videos to my computer?
Using the flip-out USB arm, connect the camera to the computer. The device should be recognized automatically, and you can then copy and paste the videos from the camera’s storage to your desired location on the computer.
Is there a way to increase the storage capacity?
Unfortunately, Flip Video Cameras come with fixed internal storage. The best practice is to regularly transfer videos to a computer and delete them from the camera to free up space.
Turning on and using your Flip Video Camera is an easy process, but knowing the ins and outs of the device can significantly enhance your recording experience. By following the instructions and tips outlined in this guide, you can ensure that you capture high-quality videos whenever and wherever you need. Always remember to check the battery status, manage storage efficiently, and adjust settings according to your environment for the best results. Happy filming!
By adhering to this comprehensive guide, you'll be well-equipped to make the most out of your Flip Video Camera, ensuring that every shot you take is a memorable one.
















There are no comments for this blog.