
How To Turn On Smart Band Watch?
How to Turn On Your Smart Band Watch: A Step-by-Step Guide
Smart band watches are more than just fitness trackers—they are versatile, multifunctional devices that help you stay connected, track your health, monitor activity, and sometimes even manage your daily tasks. However, when you're setting up your new smart band for the first time, one of the first questions you might have is: *how do I turn it on?*
While each brand and model may have slightly different steps for powering on, the basic principles are generally the same. This article will walk you through the process of turning on a smart band watch, help you understand the initial setup, and give you tips for troubleshooting in case something goes wrong.
Step 1: Charge Your Smart Band
Before attempting to turn on your smart band, make sure it’s fully charged. Many people jump straight into trying to power up their devices only to find that the battery is dead, and they end up troubleshooting unnecessarily. Here’s how you can avoid this:
1. Connect the charger: Most smart bands come with a proprietary charger or a USB cable that connects directly to the band. The charging port is often located on the underside of the watch or at one end of the strap.
2. Plug it in: Use the included charger to connect your smart band to a power source (like a wall adapter or a USB port). Wait until the band shows charging status—this could be an indicator light, a battery icon on the screen, or a vibration.
3. Wait for a full charge: While some bands may turn on with just a little charge, it's a good idea to allow it to charge fully before using it. Most smart bands will take between 1 to 2 hours to charge completely, depending on the battery capacity and the charging method.
Step 2: Locate the Power Button or Gesture Area
Unlike traditional watches, most modern smart bands are powered on using touch or button controls. Here's a breakdown of how to locate and use the power switch or gesture function:
1. Power button: Some smart bands, especially those with physical buttons, may have a small button on the side of the device. This button can be used to turn the device on. Depending on the design of the band, it might be a tactile button or a capacitive button that requires a gentle touch.
2. Touchscreen wake-up: Many smart bands have a touchscreen interface and rely on touch gestures to wake up the device. If the band is off or the display is dark, simply tapping the screen once or holding it for a few seconds may activate it.
3. Gesture control: For bands that support gesture controls, you may be able to raise your wrist or shake the band to turn it on. This feature is commonly found in higher-end models that include motion sensors.
Step 3: Press and Hold (If Needed)

If your smart band doesn’t respond to a simple touch, you may need to press and hold the power button (if available). This method can help if the device is in a deep sleep mode or if it has been inactive for a while. A common sequence for turning on is:
1. Press and hold the power button for about 3–5 seconds.
2. Wait for the screen to light up, and you should see the brand logo or a welcome screen appear.
3. The band may also vibrate or give an audible sound as it powers on.
Step 4: Wait for the Boot-up Process
Once you’ve pressed and held the power button or tapped the screen, the smart band will begin its boot-up process. This might take a few seconds or longer, depending on the brand and model. During this time, the device is loading its operating system and preparing to show data like the time, battery percentage, and health metrics.
If your smart band is new, it might also show a setup guide or prompt you to pair it with your smartphone. You’ll need to follow these instructions to get started with syncing and configuration.
Step 5: Sync with Your Smartphone (Optional)
In most cases, your smart band needs to be paired with your smartphone to access all its features. Whether you need to download an app like *Fitbit*, *Mi Fit*, *Samsung Health*, or another proprietary app depends on the band’s brand. Here’s how you can pair your smart band:
1. Download the companion app: Go to your smartphone’s app store (Google Play for Android or the App Store for iOS) and download the app that’s designed for your specific smart band.
2. Open the app and create an account: If it's your first time using the app, you'll need to create an account or sign in.
3. Activate Bluetooth on your smartphone: Make sure Bluetooth is enabled on your phone before attempting to pair the devices.
4. Pair your devices: Open the app and follow the pairing instructions. Typically, this involves selecting your device from a list of nearby Bluetooth devices, entering a code (if required), and confirming the connection.
5. Complete the setup process: Once paired, you may be prompted to configure your health settings, sync data, and customize the watch face and notifications.
Step 6: Customize Your Smart Band Settings
Once your smart band is powered on and paired with your smartphone, you can begin personalizing the settings. Most devices allow you to customize various options, including:
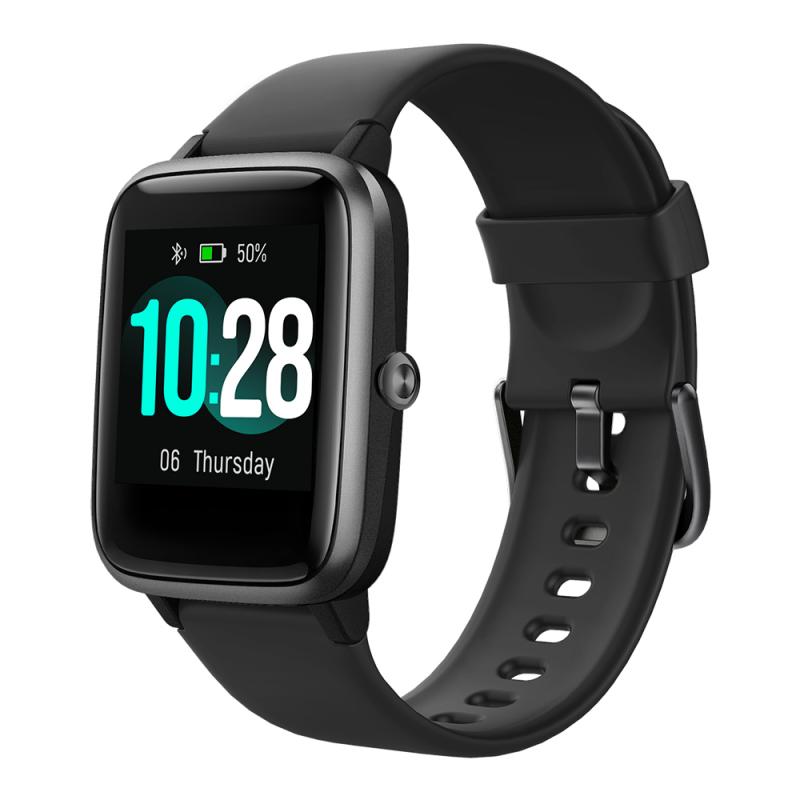
- Watch faces: Choose from a variety of pre-installed or downloadable watch faces to personalize your smart band’s display.
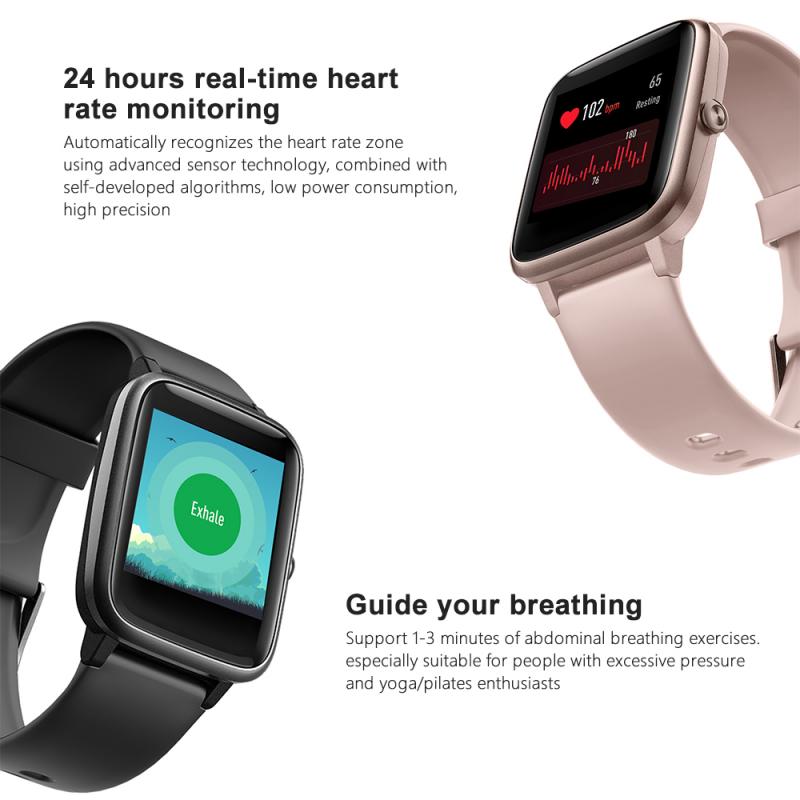
- Health settings: Set up heart rate monitoring, sleep tracking, and activity tracking preferences. You can adjust these settings based on your personal goals and preferences.
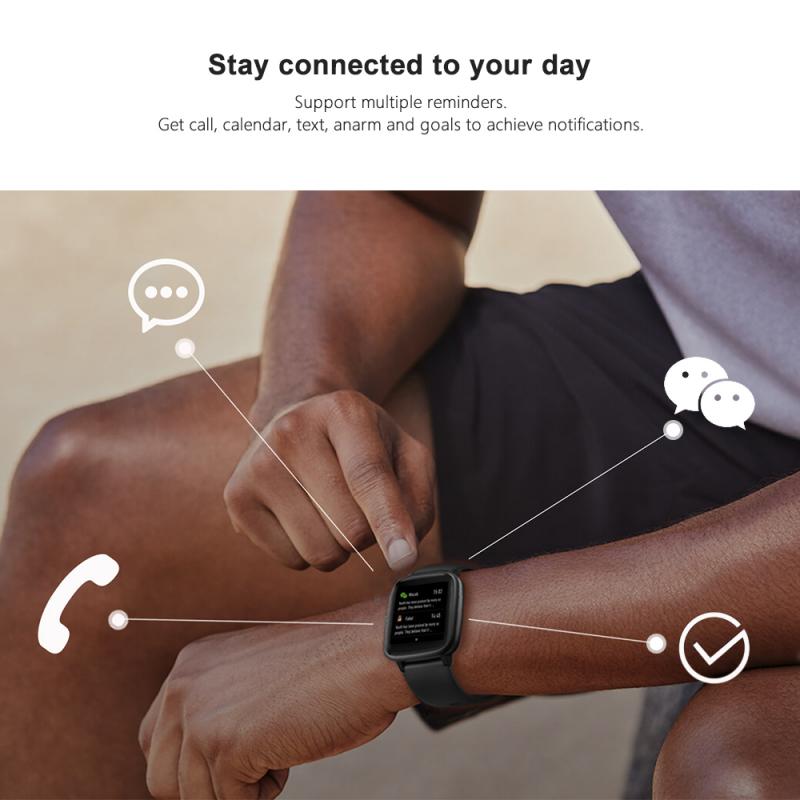
- Notifications: Configure which apps or notifications are allowed to display on your smart band. You can choose to receive text messages, app alerts, or even incoming call notifications.
- Activity tracking: Set up your fitness goals, such as steps, calories burned, or distance traveled. The band may track your physical activity automatically once the goals are set.
Troubleshooting Common Power-On Issues
If your smart band doesn’t turn on despite following the steps above, here are a few common problems and solutions to consider:
1. Low or no battery: Ensure that the device has been charged sufficiently. If it’s not charging, try using a different charging cable or adapter, or check for any damage to the charging port.
2. Frozen or unresponsive screen: If the device seems frozen during the boot-up process or is unresponsive to touch, try performing a reset. This may involve holding the power button for 10-15 seconds or using a dedicated reset option in the app.
3. Software issues: In some cases, software glitches can cause the band to remain unresponsive. Try restarting your phone and the smart band, or reinstalling the companion app.
4. Hardware failure: If none of the above solutions work, the smart band might have a hardware issue. In this case, it’s best to contact customer support or visit a service center for repairs.
Turning on and setting up your smart band may seem simple, but it can sometimes be tricky if you're not familiar with the process. By following the steps outlined above—ensuring your device is charged, pressing the power button (or using gestures), and syncing it with your phone—you should be able to get your smart band up and running without any problems.
Remember that every brand and model has its nuances, so always consult the user manual or the manufacturer's website for specific instructions. If you run into any issues, don’t hesitate to reach out to customer support for further assistance.
Smart bands are a fantastic tool for tracking fitness and staying connected on the go. Once you’ve successfully powered up your device, you can begin enjoying all the features it offers, from health monitoring to notifications and more.


")


 Optical Glass Ultra-clear Waterproof Anti-Scratch Anti-Reflection Green Film Nano-X Series")


*1+Vacuum Cleaning Cloth*2+Digital Camera Anti-lost String*1, 4 in 1 Set")


