How To Use A 3 Stop Nd Filter?
Neutral Density (ND) filters are indispensable tools for photographers. They allow for greater control over exposure and depth of field, particularly in challenging lighting conditions. Among the various ND filters available, the 3 Stop ND filter is one of the most popular due to its versatility and ease of use. In this article, we will delve into the nuances of using a 3 Stop ND filter, its benefits, and practical tips to enhance your photography skills.
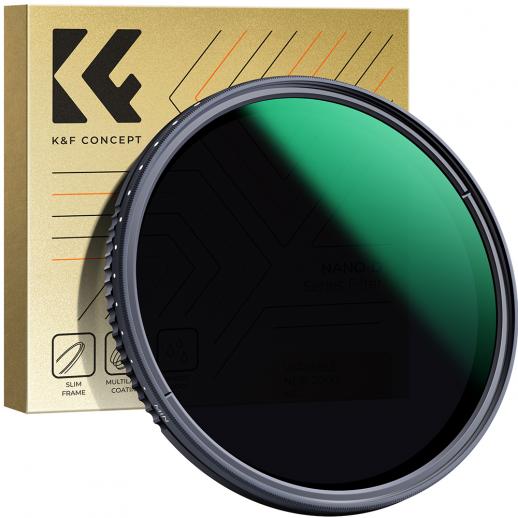
What is a 3 Stop ND Filter?
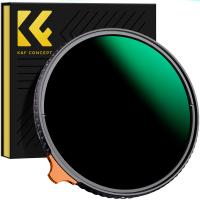
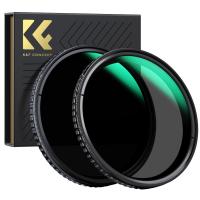
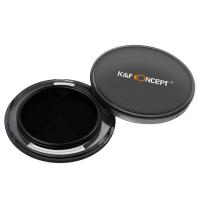
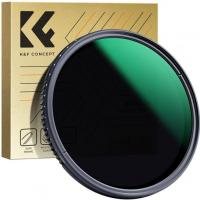
An ND filter reduces the amount of light entering the camera lens without affecting the color of the image. Specifically, a 3 Stop ND filter decreases the light by three stops, which means it allows only 1/8th of the light to pass through (since a stop decrease cuts the light in half). This reduction permits the photographer to use slower shutter speeds, wider apertures, or higher ISOs without overexposing the image.
Why Use a 3 Stop ND Filter?
A 3 Stop ND filter can be incredibly useful in a variety of scenarios, such as:
1. Achieving Motion Blur: Slower shutter speeds to create a sense of motion in waterfalls, rivers, or moving clouds.
2. Wide Aperture Control: Using wide apertures (small f-numbers) in bright conditions to achieve a shallow depth of field.
3. Balancing Exposure: Reducing light for balanced exposure in extremely bright scenes.
Steps to Use a 3 Stop ND Filter
1. Select the Appropriate Filter and Gear:
- Ensure you have the correct filter size for your lens. Popular sizes include 52mm, 58mm, 67mm, 72mm, and 77mm.
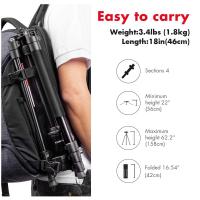
- A tripod is often necessary for stability when using slower shutter speeds.
2. Plan and Compose Your Shot:
- Determine the scene and the desired effect. For instance, if you want to capture silky smooth water, you'll need a slower shutter speed.
- Compose your image without the filter first to make focusing easier.
3. Calculate the Exposure:
- Set your camera to manual mode, and take a test shot for proper exposure without the ND filter.
- Note the exposure settings (shutter speed, aperture, and ISO).
4. Attach the ND Filter:
- Carefully screw the ND filter onto the front of the lens.
- Ensure it's securely attached to avoid any light leaks and vignetting.
5. Adjust Your Exposure Settings:
- Since a 3 Stop ND filter reduces the light by three stops, you need to adjust your settings accordingly.
- If your original shutter speed was 1/200s without the filter, reduce it by three stops (1/25s) to maintain the same exposure.
- Alternatively, you can adjust the aperture or ISO if you prefer.
6. Take the Shot:
- With the ND filter in place and settings adjusted, take your shot.
- Review the image on your camera's LCD to ensure proper exposure and desired effect.
- Make any further adjustments if necessary.
Practical Tips for Using a 3 Stop ND Filter
1. Use a Remote Shutter Release:
- To avoid camera shake, especially with longer exposures, use a remote shutter release or the camera's built-in timer.
2. Disable Image Stabilization:
- When using a tripod, turn off the image stabilization feature on your lens or camera to prevent it from causing blur.
3. Manually Focus Before Attaching the Filter:
- Autofocus might struggle with the reduced light through an ND filter. Manually focus the scene before attaching the filter to avoid issues.
4. Bracket Your Exposures:
- Take multiple shots with slight exposure variations to ensure you capture the best possible image.
5. Combine with Other Filters:
- For creative effects, consider combining your 3 Stop ND filter with a polarizer or graduated ND filter.
Creative Uses of a 3 Stop ND Filter
Long Exposure Landscapes:
- One of the most common uses of a 3 Stop ND filter is capturing long exposures during the day. For example, smoothing out water in seascapes or lakes, or creating a sense of motion in clouds.
Portraits in Bright Light:
- Using a wide aperture for a shallow depth of field often results in overexposure in bright conditions. A 3 Stop ND filter mitigates this by reducing the light, allowing for beautiful, bokeh-rich portraits.
Urban Photography:
- In bustling cities, use an ND filter to slow your shutter speed, adding a dynamic, lively effect while softening the movement of pedestrians and vehicles.
Astrophotography:
- While not a common tool for night sky photography by itself, an ND filter can be layered with other techniques to balance exposures of various light sources.
Common Mistakes and How to Avoid Them
1. Over/Underexposing:
- Carefully calculate your exposure changes. Utilize your histogram to ensure the exposure is accurate.
2. Ignoring Lens Flare:
- ND filters can sometimes cause increased lens flare, particularly when shooting into bright light. Use a lens hood and position yourself thoughtfully to minimize it.
3. Vignetting:
- Ensure the ND filter is compatible with your lens to avoid vignetting, particularly on wide-angle lenses.
4. Not Reviewing Images:
- Always check your images for sharpness and exposure on the camera's LCD screen, especially when working in tricky lighting conditions.
A 3 Stop ND filter is a valuable addition to any photographer’s toolkit, offering a balanced reduction of light that unlocks a range of creative possibilities. Whether you aim to capture the serene flow of a river, create stunning portraiture, or explore urban landscapes’ dynamic energy, mastering the use of this filter will significantly enhance your photographic capabilities. By carefully planning, adjusting your settings, and utilizing the practical tips provided, you can achieve beautifully controlled and artistically profound images. So, next time you step out with your camera, consider taking along your 3 Stop ND filter and experiment with the infinite creative opportunities it presents.










There are no comments for this blog.