How To Use Camera Flash Effectively?
Mastering the Art of Using Camera Flash Effectively
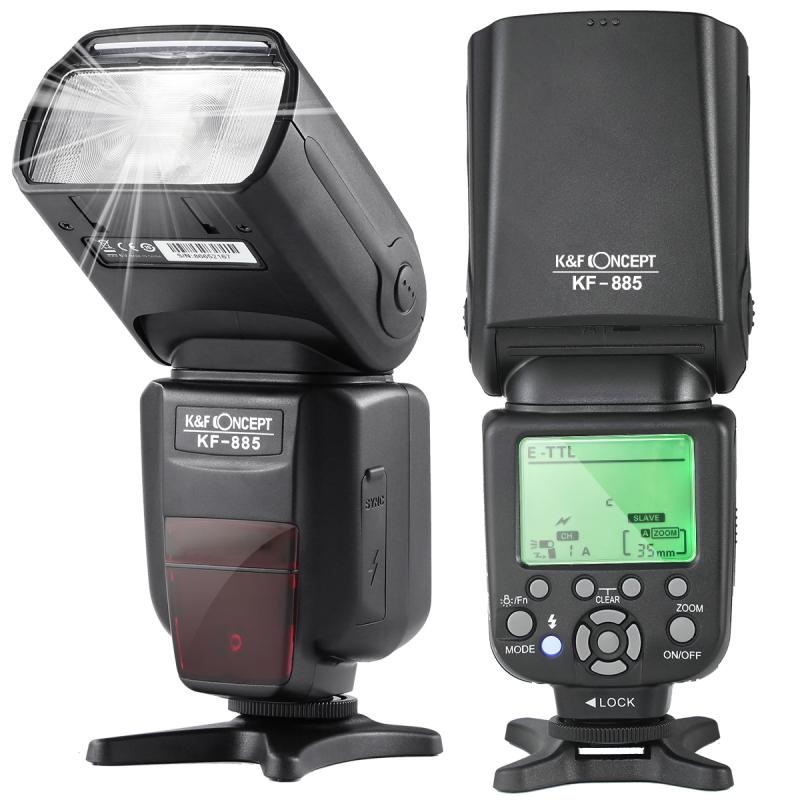
Photography, at its core, is about capturing light, and sometimes natural light simply doesn’t suffice. Camera flash—when used effectively—can transform ordinary photographs into stunning pieces of art. However, improper use of flash can also lead to harsh shadows, overexposed subjects, and an unnatural appearance. To truly master your craft, understanding the nuances of camera flash is critical. In this article, we’ll delve into the ultimate techniques, tips, and strategies to help photographers—whether beginners or professionals—make the most of camera flash in diverse scenarios.
---
Why Use Flash in Photography?
Before diving into techniques, it’s essential to understand why and when to use flash. Flash is often seen as a tool for low-light conditions, but its versatility extends far beyond. Here are some practical scenarios where flash can enhance your photography:
1. Low-Light Environments: When ambient light is insufficient, flash illuminates the subject effectively.
2. Fill Flash in Daylight: On bright, sunny days, harsh shadows can obscure facial features. Flash helps balance these contrasts.
3. Freezing Motion: High-speed subjects or action shots benefit from the quick burst of light to freeze motion.
4. Creating Drama: Flash can emphasize texture and create dramatic effects by controlling the direction and intensity of light.
While flash is powerful, using it indiscriminately can lead to unnatural results. The key lies in controlling the light to complement the scene rather than overpower it.
---
Essential Types of Camera Flash
To use flash effectively, it’s crucial to understand the types available and their applications:
1. Built-in Flash: Found on most cameras, this type is convenient but often too harsh and direct. It’s best suited for casual or emergency use.
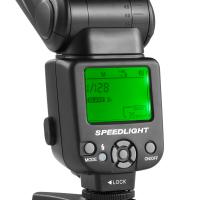
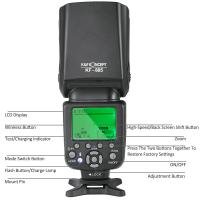
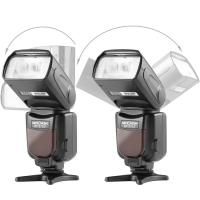
2. External Flash (Speedlight): A detachable unit offering greater control over light direction, intensity, and bounce angles.
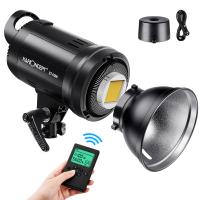
3. Studio Strobes: Designed for controlled environments, these powerful flashes are used in portrait, fashion, and product photography.
4. Continuous Light vs. Flash: While continuous lighting has its place, flash provides a burst of intense light, ideal for capturing dynamic moments.
---
Key Techniques for Using Camera Flash Effectively
1. Bounce Flash for Softer Light
Direct flash often leads to harsh, unflattering results. By bouncing the flash off ceilings, walls, or reflectors, you can diffuse the light and achieve a more natural appearance. To do this:
- Tilt the flash head upward or sideways to reflect light off a neutral surface.
- Use bounce cards or white foam to control the light spill.
2. Diffusers to Reduce Harshness
A flash diffuser softens the light, reducing harsh shadows and producing a more even illumination. Options include:
- Built-in plastic diffusers for speedlights.
- Portable softboxes for larger, professional setups.
- DIY solutions like translucent paper or cloth.
3. Control Flash Power (TTL and Manual Modes)
Modern flashes offer TTL (Through The Lens) mode, where the camera automatically adjusts the flash output. While convenient, manual flash settings provide greater creative control. In manual mode:
- Start at 1/4 or 1/8 flash power and adjust based on the scene’s needs.
- Use a light meter or trial-and-error to balance the flash intensity with ambient light.
4. Balancing Flash and Ambient Light
Effective flash photography isn’t just about overpowering natural light—it’s about blending the two harmoniously. Achieve this by:
- Adjusting shutter speed to control ambient light exposure.
- Modifying the flash intensity to illuminate the subject without overexposure.
- Using a slower shutter speed (dragging the shutter) to incorporate more background detail.
5. Off-Camera Flash for Creative Angles
Removing the flash from your camera opens up endless creative possibilities. Off-camera flash allows you to experiment with side, back, or top lighting, adding depth and drama to your shots. Tools like wireless triggers or sync cables are essential for this technique.
6. Using Flash Gels for Color Effects
Flash gels are thin, colored sheets placed over the flash to modify the light’s color temperature. Use them to:
- Match the flash color with ambient light (e.g., tungsten or fluorescent).
- Create artistic effects by adding vibrant colors to the scene.
---
Practical Scenarios and Flash Techniques
1. Portrait Photography
In portraiture, the flash’s primary goal is to flatter the subject while maintaining natural light aesthetics. Techniques include:
- Using a diffuser or bouncing the flash to eliminate harsh shadows.
- Employing off-camera flash for Rembrandt lighting, which creates a triangle of light on one cheek.
- Adding a catchlight in the subject’s eyes for liveliness.
2. Event Photography
Flash is indispensable for weddings, parties, and other events, where lighting conditions vary widely. Tips for success:
- Use bounce flash to prevent direct light from washing out faces.
- Opt for high-speed sync to shoot with wide apertures, ensuring a shallow depth of field even in bright environments.
- Carry extra batteries for your flash unit, as events demand frequent use.
3. Product Photography
For product photography, precision is paramount. Here’s how flash can help:
- Use softboxes or umbrellas to create even lighting without reflections.
- Position the flash to eliminate glare on shiny surfaces.
- Experiment with multiple light sources to highlight product features.
4. Macro Photography
Close-up shots often suffer from insufficient light due to the lens’s proximity to the subject. Flash solves this by:
- Using ring flashes for even lighting around the subject.
- Employing diffused light to avoid hotspots or harsh reflections.
---
Common Mistakes and How to Avoid Them
1. Overexposure
Overpowering the scene with excessive flash results in blown-out highlights. To avoid this:
- Reduce the flash output or use a diffuser.
- Maintain an appropriate distance between the flash and the subject.
2. Red-Eye Effect
Red-eye occurs when the flash reflects off the retina. Prevent this by:
- Using an external flash at an angle rather than head-on.
- Enabling the camera’s red-eye reduction mode.
3. Unbalanced Lighting
Flash that doesn’t match the ambient light can look unnatural. Use gels or adjust your flash settings to harmonize the two light sources.
4. Ignoring Flash Recycle Time
Firing the flash too quickly can result in underexposed images. Allow your flash to fully recharge or use external battery packs for faster recycling.
---
Post-Processing Tips for Flash Photography
Even with perfect technique, post-processing can enhance your flash photos further. Here are some tips:
- Adjust Exposure and Contrast: Fine-tune highlights and shadows to achieve a balanced look.
- Remove Flash Glare: Use tools like spot healing or clone stamping in software like Photoshop.
- Enhance Skin Tones: Smooth out harsh transitions caused by flash to make portraits more appealing.
---
When Not to Use Flash
While flash is an essential tool, knowing when *not* to use it is equally important. Flash can be intrusive in certain settings (e.g., wildlife photography) or unnecessary when natural light is already perfect. Mastering flash doesn’t mean you should rely on it; it means understanding when it’s the ultimate solution versus when it’s best to let natural light take center stage.
---
Conclusion
Using camera flash effectively is both an art and a science. By understanding its capabilities, mastering its settings, and applying creative techniques, you can elevate your photography to new heights. Whether you’re capturing a moment in a dimly lit venue, creating artistic portraits, or experimenting with color effects, the possibilities with flash are endless. Practice, experiment, and refine your skills, and you’ll soon wield your flash like a pro, capturing images that not only look natural but also leave a lasting impression.















There are no comments for this blog.