How To Use Camera Flash?
Understanding and Mastering Camera Flash: A Comprehensive Guide
Photography is an art that relies heavily on light. Whether you are a professional photographer or an enthusiastic hobbyist, mastering the use of camera flash can significantly enhance the quality of your photos. This guide aims to provide a detailed understanding of how to use camera flash effectively, addressing common user demands and practical problems.
Understanding Camera Flash
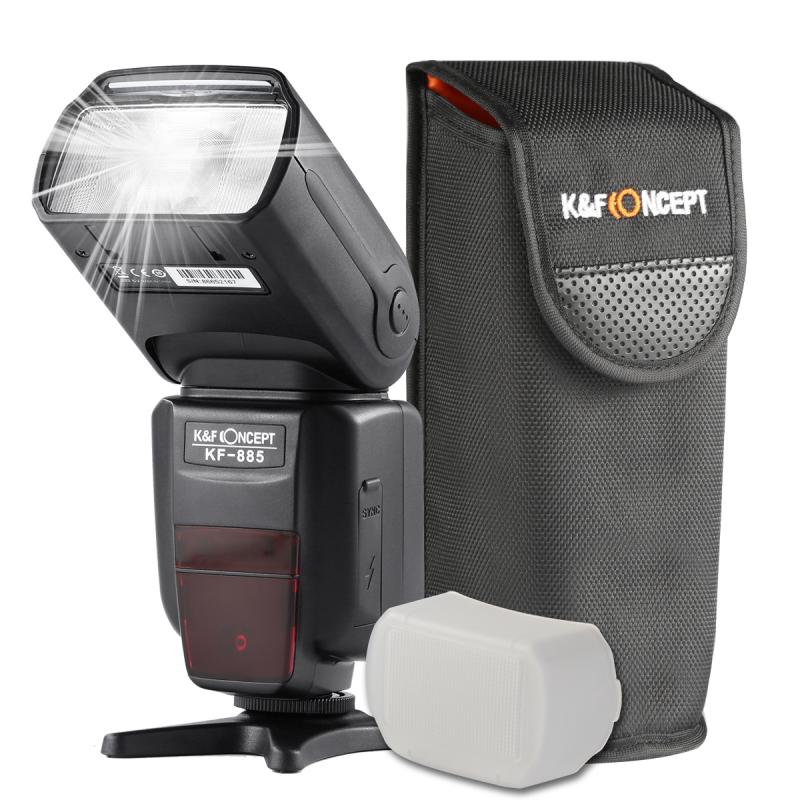
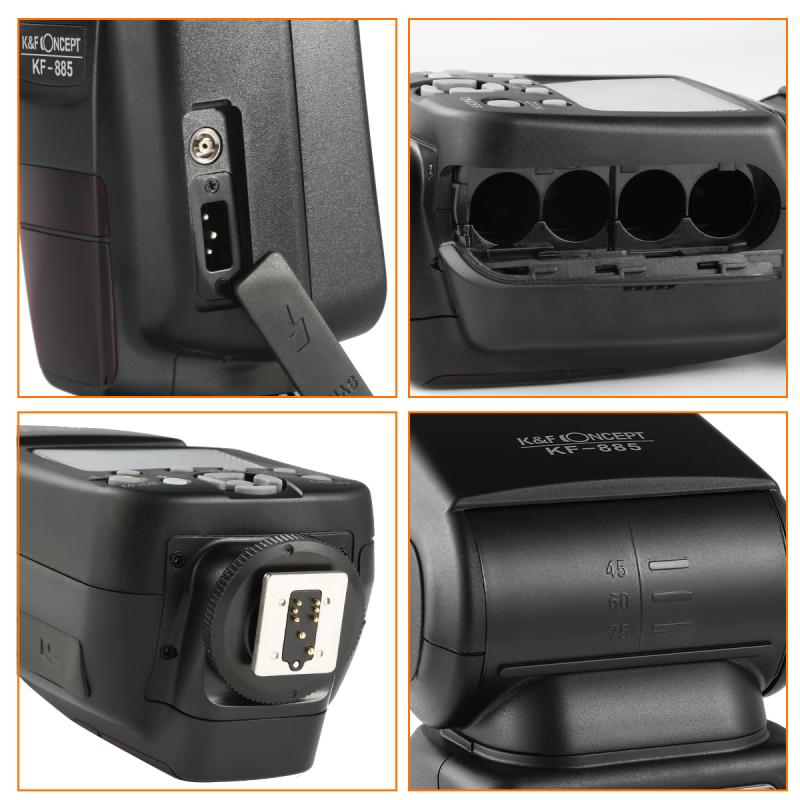
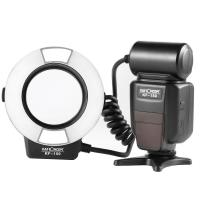
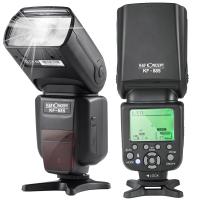
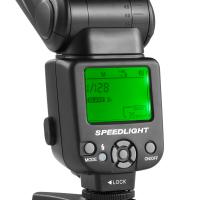
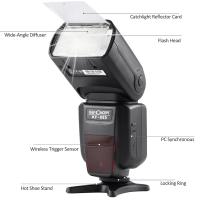
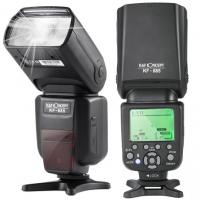
Camera flash is a burst of artificial light used to illuminate a scene. It is particularly useful in low-light conditions or when you need to eliminate shadows. There are two main types of camera flash: built-in (or pop-up) flash and external flash. Built-in flash is integrated into the camera, while external flash units, also known as speedlights, are attached to the camera's hot shoe.
When to Use Camera Flash
1. Low-Light Conditions: The most obvious use of flash is in low-light environments where natural light is insufficient. Flash can help illuminate the subject and bring out details that would otherwise be lost.
2. Fill Flash: In bright conditions, flash can be used to fill in shadows, especially in portrait photography. This technique, known as fill flash, helps to balance the exposure and reduce harsh shadows.
3. Backlighting: When the subject is backlit, using flash can help to illuminate the front of the subject, ensuring that it is not underexposed.
4. Freezing Motion: Flash can be used to freeze motion in fast-moving scenes, such as sports or wildlife photography. The brief burst of light can capture a sharp image of a moving subject.
Types of Flash Modes
1. Auto Flash: The camera decides when to use flash based on the lighting conditions. This mode is convenient for beginners but may not always produce the desired results.
2. Manual Flash: The photographer has full control over the flash settings, including the intensity and duration of the flash. This mode is ideal for experienced photographers who want precise control.
3. Red-Eye Reduction: This mode emits a pre-flash before the main flash to reduce the red-eye effect caused by the reflection of the flash in the subject's eyes.
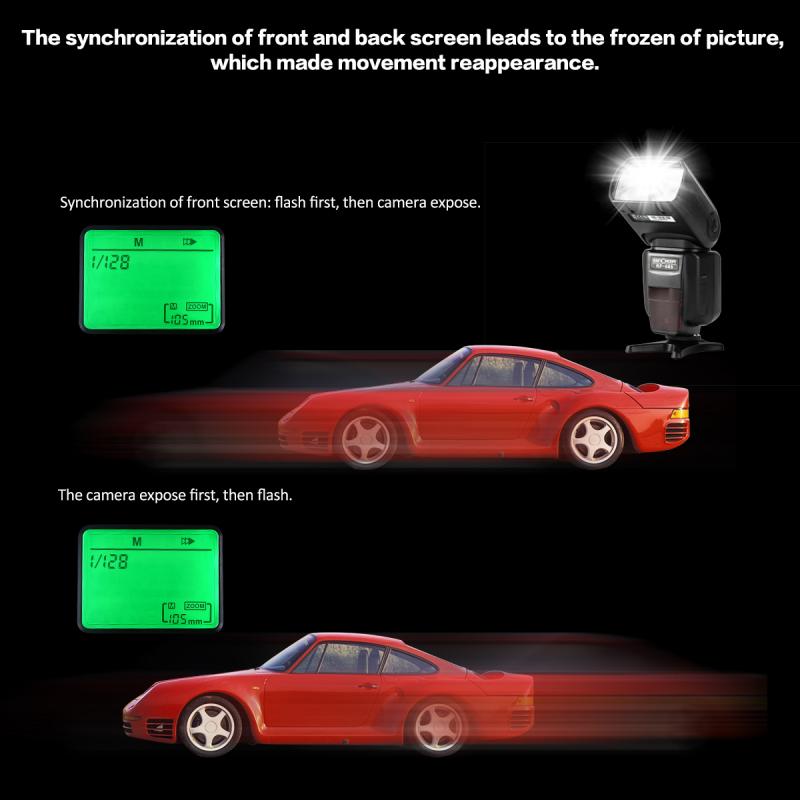
4. Slow Sync Flash: This mode combines a slow shutter speed with flash, allowing more ambient light to enter the camera. It is useful for capturing both the subject and the background in low-light conditions.
5. Rear Curtain Sync: The flash fires at the end of the exposure, rather than at the beginning. This mode is useful for creating motion blur effects behind a sharply focused subject.
Techniques for Using Camera Flash
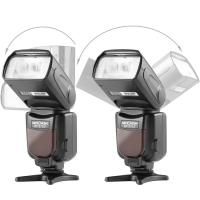
1. Bouncing Flash: Instead of pointing the flash directly at the subject, you can bounce it off a ceiling or wall. This technique diffuses the light, creating a softer and more natural look.
2. Diffusing Flash: Using a diffuser, such as a softbox or a piece of translucent material, can soften the harsh light from the flash. This technique is particularly useful for portrait photography.
3. Off-Camera Flash: By using a wireless trigger or a sync cord, you can position the flash away from the camera. This technique allows for more creative lighting setups and can help to create depth and dimension in your photos.
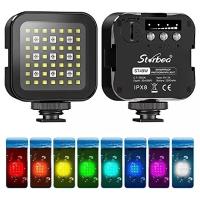
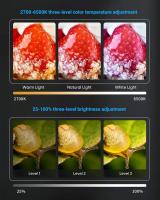
4. Using Flash Gels: Flash gels are colored filters that can be placed over the flash to change the color of the light. They are useful for creating mood and atmosphere or for balancing the color temperature of the flash with ambient light.
Practical Tips for Using Camera Flash
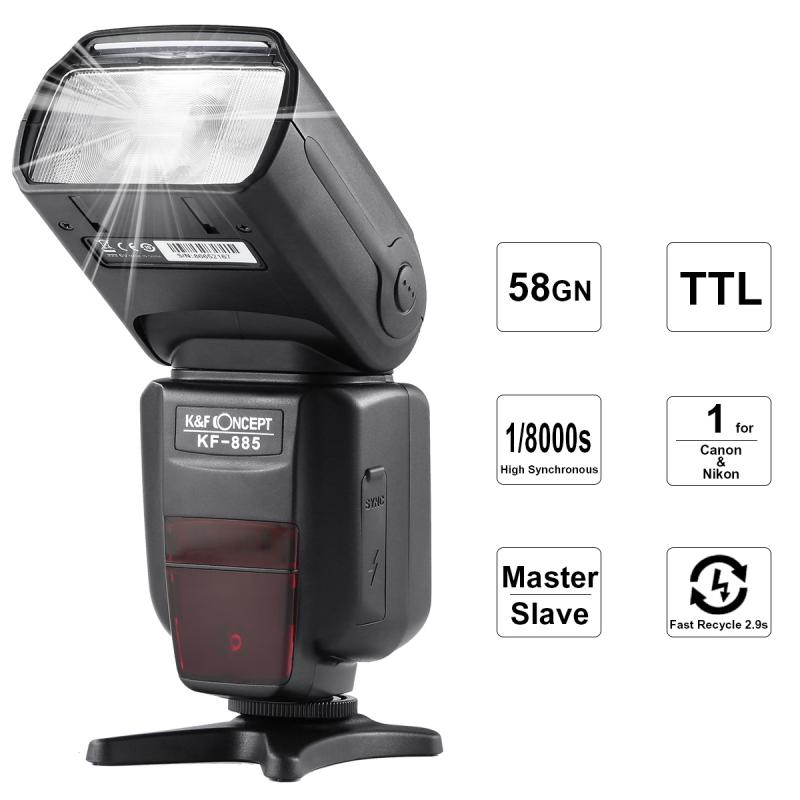
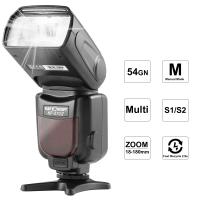
1. Understand Flash Power: Flash power is measured in terms of guide numbers (GN). A higher GN indicates a more powerful flash. Understanding the power of your flash will help you determine the appropriate settings for different lighting conditions.
2. Use Flash Compensation: Most cameras allow you to adjust the flash output using flash compensation. This feature lets you increase or decrease the flash intensity to achieve the desired exposure.
3. Consider Flash Recycling Time: Flash recycling time is the time it takes for the flash to recharge between shots. A shorter recycling time allows for faster shooting, which is important in fast-paced environments.
4. Avoid Overexposure: Flash can easily cause overexposure, especially in close-up shots. To avoid this, use a lower flash power or increase the distance between the flash and the subject.
5. Experiment with Angles: The angle at which you position the flash can have a significant impact on the final image. Experiment with different angles to see how they affect the lighting and shadows.
Common Problems and Solutions
1. Red-Eye Effect: Despite using red-eye reduction mode, you may still encounter red-eye in your photos. To minimize this, ask your subject to look slightly away from the camera or increase the ambient light in the room.
2. Harsh Shadows: Direct flash can create harsh shadows, especially in portrait photography. To soften the shadows, use a diffuser or bounce the flash off a nearby surface.
3. Uneven Lighting: If your photos have uneven lighting, try using multiple flash units or reflectors to balance the light. Off-camera flash can also help to create more even lighting.
4. Flash Reflections: Flash can cause unwanted reflections, particularly on shiny surfaces. To reduce reflections, change the angle of the flash or use a polarizing filter.
5. Underexposed Backgrounds: When using flash, the background can sometimes appear underexposed. To avoid this, use slow sync flash or increase the ISO setting on your camera.
Mastering the use of camera flash is an essential skill for any photographer. By understanding the different types of flash, when to use them, and various techniques for manipulating flash, you can significantly improve the quality of your photos. Remember to experiment with different settings and techniques to find what works best for your specific needs. With practice and patience, you will be able to harness the power of flash to create stunning and well-lit images.


![4K Digital Camera for Photography & Video [Autofocus and Stabilisation] 48MP 16X Digital Zoom 3” 180° Flip Screen Vlog Camera with 32G SD Card, Flash 4K Digital Camera for Photography & Video [Autofocus and Stabilisation] 48MP 16X Digital Zoom 3” 180° Flip Screen Vlog Camera with 32G SD Card, Flash](https://img.kentfaith.com/cache/catalog/products/us/GW41.0065/GW41.0065-1-200x200.jpg)







There are no comments for this blog.