How To Use Condenser Microphone?
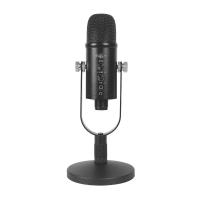
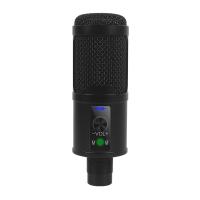
Microphones come in various forms, but condenser microphones are particularly popular due to their sensitivity and natural sound reproduction. Whether you’re a singer, podcaster, voice-over artist, or audio engineer, understanding how to properly use a condenser microphone can elevate your recordings significantly. This guide will explore everything you need to know, from setup to troubleshooting potential issues.
What is a Condenser Microphone?
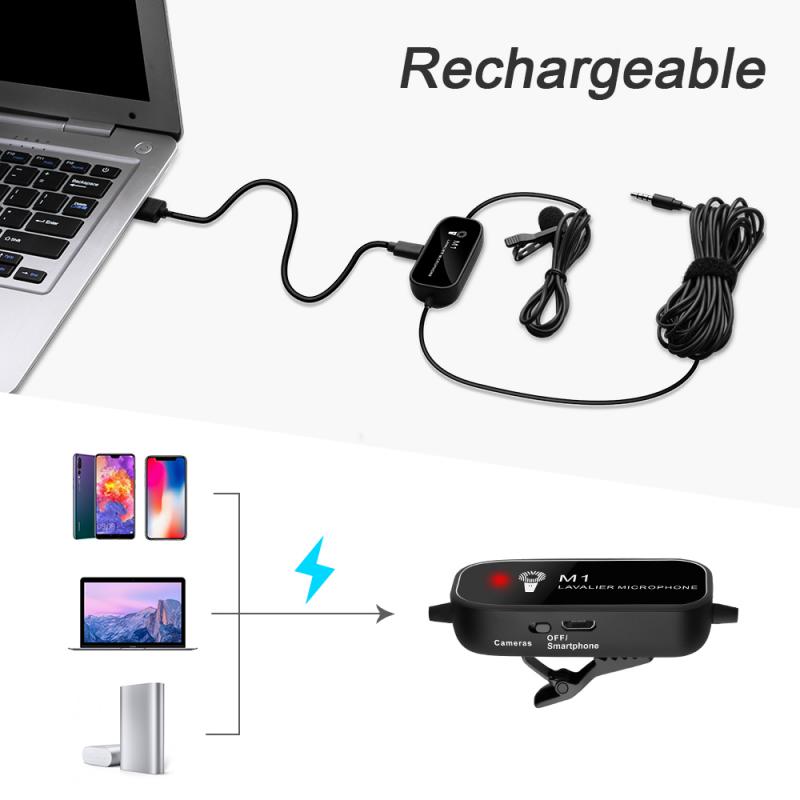
Condenser microphones operate using a capacitor to convert acoustical energy into electrical energy. They comprise two plates: one that is movable (the diaphragm) and the other that is fixed. When sound waves strike the diaphragm, the distance between the two plates changes, resulting in a change in capacitance. This variance is converted into an audio signal.
Understanding User Demand for Condenser Microphones
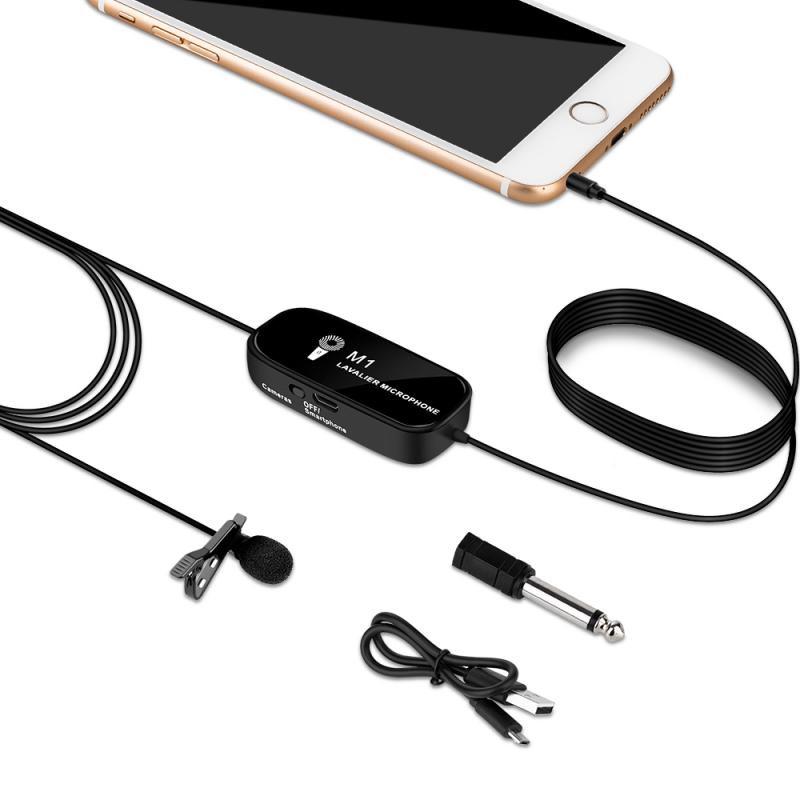
Before diving into the usage, it’s important to understand why people choose condenser microphones over other types. Individuals might seek better sound quality for music recording, clarity for podcasts, or authenticity in voice-overs. Knowing your specific needs will guide you in making the best use of this device.
Step-by-Step Guide on Using a Condenser Microphone
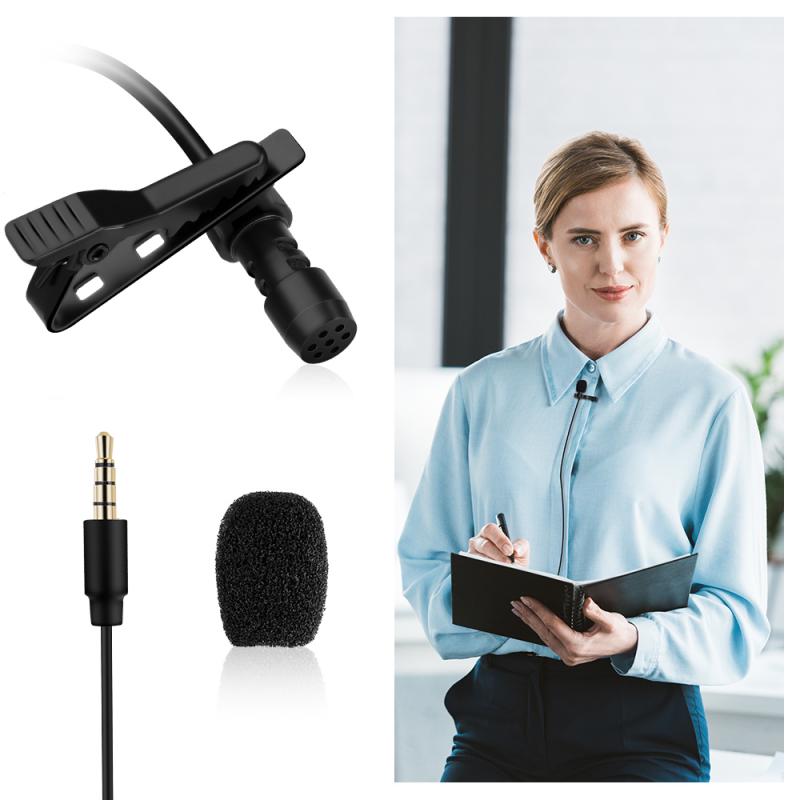
1. Selecting the Right Microphone
Choosing the right condenser microphone depends on your purpose:
- Vocals: Look for models offering a wide frequency response and a cardioid or super-cardioid polar pattern.
- Instruments: For acoustic instruments, consider small diaphragm condensers that capture high-frequency details better.
- Room Ambiance: Omni-directional condensers can capture the natural ambiance of a room.
2. Setting Up Your Equipment
- Phantom Power: Condenser microphones require an external power source, commonly known as phantom power. Most modern audio interfaces and mixers supply 48V phantom power through XLR cables.
- Shock Mount and Pop Filter: Use a shock mount to reduce vibrations and a pop filter to minimize plosive sounds.
- Positioning: Place the microphone at an appropriate distance from the sound source. For vocals, 6-12 inches away from the mic is ideal. Adjustments can be made based on the style and requirements of your recording.
3. Environment Optimization
- Room Acoustics: Condenser microphones are sensitive to the environment. Recording in a treated room with absorptive panels and bass traps will reduce unwanted reflections and ambient noise.
- Microphone Isolation: Use isolation shields or booths to limit background noise.
4. Audio Interface and Software
- Compatibility: Ensure your audio interface is compatible with your condenser microphone. Some USB-based condensers may not require extra hardware, but for XLR condensers, an audio interface is essential.
- DAW Settings: Set up your Digital Audio Workstation (DAW) for the optimal recording environment. Monitor your levels and ensure the input isn’t clipping.
5. Recording Techniques
- Proximity Effect: Being too close to the microphone can result in an emphasized bass response. Adjust your distance accordingly to balance the proximity effect.
- Off-Axis Rejection: Know the polar pattern of your microphone and position it to take full advantage of its off-axis rejection, reducing unwanted noise from other directions.
- Gain Staging: Properly set the gain on your audio interface to prevent distortion while capturing a strong signal.
6. Maintenance and Troubleshooting
- Regular Cleaning: Dust and moisture can affect the diaphragm of a condenser microphone. Use a soft, dry cloth for cleaning and store your mic in its case when not in use.
- Humidity Control: Moist environments can damage the components of a condenser microphone. Keep silica gel packets in your storage case to absorb excess moisture.
- Troubleshooting Issues: If you encounter problems like no signal or excessive noise, check connections, ensure phantom power is on, and assess the environment for potential interference.
Best Practices and Tips
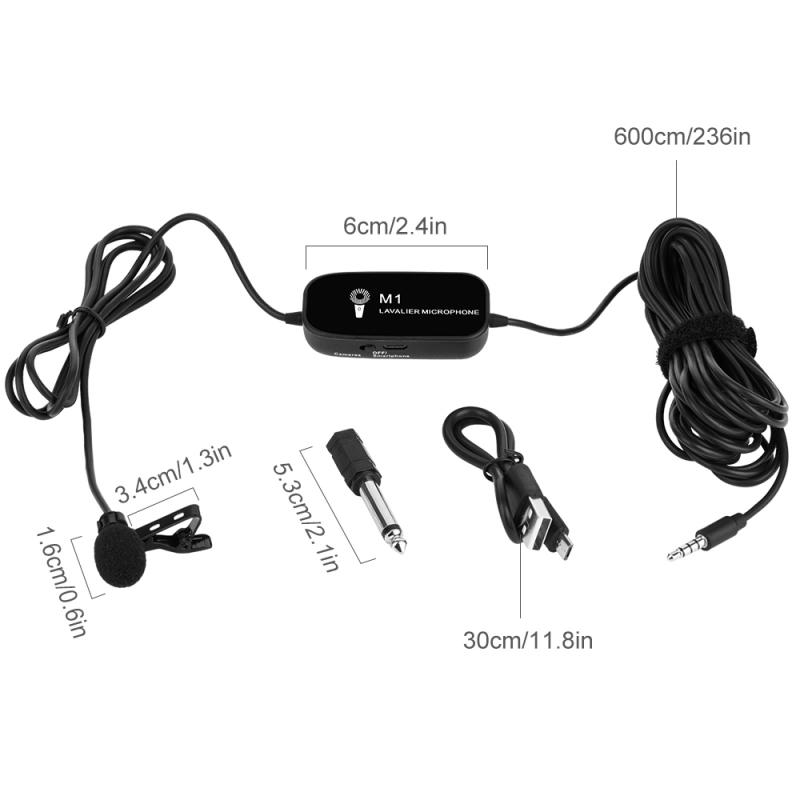
Finding Your Sound
Experiment with different microphone placements and room setups to find what works best for your specific application. Every environment and recording subject is unique, so continuously refine your techniques.
Using Accessories Wisely
- Pop Filters and Windscreens: These accessories are crucial for reducing plosives and sibilance, ensuring clearer recordings.
- Pre-Amplifiers: High-quality preamps can enhance your microphone’s sound quality, adding warmth and character to your recordings.
Common Errors and How to Avoid Them
Overloading the Microphone
Too much volume can cause distortion. Always keep an eye on your levels and adjust the gain appropriately.
Ignoring Room Acoustics
Poor room acoustics can muddy your recordings. Invest time and resources into acoustic treatment for better sound.
Incorrect Phantom Power Usage
Ensure that your microphone requires phantom power and that it is properly supplied. Double-check connections if you’re unsure.
Using a condenser microphone effectively involves several steps, from choosing the right model to setting up your environment and refining your recording techniques. By carefully considering each aspect discussed, you can make the most out of your condenser microphone, ensuring high-quality recordings that stand out.
Whether you’re a professional or an amateur enthusiast, the principles outlined in this guide will provide a strong foundation. Happy recording!













There are no comments for this blog.