How To Use Dslr Lens Filters?
Using DSLR lens filters can significantly enhance your photography by allowing you to control light, reduce glare, and add creative effects. Understanding the different types of filters and how to use them effectively can elevate your photography skills. In this article, we will explore the various types of DSLR lens filters, their specific uses, and practical tips for incorporating them into your photography workflow.
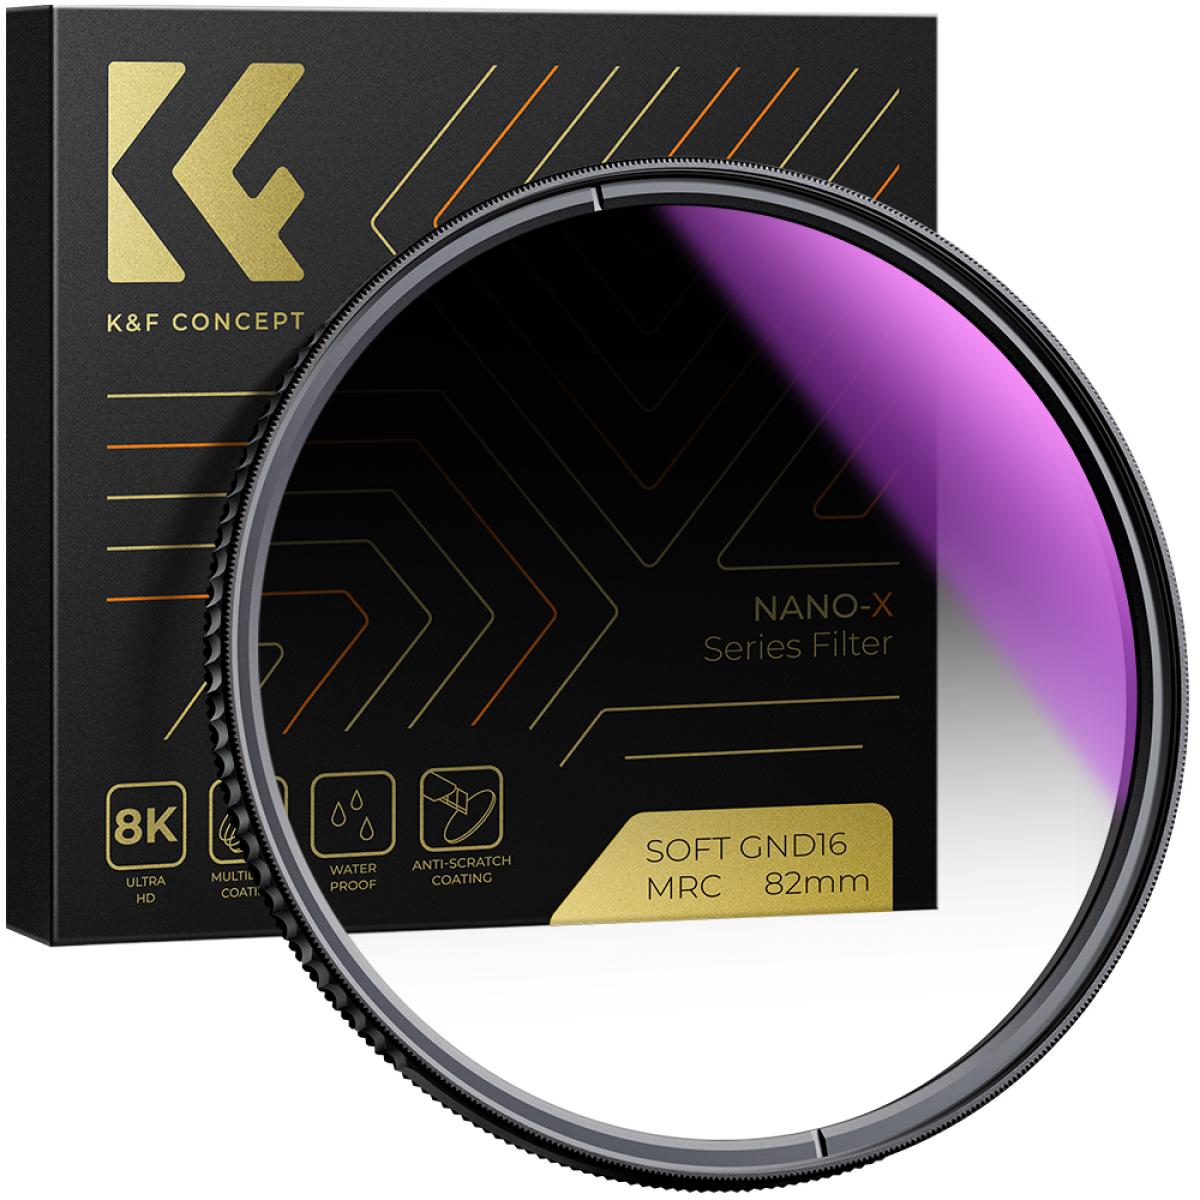
Understanding DSLR Lens Filters
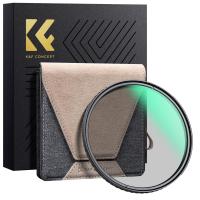
DSLR lens filters are accessories that attach to the front of your camera lens. They come in various types, each designed to achieve specific effects or solve particular problems. The most common types of DSLR lens filters include:
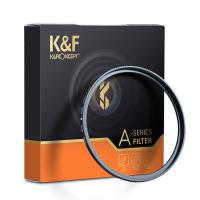
1. UV Filters: These filters block ultraviolet light, which can cause haziness and reduce contrast in your photos. They are often used to protect the lens from dust, scratches, and moisture.
2. Polarizing Filters: Polarizers reduce reflections and glare from non-metallic surfaces like water and glass. They also enhance the colors and contrast in your images, making skies appear bluer and foliage greener.
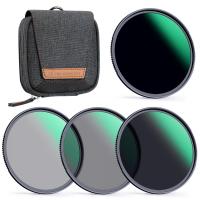
3. Neutral Density (ND) Filters: ND filters reduce the amount of light entering the lens without affecting the color of the image. They are useful for long exposure photography, allowing you to capture motion blur in waterfalls, clouds, and other moving subjects.
4. Graduated ND Filters: These filters are similar to ND filters but have a gradient that transitions from dark to clear. They are ideal for balancing exposure in scenes with a bright sky and a darker foreground.
5. Color Filters: These filters add a tint to your images, which can be used for creative effects or to correct color balance in certain lighting conditions.
6. Close-Up Filters: Also known as diopters, these filters act like magnifying glasses, allowing you to focus closer to your subject for macro photography.
How to Use DSLR Lens Filters
1. Attaching the Filter
Most DSLR lens filters are screw-on types that attach to the front of your lens. To attach a filter:
- Ensure your lens is clean and free of dust.
- Align the filter with the lens thread and gently screw it on clockwise until it is secure. Avoid overtightening, as this can make it difficult to remove later.
2. Using UV Filters
UV filters are straightforward to use. Simply attach the filter to your lens, and it will block UV light and protect your lens. While some photographers debate the necessity of UV filters in the digital age, they are still widely used for lens protection.
3. Using Polarizing Filters
Polarizing filters require a bit more technique:
- Attach the polarizing filter to your lens.
- Rotate the outer ring of the filter while looking through the viewfinder or at the LCD screen. You will notice changes in reflections and color saturation.
- Adjust the filter until you achieve the desired effect. For example, to reduce glare on water, rotate the filter until the reflections diminish.
4. Using ND Filters
ND filters are essential for long exposure photography:
- Attach the ND filter to your lens.
- Set your camera to manual mode and adjust the exposure settings (shutter speed, aperture, and ISO) to compensate for the reduced light.
- Use a tripod to stabilize your camera, as long exposures can result in camera shake.
- Take a test shot and adjust the settings as needed to achieve the desired exposure.
5. Using Graduated ND Filters
Graduated ND filters are useful for landscape photography:
- Attach the graduated ND filter to your lens.
- Position the dark part of the filter over the bright area of the scene (usually the sky).
- Adjust the filter's position by sliding it up or down to balance the exposure between the sky and the foreground.
- Take a test shot and make any necessary adjustments.
6. Using Color Filters
Color filters can add creative effects to your photos:
- Attach the color filter to your lens.
- Experiment with different filters to see how they affect the color balance and mood of your images.
- Use color filters in combination with other filters for unique effects.
7. Using Close-Up Filters
Close-up filters are great for macro photography:
- Attach the close-up filter to your lens.
- Move closer to your subject and adjust the focus.
- Use a tripod to stabilize your camera, as close-up shots are more susceptible to camera shake.
- Experiment with different magnification levels to achieve the desired effect.
Practical Tips for Using DSLR Lens Filters
1. Stacking Filters: While it is possible to stack multiple filters on your lens, be cautious. Stacking too many filters can cause vignetting (darkening of the corners) and reduce image quality. Use filter stacking sparingly and only when necessary.
2. Cleaning Filters: Keep your filters clean to ensure optimal image quality. Use a microfiber cloth and lens cleaning solution to remove dust, fingerprints, and smudges. Avoid using abrasive materials that can scratch the filter surface.
3. Filter Size: Ensure you purchase filters that match the diameter of your lens. The filter size is usually indicated on the lens barrel (e.g., Ø58mm). Using the correct size ensures a secure fit and prevents light leaks.
4. Filter Storage: Store your filters in a protective case when not in use. This prevents scratches and keeps them clean. Some filters come with their own protective cases, but you can also purchase dedicated filter wallets.
5. Experimentation: Don't be afraid to experiment with different filters and techniques. Photography is an art form, and filters can help you achieve unique and creative results. Try combining filters, adjusting settings, and exploring new subjects to expand your skills.
DSLR lens filters are powerful tools that can enhance your photography by controlling light, reducing glare, and adding creative effects. By understanding the different types of filters and how to use them effectively, you can take your photography to the next level. Whether you're capturing stunning landscapes, vibrant colors, or intricate macro shots, filters offer endless possibilities for creative expression. So, grab your camera, attach a filter, and start exploring the world of DSLR lens filters today!












There are no comments for this blog.