How To Use Microphone On Mac?
Using a microphone on a Mac can be a straightforward process, but it can also come with its own set of challenges, especially for those who are not tech-savvy. Whether you are using an external microphone for podcasting, video conferencing, or recording music, or simply trying to get the built-in microphone to work properly, understanding the steps involved can save you a lot of time and frustration. In this article, we will cover everything you need to know about using a microphone on a Mac, from setting it up to troubleshooting common issues.
Setting Up Your Microphone

Built-in Microphone

Most Mac computers come with a built-in microphone that is sufficient for basic tasks like video calls and voice memos. Here’s how to ensure it’s set up correctly:
1. Access System Preferences: Click on the Apple logo in the top-left corner of your screen and select "System Preferences."
2. Select Sound: In the System Preferences window, click on "Sound."
3. Input Tab: Navigate to the "Input" tab. Here, you will see a list of available microphones, including the built-in one.
4. Select Built-in Microphone: Click on "Internal Microphone" to select it as your input device.
5. Adjust Input Volume: Use the slider to adjust the input volume. Speak into the microphone to test the levels. The input level meter should move as you speak.
External Microphone
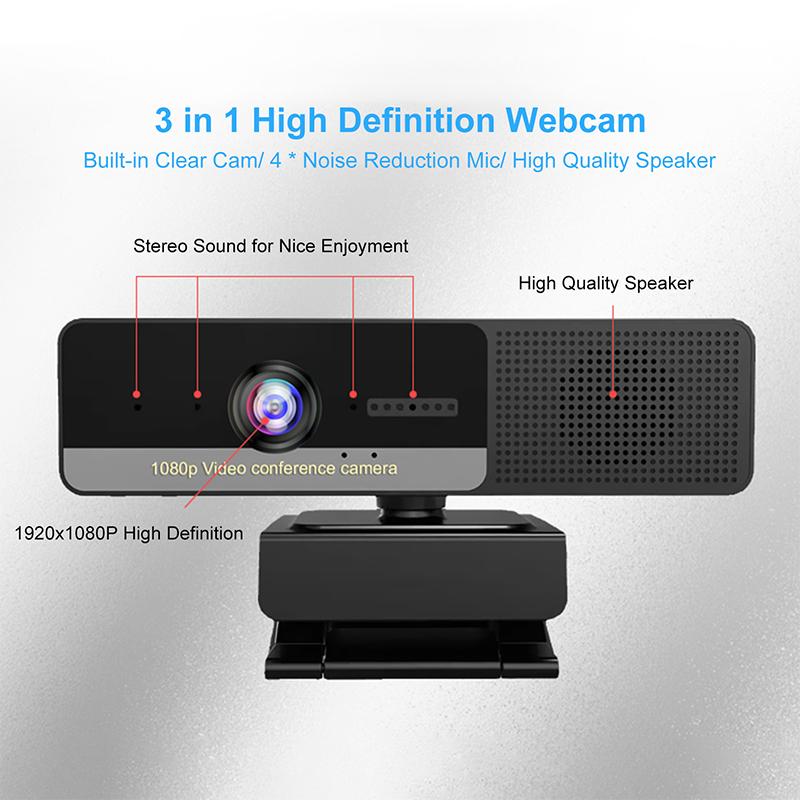
If you are using an external microphone, the setup process is slightly different but still straightforward:
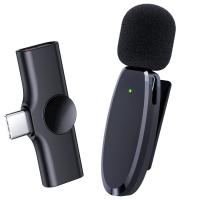
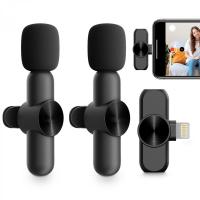
1. Connect the Microphone: Plug your external microphone into the appropriate port on your Mac. This could be a USB port, a 3.5mm audio jack, or a specialized port depending on your microphone.
2. Access System Preferences: Click on the Apple logo in the top-left corner of your screen and select "System Preferences."
3. Select Sound: In the System Preferences window, click on "Sound."
4. Input Tab: Navigate to the "Input" tab. Your external microphone should appear in the list of available input devices.
5. Select External Microphone: Click on your external microphone to select it as your input device.
6. Adjust Input Volume: Use the slider to adjust the input volume. Speak into the microphone to test the levels. The input level meter should move as you speak.
Configuring Microphone Settings for Specific Applications

Different applications may have their own settings for microphone input. Here’s how to configure your microphone for some common applications:
Zoom
1. Open Zoom: Launch the Zoom application.
2. Access Settings: Click on your profile picture in the top-right corner and select "Settings."
3. Select Audio: In the settings menu, click on "Audio."
4. Microphone: Under the "Microphone" section, select your desired microphone from the dropdown menu.
5. Test Microphone: Click on "Test Mic" to ensure it’s working correctly.
GarageBand
1. Open GarageBand: Launch the GarageBand application.
2. Create New Project: Start a new project or open an existing one.
3. Select Track: Click on the track you want to record on.
4. Input Source: In the track settings, select your desired microphone as the input source.
5. Record: Click the record button to start recording.
Skype
1. Open Skype: Launch the Skype application.
2. Access Settings: Click on your profile picture and select "Settings."
3. Select Audio & Video: In the settings menu, click on "Audio & Video."
4. Microphone: Under the "Microphone" section, select your desired microphone from the dropdown menu.
5. Test Microphone: Speak into the microphone to test if it’s working correctly.
Troubleshooting Common Issues
Even with the correct setup, you may encounter issues with your microphone. Here are some common problems and how to fix them:
Microphone Not Detected
1. Check Connections: Ensure that your external microphone is properly connected to your Mac.
2. Restart Your Mac: Sometimes, a simple restart can resolve detection issues.
3. Update macOS: Make sure your operating system is up to date. Go to "System Preferences" > "Software Update" to check for updates.
4. Reset PRAM/NVRAM: Restart your Mac and hold down the Option + Command + P + R keys for about 20 seconds. This can reset certain system settings and may resolve the issue.
Low Input Volume
1. Adjust Input Volume: Go to "System Preferences" > "Sound" > "Input" and adjust the input volume slider.
2. Check Application Settings: Ensure that the application you are using has its input volume set correctly.
3. Microphone Position: Make sure the microphone is positioned correctly and not obstructed.
Background Noise
1. Use Noise Reduction: Some applications offer noise reduction features. Enable these if available.
2. External Software: Consider using external software like Audacity to filter out background noise.
3. Microphone Quality: Higher-quality microphones often have better noise-canceling features.
Advanced Tips
For those who need more advanced features, here are some additional tips:
Using Audio Interfaces
If you are a musician or podcaster, you might benefit from using an audio interface. These devices offer better sound quality and more control over your audio input.
1. Connect Audio Interface: Plug your audio interface into your Mac using a USB or Thunderbolt connection.
2. Select Audio Interface: Go to "System Preferences" > "Sound" > "Input" and select your audio interface as the input device.
3. Configure Software: Open your recording software and select the audio interface as the input source.
Using Multiple Microphones
If you need to use multiple microphones simultaneously, you can create an Aggregate Device in macOS:
1. Open Audio MIDI Setup: Go to "Applications" > "Utilities" > "Audio MIDI Setup."
2. Create Aggregate Device: Click the "+" button at the bottom-left corner and select "Create Aggregate Device."
3. Select Microphones: Check the boxes next to the microphones you want to include in the aggregate device.
4. Select Aggregate Device: Go to "System Preferences" > "Sound" > "Input" and select the aggregate device as the input source.
Using a microphone on a Mac can be a seamless experience if you know the right steps to follow. Whether you are using the built-in microphone for simple tasks or an external microphone for more professional needs, understanding how to set it up and troubleshoot common issues is crucial. By following the guidelines provided in this article, you can ensure that your microphone works effectively for any application you need.





















There are no comments for this blog.