How To Use Microphone With Camera Windows 10?
Using a microphone with a camera on Windows 10 can enhance the quality of audio in your recordings, making it crucial for various purposes such as vlogs, online classes, video conferences, and more. This article aims to guide you through the steps and considerations involved in ensuring that your microphone and camera work seamlessly together on a Windows 10 system. Whether you are a novice or a seasoned professional, the tips and solutions provided here will be beneficial for achieving superior audio-visual quality in your projects.
Step-by-Step Guide to Using a Microphone with a Camera on Windows 10
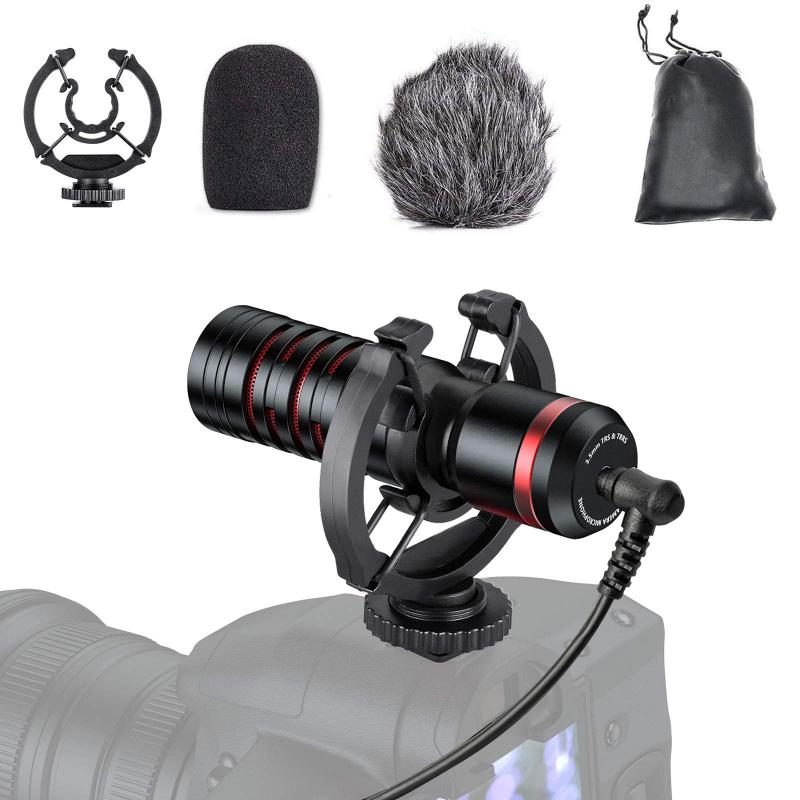
1. Check Hardware Compatibility:
Before starting, ensure that both your microphone and camera are compatible with Windows 10. Most modern USB microphones and webcams are plug-and-play, meaning they should work immediately when connected to your computer. However, checking the manufacturer's website for any required drivers or software updates for Windows 10 can save you from potential issues.
2. Connect Your Devices:
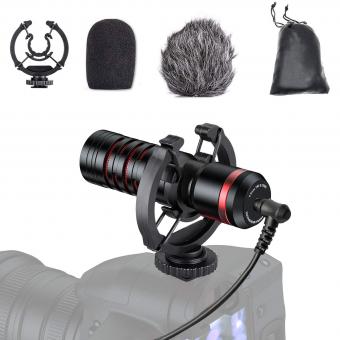
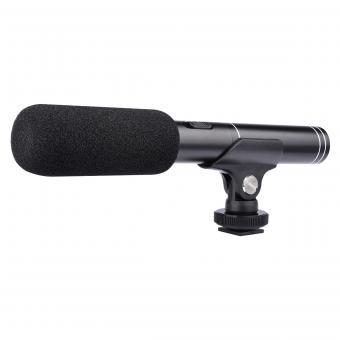
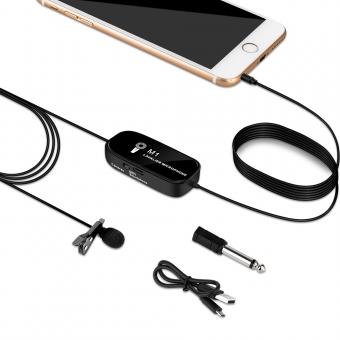
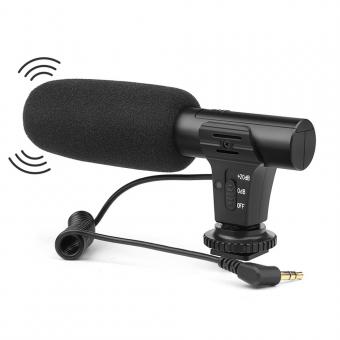
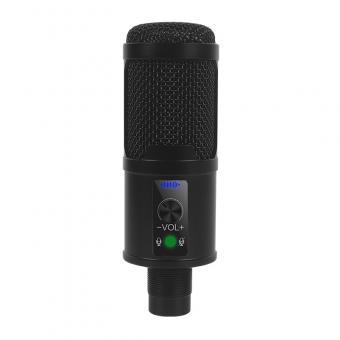
- Microphone: Plug your microphone into an available USB port or the 3.5mm audio jack (if it uses this connection). Ensure that it is securely connected.
- Camera: Connect your camera to your PC via a USB port. If you are using a DSLR or mirrorless camera, you may also need a video capture device.
3. Set Up Audio and Video Devices:
- Open the Control Panel or go directly to Settings by pressing `Win + I`.
- Navigate to System > Sound.
- Under the Input section, choose your microphone from the dropdown menu. Ensure it is set as the default device.
- To test the microphone, speak into it. The input level should respond to your voice.
4. Adjust Microphone Settings:
- Ensure that the microphone levels are correctly set to avoid distortion or low audio levels. In the Sound settings, click on Device properties for your microphone.
- Adjust the Volume slider according to your needs. You can also access additional properties such as Enhancements and Levels to finetune your microphone settings.
5. Configure Camera Settings:
- In Settings, navigate to Devices > Cameras.
- Select your camera from the list and adjust its settings as needed. You can change the video resolution, frame rate, and default camera functions.
6. Utilizing Software Applications:
- For video recording, consider using applications that allow for both video and audio configuration, such as OBS Studio, Windows Camera App, Zoom, or any other preferred video conferencing tool.
- Open your chosen application and go to its Settings or Preferences.
- In OBS Studio, for example, navigate to Settings > Audio and select your microphone. Then, go to Video and ensure your camera is selected.
7. Test Your Setup:
- Make a test recording or start a test video call to check the synchronization and quality of both audio and video.
- Pay attention to any lag or desynchronization issues. If microphone delays are evident, they may need to be addressed through software settings or hardware upgrades.
8. Troubleshooting Common Issues:
A. Microphone Not Detected:
- Verify that the microphone is properly connected.
- Ensure it is set as the default input device in Sound settings.
- Update audio drivers through Device Manager by locating your audio device, right-clicking, and selecting Update driver.
B. Camera Not Recognized:
- Ensure that the camera is properly connected and powered on.
- Check if the drivers are correctly installed. You can update or reinstall them through Device Manager.
C. Poor Audio Quality:
- Ensure that the input levels are not set too high or too low.
- Use a pop filter or windscreen with your microphone to reduce noise.
- Consider recording in a quieter environment and minimize background noise.
9. Advanced Tips for Enhanced Quality:
- If you are using a separate audio interface or mixer, ensure all connections are secure and correctly configured.
- For professional-grade recordings, consider using dedicated audio recording software (like Audacity) in conjunction with your video recording to allow for post-production editing of the audio track.
10. Maintenance and Care:
- Regularly update firmware and drivers for both your microphone and camera.
- Keep your devices clean and stored in a safe environment to prolong their lifespan.
- Periodically check and adjust your settings to maintain optimal performance as per different use cases.
Using a microphone with a camera on Windows 10 is a straightforward process that can significantly enhance the quality of your recordings. By following the steps outlined in this article, you can ensure that your microphone and camera are correctly set up and optimized for your specific needs. From ensuring hardware compatibility to fine-tuning software settings, attention to detail is key to achieving the best results.
Whether you are recording a YouTube video, participating in a virtual meeting, or creating content for an online class, clear audio and crisp video are crucial components. Therefore, investing time in setting up and testing your equipment can pay off with superior audio-visual quality, making your content more professional and engaging.
Remember that technology is continuously evolving, so staying updated with the latest tools and techniques will keep your skills sharp and your recordings top-notch. With the right setup and a bit of practice, you can master the art of using a microphone with a camera on Windows 10, thus elevating your audio-visual experience.


