How To Use Old Flash With Digital Camera?
In the ever-evolving world of photography, the transition from film to digital has brought about significant changes in how photographers approach their craft. One of the challenges that many photographers face is how to integrate older equipment, such as flash units, with modern digital cameras. This article aims to provide a comprehensive guide on how to use old flash units with digital cameras, ensuring that you can continue to make the most of your existing gear while embracing new technology.
Understanding Compatibility
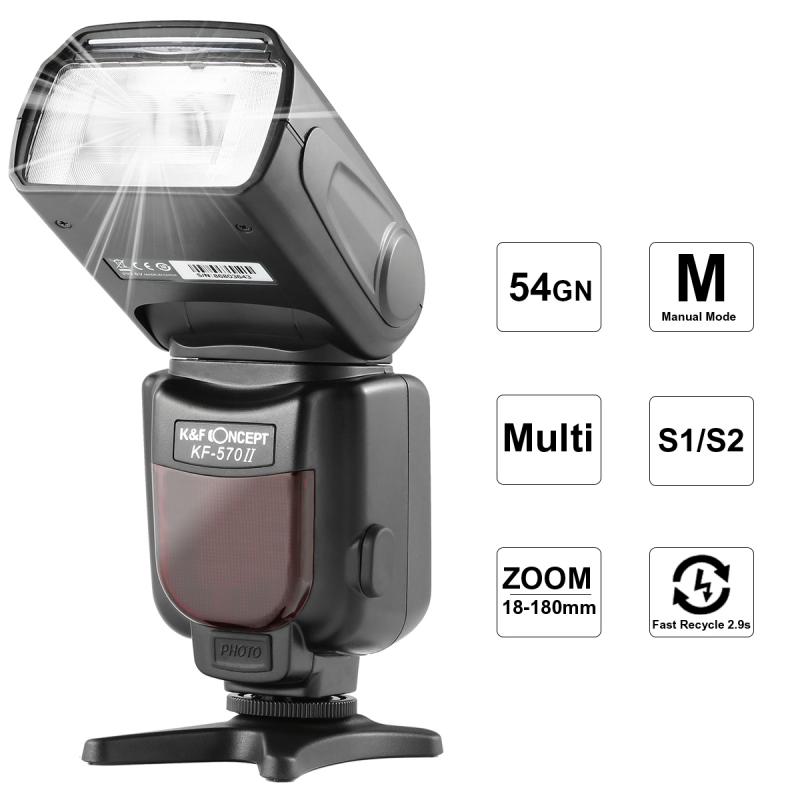
The first step in using an old flash with a digital camera is to understand the compatibility between the two devices. Older flash units were designed to work with film cameras, which often have different electrical and communication standards compared to modern digital cameras. Here are some key points to consider:
1. Trigger Voltage: Older flash units often have higher trigger voltages, which can damage the delicate electronics of modern digital cameras. It's crucial to check the trigger voltage of your flash unit and compare it with the safe voltage range specified by your camera manufacturer. If the trigger voltage is too high, you can use a voltage regulator or a safe sync adapter to protect your camera.
2. Hot Shoe Compatibility: The hot shoe mount on your digital camera may differ from that on your old flash unit. While many hot shoes are standardized, some older flash units may require an adapter to fit properly on your digital camera.
3. Communication Protocols: Modern digital cameras and flash units often use advanced communication protocols for features like TTL (Through-The-Lens) metering and high-speed sync. Older flash units may not support these protocols, meaning you'll need to use manual settings to achieve the desired lighting effects.
Using Manual Mode
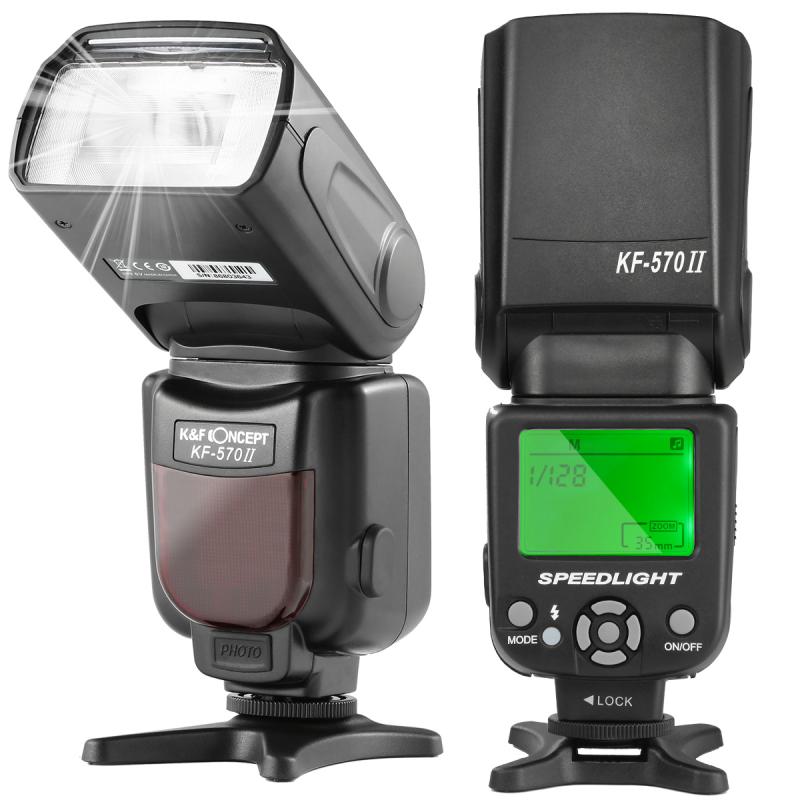
One of the most effective ways to use an old flash with a digital camera is to operate the flash in manual mode. This approach gives you full control over the flash output and allows you to fine-tune your lighting setup. Here’s how to do it:
1. Set the Flash to Manual Mode: Most older flash units have a manual mode setting. Consult the user manual for your flash unit to find out how to switch to manual mode.
2. Adjust Flash Power: In manual mode, you can adjust the flash power output. Start with a low power setting and gradually increase it until you achieve the desired exposure. Common power settings are expressed as fractions (e.g., 1/1 for full power, 1/2 for half power, etc.).
3. Set Camera Settings: On your digital camera, set the ISO, aperture, and shutter speed to appropriate values for your scene. A good starting point is ISO 100, an aperture of f/8, and a shutter speed of 1/125s. You can adjust these settings based on your specific lighting conditions and creative preferences.
4. Test and Adjust: Take a test shot and review the exposure on your camera’s LCD screen. If the image is too dark or too bright, adjust the flash power or camera settings accordingly. Repeat this process until you achieve the desired exposure.
Using Flash Triggers
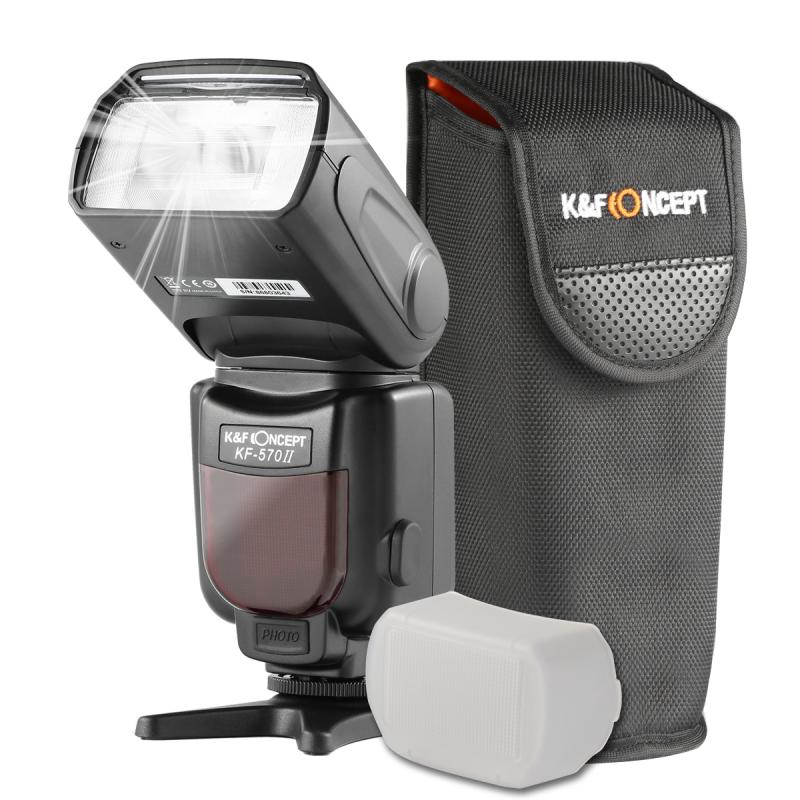
If your old flash unit does not have a compatible hot shoe or if you prefer off-camera flash, you can use flash triggers to wirelessly control your flash. Flash triggers consist of a transmitter that attaches to your camera’s hot shoe and a receiver that connects to your flash unit. Here’s how to set it up:
1. Attach the Transmitter: Slide the transmitter onto your camera’s hot shoe and secure it in place.
2. Connect the Receiver: Attach the receiver to your flash unit. Depending on the model, you may need to use a sync cable to connect the receiver to the flash.
3. Set Channels and Groups: Many flash triggers allow you to set channels and groups to avoid interference with other photographers’ equipment. Make sure the transmitter and receiver are set to the same channel and group.
4. Test the Connection: Press the test button on the transmitter to ensure that the flash fires. If it doesn’t, check the connections and settings on both the transmitter and receiver.
Using Optical Slaves
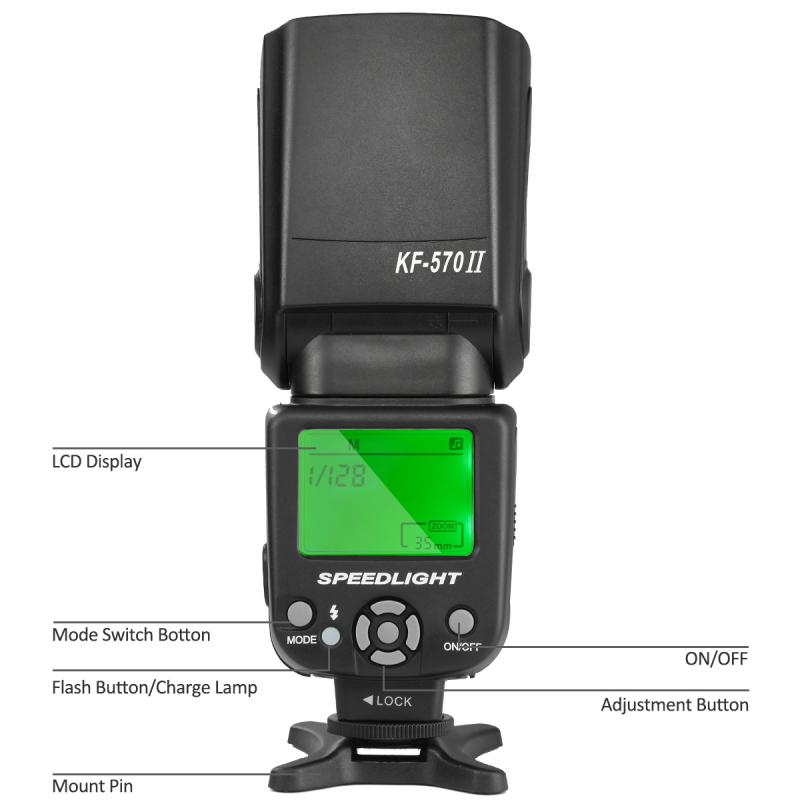
Another method to use an old flash with a digital camera is to employ optical slaves. An optical slave is a device that triggers the flash when it detects another flash firing. This method is particularly useful for multi-flash setups. Here’s how to use optical slaves:
1. Attach the Optical Slave: Connect the optical slave to your old flash unit. Some flash units have a built-in optical slave mode, while others may require an external optical slave sensor.
2. Set the Master Flash: Use your digital camera’s built-in flash or an external flash as the master flash. The master flash will trigger the optical slave when it fires.
3. Position the Flashes: Place the master flash and the slave flash units in your desired positions. Ensure that the optical slave sensor has a clear line of sight to the master flash.
4. Test and Adjust: Take a test shot to ensure that the optical slave triggers the flash correctly. Adjust the positioning and power settings as needed to achieve the desired lighting effect.
Safety Considerations
When using old flash units with digital cameras, it’s essential to prioritize safety to avoid damaging your equipment. Here are some safety tips:
1. Check Trigger Voltage: Always check the trigger voltage of your old flash unit before connecting it to your digital camera. Use a voltage regulator or safe sync adapter if necessary.
2. Use Quality Adapters: If you need to use adapters for hot shoe compatibility or voltage regulation, invest in high-quality adapters from reputable manufacturers.
3. Avoid Overheating: Older flash units may not have the same heat management features as modern flashes. Avoid rapid firing to prevent overheating and potential damage to the flash.
4. Consult Manuals: Refer to the user manuals for both your digital camera and flash unit to understand their specifications and limitations.
Integrating old flash units with modern digital cameras can be a rewarding experience, allowing you to leverage your existing equipment while exploring new creative possibilities. By understanding compatibility issues, using manual mode, employing flash triggers or optical slaves, and prioritizing safety, you can successfully use your old flash with your digital camera. With a bit of experimentation and practice, you’ll be able to achieve stunning lighting effects and enhance your photographic skills.


