How To Use Phone As Webcam For Pc?
Using a phone as a webcam for your PC can be incredibly useful, especially when your built-in or external webcam fails, or when you need higher video quality for video conferencing, streaming, or recording. In this article, we will explore the step-by-step process to transform your smartphone into a reliable webcam for your PC, addressing common issues and providing solutions to potential problems.
Introduction: Why Use Your Phone as a Webcam?
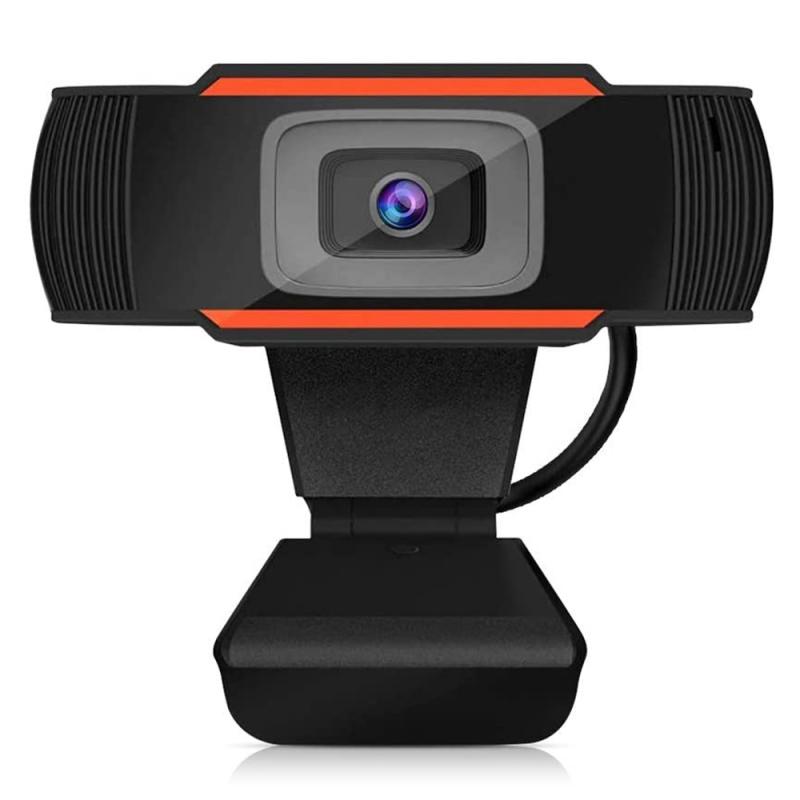
High-quality webcams have become essential tools in today’s digital age. From Zoom meetings to online classes and live streaming, the demand for better video quality is increasing. While dedicated webcams can be costly and sometimes hard to come by, many of us have high-resolution cameras right in our pockets. Using your phone as a webcam can save money and provide superior video quality compared to many standalone webcams.
Key Benefits:
1. Cost Savings: Utilize existing devices without additional expenditure.
2. High-Resolution Camera: Smartphones generally have superior camera capabilities.
3. Portability & Ease: Easily switch between different devices and setups.
Prerequisites for Using Your Phone as a Webcam
Before diving into the process, it’s important to gather all necessary tools:
1. Smartphone with a Good Camera: Ensure your phone’s camera quality meets your needs.
2. PC with Suitable Software: Specific applications bridge your phone and PC.
3. Stable Wi-Fi Connection: For wireless connections, ensure the network is stable.
4. USB Cable (Optional): For a more stable and latency-free connection.
Step-by-Step Guide: Connecting Your Phone to Your PC as a Webcam
1. Choose the Right App
There are several apps available for both iOS and Android that allow you to use your phone as a Webcam. Some popular options include:
- DroidCam (Android & iOS)
- EpocCam (iOS)
- iVCam (Android & iOS)
- Iriun Webcam (Android & iOS)
Each app has its features and compatibilities, so choose one that best suits your requirements.
2. Install the Application on Your Phone and PC
Download and install the corresponding app on both your smartphone and PC.
For example, if you are using DroidCam:
- On Your Phone: Go to the App Store or Google Play Store, search for DroidCam, and install it.
- On Your PC: Visit the DroidCam website and download the client software for your operating system (Windows/Linux).
3. Connect Your Devices (Wireless or Wired)
You have two primary options: using Wi-Fi for a wireless connection or a USB cable for a wired connection.
Wireless Connection (Wi-Fi)
1. Ensure Both Devices are on the Same Network: Your phone and PC must be connected to the same Wi-Fi network.
2. Open the App on Your Phone: Launch the app, which will display an IP address.
3. Launch the App on Your PC: Open the client application on your PC and enter the IP address provided by your phone.
4. Start the Connection: Click the “Start” button in the PC client, and your phone should now function as a webcam.
Wired Connection (USB)
1. Connect Your Phone via USB: Use a reliable USB cable to connect your phone to the PC.
2. Enable USB Debugging: On Android, this can be done via Developer Options. On iOS, it might be necessary to select "Trust this computer" when connecting.
3. Set Up the App for USB Use: Open the phone app and select the option for USB connection, then follow any additional on-screen instructions.
4. Initiate the Connection: Open the client app on your PC and start the connection process.
4. Configure the Webcam Settings
1. Test the Video Feed: Ensure the video feed is active and adjust settings within the app as necessary.
2. Set as Default Webcam: In your video conferencing or streaming software (e.g., Zoom, Skype, OBS), go to settings and select your phone (via the app name) as the webcam.
Troubleshooting Common Issues
Poor Video Quality:
1. Adjust Camera Settings: Check the resolution settings in the app and select a higher resolution if available.
2. Ensure Good Lighting: Proper lighting is critical for good video quality.
3. Clean the Camera Lens: A clean lens can make a significant difference in video clarity.
Connection Drops:
1. Check Wi-Fi Stability: Ensure a stable and strong Wi-Fi connection.
2. Consider Using USB: For critical calls, a USB connection can provide more stability.
3. Restart Devices: Sometimes a simple restart of your phone and PC can resolve connectivity issues.
Lag or Latency:
1. Close Unnecessary Apps: Close other apps on your phone/PC to free up CPU and bandwidth.
2. Use Wired Connection: A USB connection can significantly reduce latency compared to Wi-Fi.
Advanced Tips for Enhanced Experience
Use Tripod or Mount:
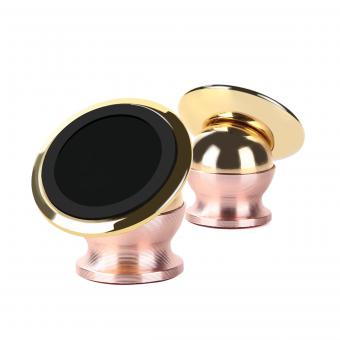
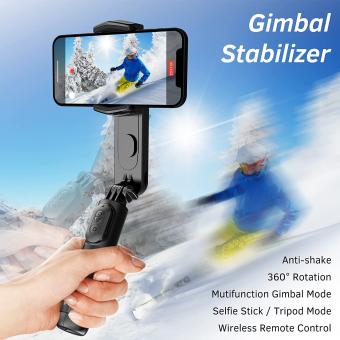
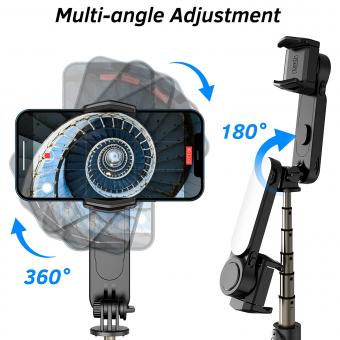
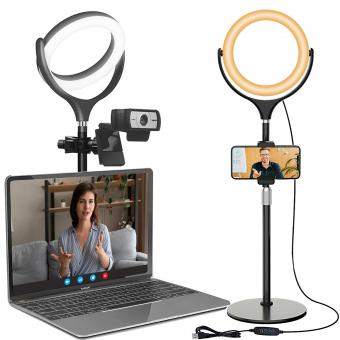
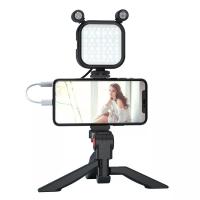
Invest in a tripod or phone holder to keep your phone steady and at eye level for a professional look.
External Microphone:
While most apps can use your phone’s microphone, for better audio quality consider using an external microphone connected to your PC.
Maintenance and Battery Management:
1. Monitor Battery Levels: Continuously using your phone as a webcam can drain its battery quickly. Keep an eye on battery levels and consider charging during use.
2. Avoid Overheating: Prolonged use can overheat your phone. Monitor its temperature and take breaks if necessary.
Software Updates:
Regularly update the software on both your phone and PC to ensure compatibility and take advantage of new features or improvements.
Using your phone as a webcam is a practical, cost-effective solution that can significantly enhance your video quality for meetings, streaming, and more. By following the steps outlined and troubleshooting common issues, you can ensure a smooth and professional experience. Whether you opt for a wireless or wired connection, the key is using the right tools and maintaining your devices properly to make the most out of your smartphone’s impressive camera capabilities.


![K&F Concept Selfie Ring Light with Cell Phone Holder for Live Stream and Makeup, LED Light [3-Light Mode] [10-Level Brightness] with Remote Control and Flexible Hose Bracket for iPhone Android【Ship to the US Only】 K&F Concept Selfie Ring Light with Cell Phone Holder for Live Stream and Makeup, LED Light [3-Light Mode] [10-Level Brightness] with Remote Control and Flexible Hose Bracket for iPhone Android【Ship to the US Only】](https://img.kentfaith.com/cache/catalog/products/us/KF34.001/KF34.001-1-340x340.jpg)
