How To Use Selfie Monopod With Remote?
Using a selfie monopod with a remote can significantly enhance your photography experience, allowing you to capture wider angles and more creative shots without the need for someone else to take the picture. In this article, we will delve into the practical steps and tips for effectively using a selfie monopod with a remote, ensuring you get the best possible results from your device.
Understanding Your Selfie Monopod and Remote
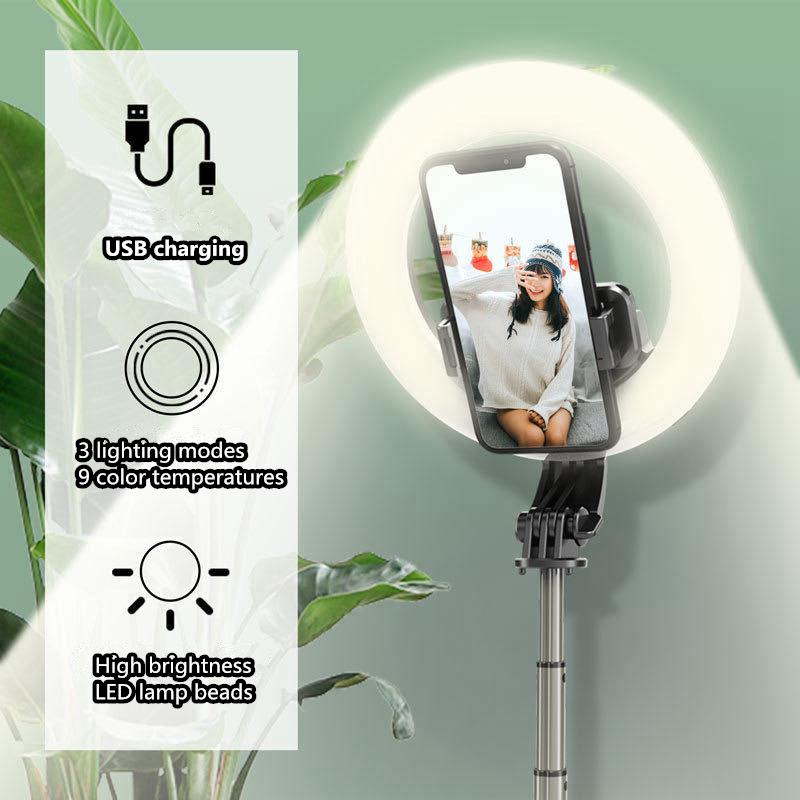
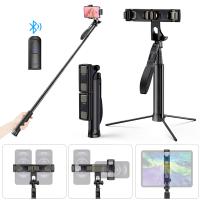
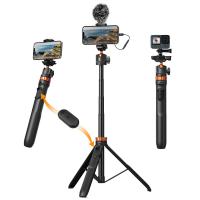
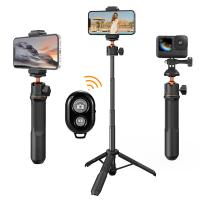
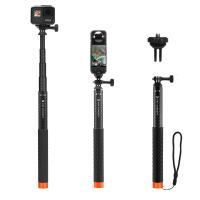
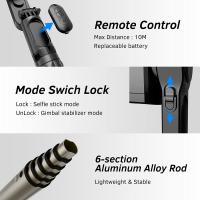
Before diving into the usage, it’s essential to understand the components of your selfie monopod and remote. Typically, a selfie monopod consists of an extendable stick, a phone holder, and a remote control. The remote control can either be built into the handle of the monopod or be a separate Bluetooth device.
Step-by-Step Guide to Using a Selfie Monopod with Remote
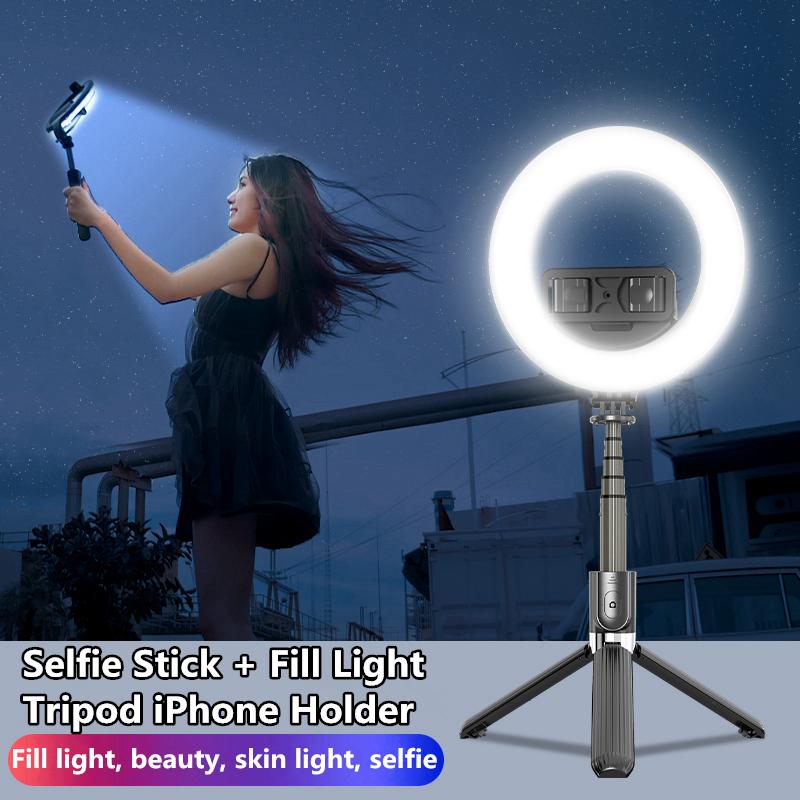
1. Charge Your Devices
Ensure that both your smartphone and the remote control are fully charged. A low battery can disrupt the Bluetooth connection or cause the remote to malfunction, leading to missed photo opportunities.
2. Pair the Remote with Your Smartphone
- Turn on Bluetooth: Activate Bluetooth on your smartphone.
- Power on the Remote: Switch on the remote control. If it’s a separate device, there will usually be a small power button.
- Pairing Mode: The remote should automatically enter pairing mode when turned on. If not, refer to the manual for instructions on how to manually enter pairing mode.
- Connect: On your smartphone, search for available Bluetooth devices and select the remote from the list. Once connected, your phone should indicate that the remote is paired.
3. Mount Your Smartphone
- Secure the Phone Holder: Attach the phone holder to the top of the monopod if it’s not already fixed.
- Insert Your Smartphone: Place your smartphone into the holder, ensuring it’s secure and won’t fall out. Adjust the holder to fit your phone snugly.
4. Extend the Monopod
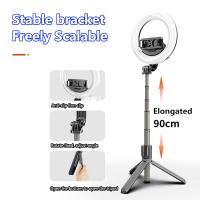
- Unlock the Sections: Most monopods have multiple sections that can be extended. Unlock these sections by twisting or pulling them apart.
- Extend to Desired Length: Pull the sections out to your desired length. Be cautious not to overextend, as this can make the monopod unstable.
- Lock the Sections: Once extended, lock the sections in place to ensure the monopod is stable.
5. Adjust the Angle
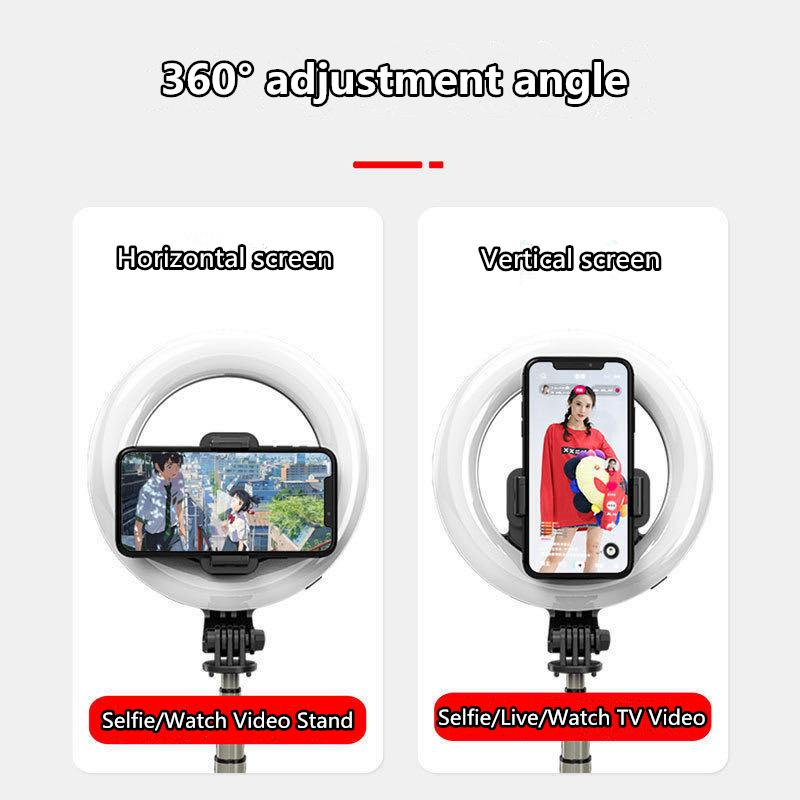
- Tilt the Phone Holder: Adjust the angle of the phone holder to get the best shot. Most holders can tilt up and down and sometimes rotate.
- Test the Angle: Take a few test shots to ensure the angle is correct and that you’re capturing the desired background.
6. Use the Remote to Capture Photos
- Position Yourself: Hold the monopod at a comfortable angle and position yourself within the frame.
- Press the Remote Button: Use the remote control to take photos. The button on the remote will trigger the camera shutter on your smartphone.
- Review and Adjust: After taking a few shots, review them to ensure they meet your expectations. Adjust the angle, lighting, or your position as needed.
Tips for Better Selfie Monopod Photography
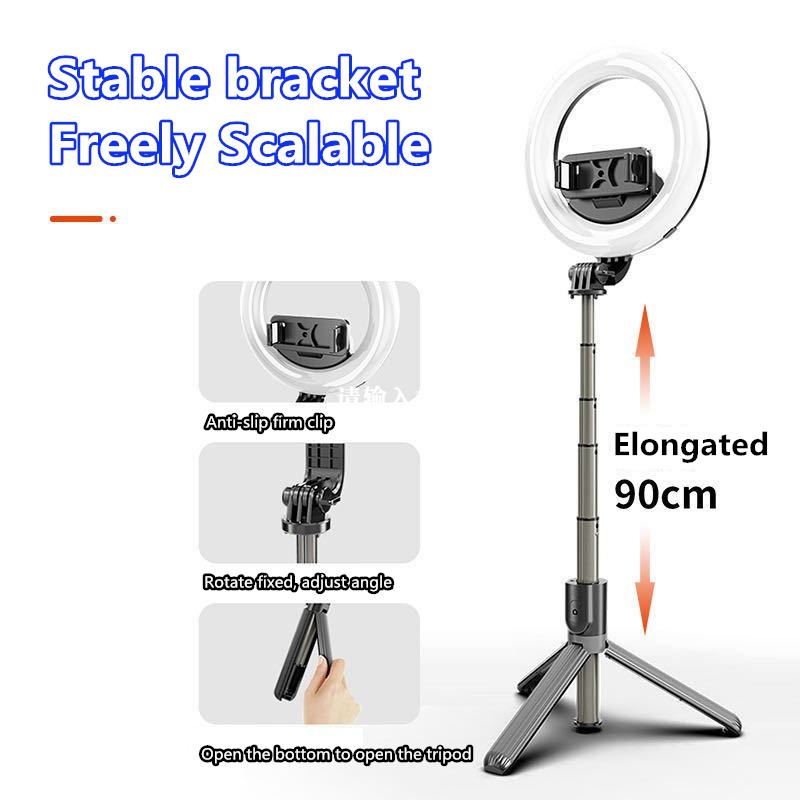
1. Lighting is Key
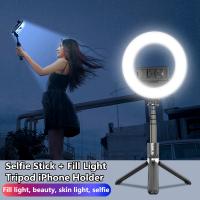
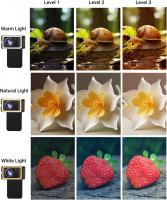
Good lighting can make a significant difference in the quality of your photos. Natural light is often the best, so try to take your selfies outdoors or near a window. If you’re indoors, consider using additional lighting to brighten up your face and reduce shadows.
2. Use the Timer Function
Even with a remote, using the timer function on your smartphone can be beneficial. It gives you a few extra seconds to get into position and ensures you’re not holding the remote in the shot.
3. Experiment with Angles
Don’t be afraid to experiment with different angles. Holding the monopod above your head can give a unique perspective, while holding it lower can create interesting foreground effects. Play around with different heights and angles to find what works best for you.
4. Stabilize Your Monopod
For sharper images, try to keep the monopod as stable as possible. Use both hands to hold it steady, or rest it against a solid surface if available. Some monopods come with a small tripod base, which can be very useful for stability.
5. Use Editing Apps
Post-processing can enhance your photos significantly. Use photo editing apps to adjust brightness, contrast, and saturation. You can also crop and straighten your images to improve composition.
Troubleshooting Common Issues
1. Remote Not Pairing
If your remote isn’t pairing with your smartphone, try the following:
- Restart Devices: Turn off both your smartphone and the remote, then turn them back on and try pairing again.
- Check Battery: Ensure the remote’s battery is charged.
- Reset Bluetooth: On your smartphone, turn Bluetooth off and on again.
- Consult the Manual: Refer to the user manual for specific troubleshooting steps.
2. Phone Falling Out of Holder
If your phone keeps falling out of the holder:
- Check the Fit: Ensure the holder is the right size for your phone.
- Adjust the Holder: Tighten any adjustable parts to secure your phone better.
- Use a Case: Sometimes, using a phone case can help the holder grip your phone more securely.
3. Blurry Photos
If your photos are coming out blurry:
- Stabilize the Monopod: Keep the monopod as steady as possible.
- Clean the Lens: Ensure your phone’s camera lens is clean.
- Check Focus: Tap on your phone’s screen to focus on your face or the main subject before taking the photo.
Using a selfie monopod with a remote can greatly enhance your ability to take high-quality selfies and group photos. By following the steps outlined in this guide, you can ensure that you’re using your monopod and remote effectively. Remember to experiment with different angles, lighting, and settings to find what works best for you. With a bit of practice, you’ll be capturing stunning photos in no time.


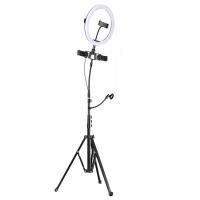
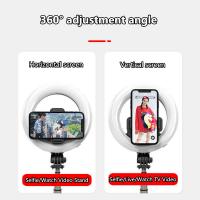
![K&F Concept Selfie Ring Light with Cell Phone Holder for Live Stream and Makeup, LED Light [3-Light Mode] [10-Level Brightness] with Remote Control and Flexible Hose Bracket for iPhone Android【Ship to the US Only】 K&F Concept Selfie Ring Light with Cell Phone Holder for Live Stream and Makeup, LED Light [3-Light Mode] [10-Level Brightness] with Remote Control and Flexible Hose Bracket for iPhone Android【Ship to the US Only】](https://img.kentfaith.com/cache/catalog/products/us/KF34.001/KF34.001-1-200x200.jpg)







There are no comments for this blog.