How To Use Selfie Stick For Video?
# How to Use a Selfie Stick for Video: A Complete Guide
In the age of vlogs, social media content, and personal filming, a selfie stick has evolved from a simple tool for taking photos to a versatile device for creating high-quality videos. Whether you're shooting travel vlogs, tutorials, or just recording a personal moment, mastering the art of using a selfie stick for video can make a huge difference in your content. This guide will take you through everything you need to know to get the best possible results with a selfie stick.
Understanding the Basics of a Selfie Stick
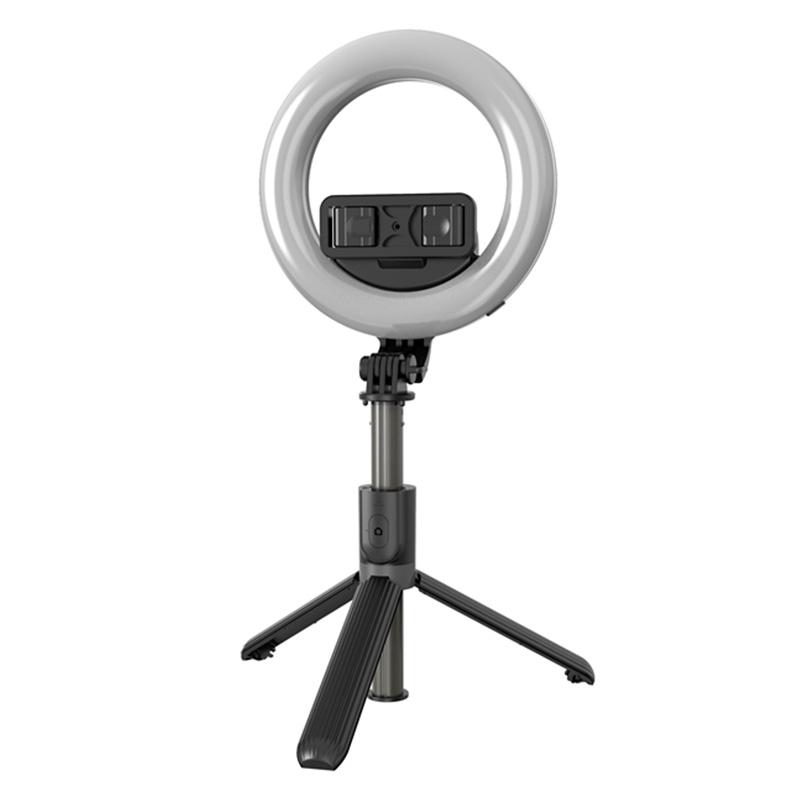
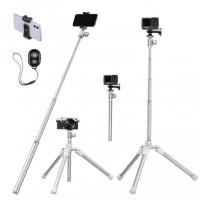
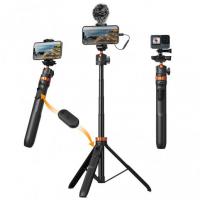
Before jumping into advanced tips, let's first make sure we understand what a selfie stick is and why it's so useful for video. A selfie stick is essentially a handheld extendable pole designed to hold your smartphone or camera. Its main purpose is to allow users to take photos or record videos from a wider angle, at a distance that would normally be difficult to achieve with just holding the phone in hand.
Selfie sticks typically come in three types:
1. Wired Selfie Sticks: These sticks use a cable to connect to your phone’s headphone jack, allowing you to remotely trigger the camera shutter.
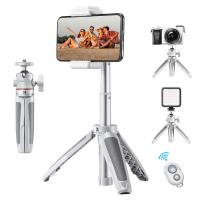
2. Bluetooth Selfie Sticks: These wireless sticks connect to your phone via Bluetooth, providing more flexibility and no need for wires.
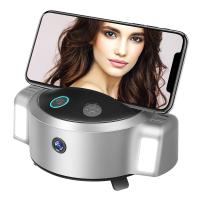
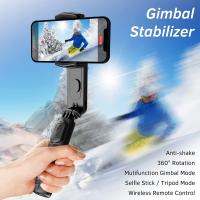
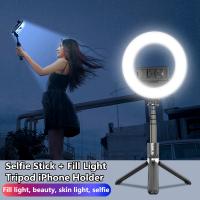
3. Motorized (Smart) Selfie Sticks: Some modern selfie sticks have built-in motors and gimbals for stabilization, allowing for smoother footage.
While most people use selfie sticks for selfies, they can be used to enhance your video production by offering more dynamic angles, smooth shots, and greater range. Let’s look at how you can effectively use a selfie stick to shoot high-quality videos.
Step 1: Set Up Your Selfie Stick Properly
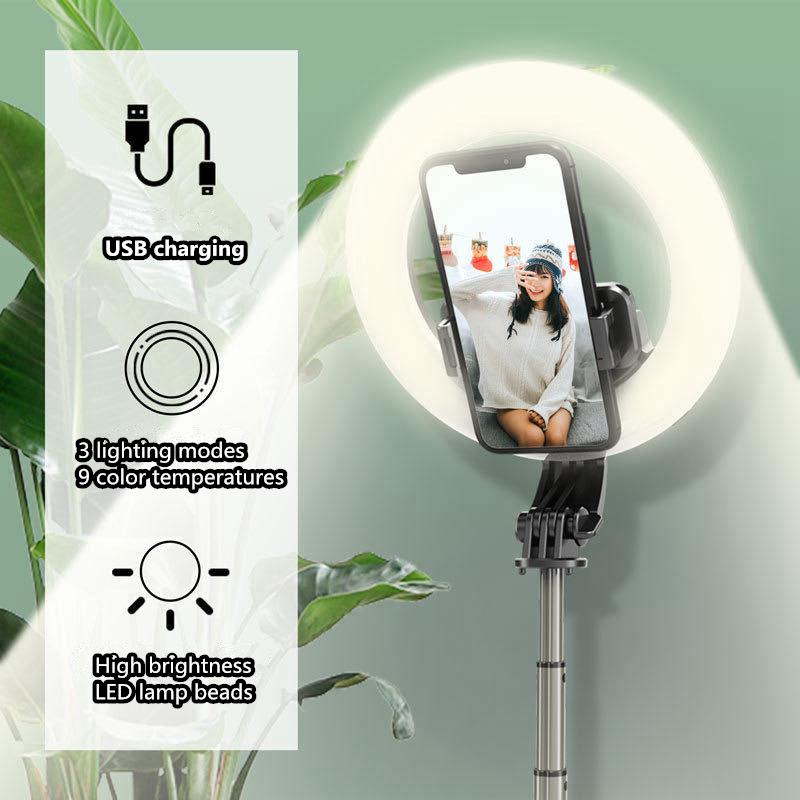
Before you start recording, ensure that your selfie stick is properly set up. Here are a few things to check:
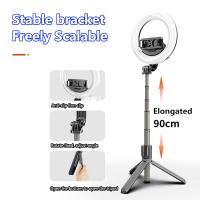
- Extend the Stick: Fully extend the stick to achieve the right distance. For close-up shots, you may only need a small extension, but for wide-angle or travel shots, you’ll want to maximize the length.
- Secure Your Phone: Make sure your phone or camera is securely placed in the holder or clamp. Some selfie sticks come with adjustable clamps that can fit various phone sizes, while others may require you to use a separate phone holder.
- Balance the Stick: It’s important that your phone is balanced and not too heavy on one side. If the stick feels lopsided, adjust the holder to ensure your device is positioned properly. This prevents the stick from tilting or causing unintentional movements while filming.
Step 2: Choose the Right Angle for Your Video
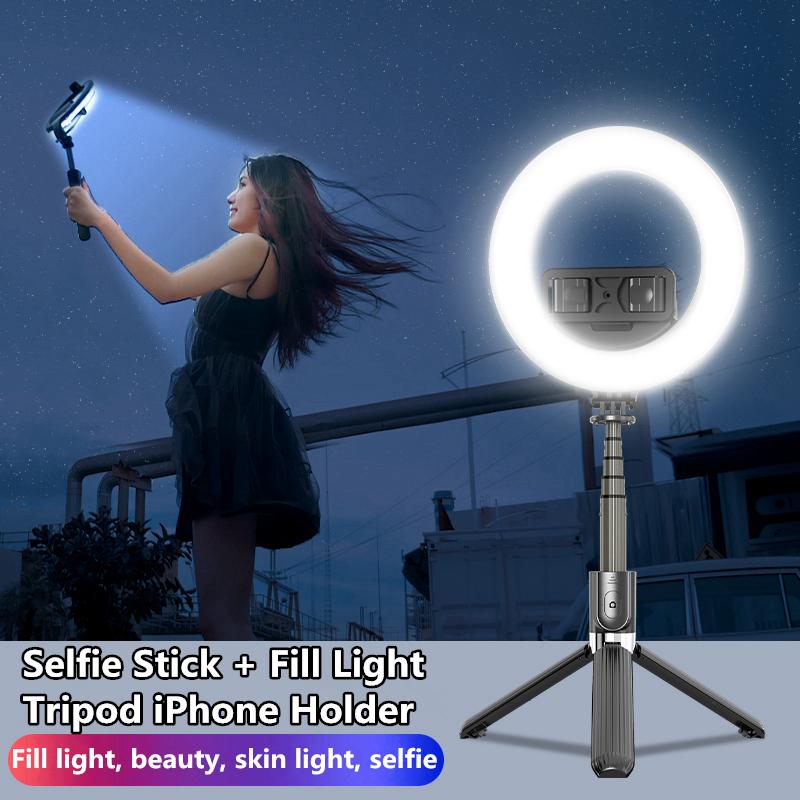
One of the primary advantages of using a selfie stick for video is that it allows you to achieve a variety of angles and perspectives that would be difficult to get from simply holding your phone. Here’s how to make the most of those angles:
- High-Angle Shots: For a flattering look, try holding the selfie stick high above your head to create an aerial view. This is ideal for outdoor scenes, group shots, or showing off the environment around you. High-angle shots make the subject appear smaller and can add a sense of grandeur.
- Low-Angle Shots: Conversely, holding the stick at a low angle (pointing upwards) can give the subject a larger-than-life appearance. This angle is often used for dramatic effect in films and videos, such as capturing towering structures or creating an empowering shot of the subject.
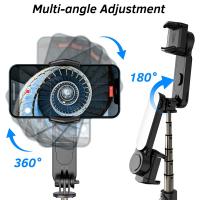
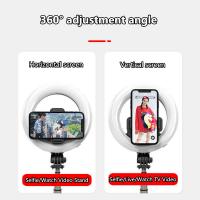
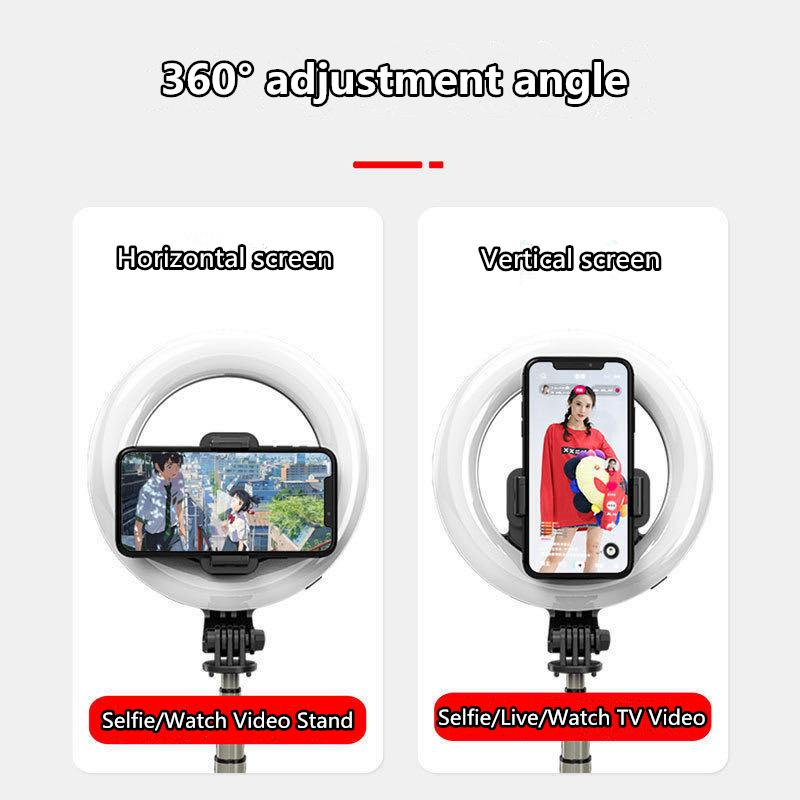
- 360-Degree Rotation: For dynamic shots, try rotating the selfie stick while filming. This works particularly well for vlogs or any situation where you want to show off your surroundings. The ability to move the stick around can add fluidity and engagement to your content.
- Wide-Angle Shots: The main benefit of using a selfie stick is the ability to widen your frame. In crowded places, for example, a wide-angle shot allows you to include everything in your scene, making the video feel more immersive. You can also achieve this by fully extending the selfie stick and holding it at arm’s length.
Step 3: Use a Bluetooth Remote for Smooth Control
If you’re using a Bluetooth-enabled selfie stick, you’ll have a remote control built into the handle. This allows you to start and stop your recording without having to touch your phone, ensuring a smoother filming experience. Here’s how to use the remote effectively:
1. Pairing the Remote: Make sure to pair the Bluetooth remote with your phone before starting your shoot. Simply turn on Bluetooth on your phone and follow the pairing instructions that come with your selfie stick.
2. Start Recording Hands-Free: The Bluetooth remote allows you to start and stop the video recording without physically touching your phone. This helps prevent shaky footage caused by accidentally bumping the phone while pressing the record button.
3. Take Advantage of the Remote Zoom Feature: Some selfie sticks come with a remote that allows you to zoom in or out, which is especially helpful for close-up shots or when you want to adjust the framing on the fly.
Step 4: Stabilization is Key
Shaky footage can be distracting and unprofessional, especially when you're shooting videos for a platform like YouTube or Instagram. Here are a few tips to keep your video steady:
- Use the Stick’s Built-in Stabilizer (if applicable): If your selfie stick has a built-in gimbal or motorized stabilizer, take advantage of it. These features help minimize shaky footage by automatically adjusting the position of the stick as you move.
- Keep Your Movements Smooth: When you’re holding the selfie stick, try to keep your movements as fluid and gentle as possible. Jerky or quick movements will result in shaky footage. Consider using your whole body to stabilize the stick rather than relying solely on your arms.
- Invest in a Separate Gimbal (Optional): For those who want to take their video quality to the next level, consider investing in a separate gimbal. Gimbals are more advanced stabilization tools that can be attached to your phone and offer greater control over motion, resulting in incredibly smooth footage even while walking or moving.
Step 5: Framing Your Subject
Good video framing is crucial for keeping the viewer’s attention. Here’s how to use your selfie stick to properly frame your subject:
- Center the Subject: Make sure the subject you’re filming is properly centered in the frame. This is especially important for talking-head videos or interviews. You want the subject to remain in focus and not cut off at the edges of the shot.
- Follow the Rule of Thirds: If you want your video to feel more dynamic, apply the rule of thirds. Imagine your frame divided into a 3x3 grid. Place the key elements of your shot along these lines or at their intersections. This technique creates a more visually interesting video and draws attention to important parts of the scene.
- Wide Shots and Establishing Shots: Use wide shots to introduce a scene or provide context. These are particularly helpful when you're vlogging or doing a travel video. For example, in a travel vlog, a wide shot of a beautiful landmark or a bustling street can help immerse your audience in the experience.
Step 6: Avoid Common Pitfalls
While selfie sticks are easy to use, there are a few common mistakes that can ruin your video. Here’s what to avoid:
- Overextending the Stick: While it may seem tempting to extend the selfie stick to its full length, doing so can make the footage shaky, especially if you're walking or moving around. The further you extend the stick, the less stable it will be, so use the optimal length for each shot.
- Unintended Hand Movements: It’s easy to unintentionally create jerky footage by moving the stick too much. Try to keep your hands steady while filming, and avoid sudden movements that can affect the video’s quality.
- Not Considering Lighting: Good lighting is essential for high-quality video. If you're filming outside, make sure the lighting is flattering for the subject. Avoid filming directly into harsh sunlight or at night without sufficient lighting.
Step 7: Editing Your Video
After you’ve captured your video with your selfie stick, the next step is editing. Selfie sticks provide a lot of flexibility in terms of framing, so now is the time to enhance your footage. Here are some basic editing tips:
- Stabilization: If you notice any shakiness in your footage, many video editing software tools (like Adobe Premiere Pro, Final Cut Pro, or even mobile apps like iMovie) offer stabilization features that can smooth out minor jitters.
- Cutting Out Unnecessary Movements: If your selfie stick was accidentally swaying during the shoot, you can cut out the rough parts or trim the video to focus on the best moments.
- Adding Transitions: To create a seamless viewing experience, add smooth transitions between different shots. This will make your video feel more professional and cohesive.
Using a selfie stick for video opens up a world of creative possibilities. Whether you’re looking for a steady shot while walking, a wide-angle view for scenic shots, or a hands-free recording experience, the selfie stick is an essential tool for creating dynamic video content. By choosing the right angles, ensuring proper stabilization, and avoiding common mistakes, you can significantly enhance your video production quality. The key to mastering a selfie stick for video lies in practicing different techniques and understanding how the tool fits into your creative vision.


