How To Use Switch Memory Card?
Switch Memory Card Guide: Maximizing Storage and Performance
In the dynamic world of gaming, Nintendo Switch has firmly established itself as a go-to console for gamers of all ages. One of the features that add to its versatility and popularity is the ability to expand storage through memory cards. However, understanding how to use these memory cards effectively is crucial for optimizing your gaming experience. This comprehensive guide will delve into the step-by-step process of using a Switch memory card, covering essential aspects such as selecting the right card, formatting it, managing data, and troubleshooting common issues.
Selecting the Right Memory Card
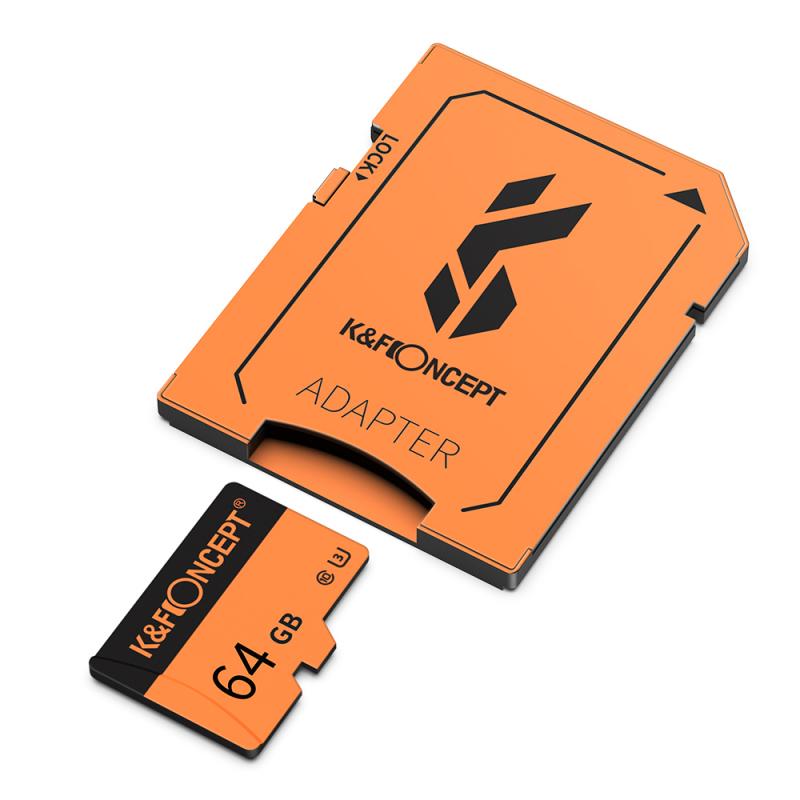
Choosing the right memory card is the first step in expanding your Nintendo Switch's storage. Not all memory cards are created equal, so here are some factors to consider:
Type and Speed

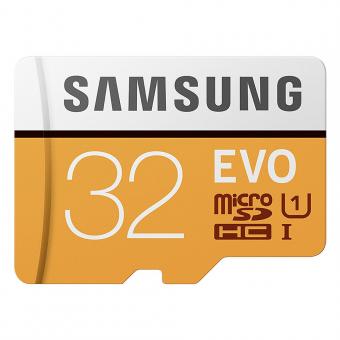
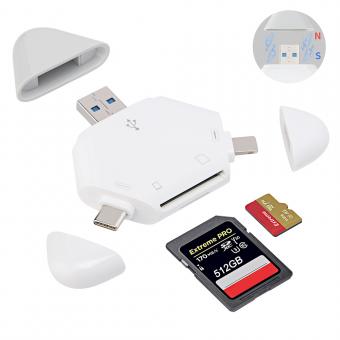
- MicroSDHC vs. MicroSDXC: The Nintendo Switch supports both MicroSDHC (High Capacity) and MicroSDXC (Extended Capacity) cards. MicroSDHC cards have a capacity of up to 32GB, whereas MicroSDXC cards can go up to 2TB. For most users, a MicroSDXC card is recommended due to its larger capacity.
- Speed Class: Look for cards with a UHS (Ultra High Speed) rating. UHS-I cards with a U3 speed class are ideal as they provide faster read and write speeds, which can help in minimizing load times and improving overall game performance.
Capacity
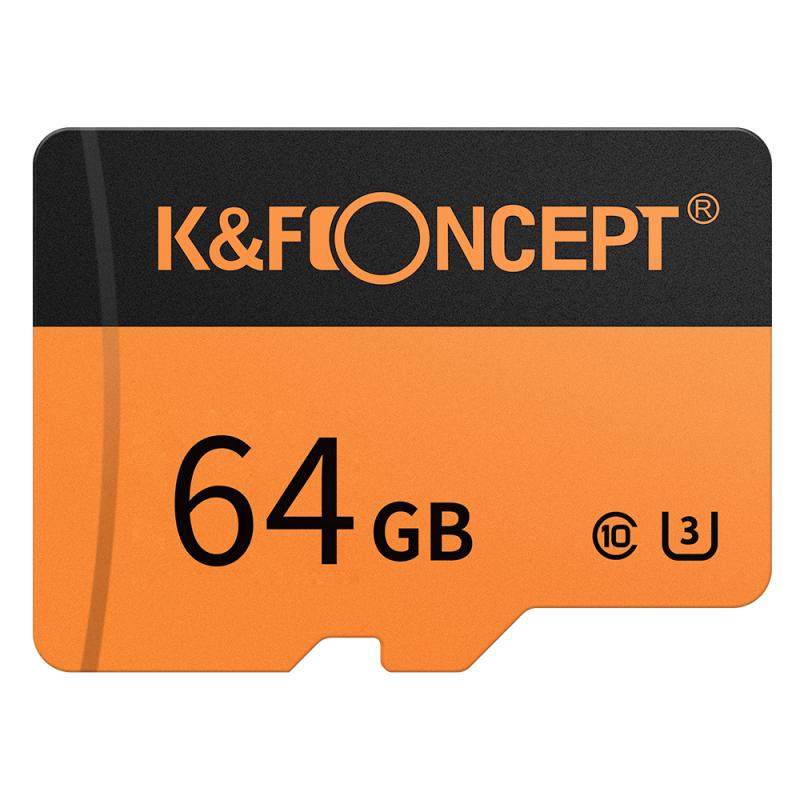
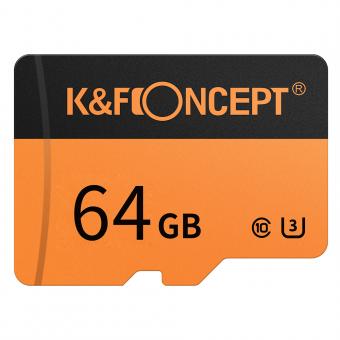
- Storage Needs: The capacity required depends on your gaming library. For casual gamers, a 64GB to 128GB card might suffice. However, if you plan to download numerous games and additional content, opting for a 256GB or larger card is advisable.
Brand Reliability
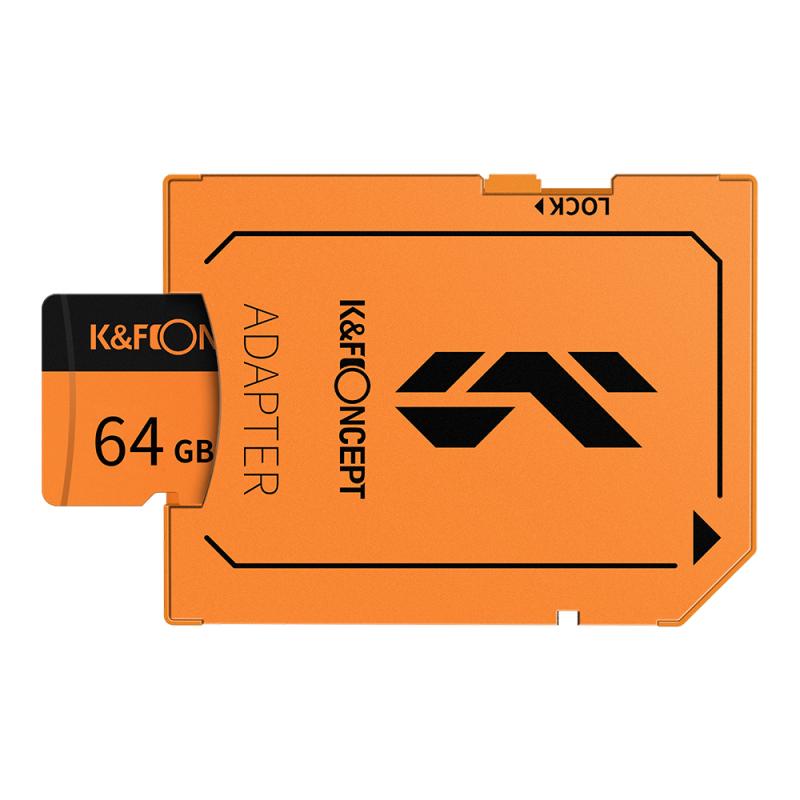
- Trusted Brands: Stick with well-known brands like SanDisk, Samsung, and Kingston. These brands offer reliable performance and durability, ensuring your data remains safe.
Installing the Memory Card
Once you have the right card, the next step is installing it into your Nintendo Switch.
Power Off the Device
1. Ensure Safety: Turn off your Nintendo Switch to prevent any data corruption or hardware issues. Hold down the power button on the top of the console until the power menu appears, then select "Power Options" and finally "Turn Off."
Insert the Card
2. Locate Slot: Flip open the kickstand at the back of your Switch to reveal the MicroSD card slot.
3. Insert Carefully: Insert the memory card into the slot with the label facing away from the console. Push it in until it clicks into place.
Power On and Format
4. Turn On: Power on your Switch by pressing the power button.
5. Format the Card: Navigate to "System Settings," then scroll down to "System," select "Formatting Options," and choose "Format microSD Card." Follow the prompts to complete the process. Formatting is crucial as it ensures compatibility and optimal performance.
Managing Data on Your Memory Card
With your memory card installed and formatted, managing your data efficiently comes next.
Moving Data
1. Internal to External Storage: To transfer data from the internal storage to your new memory card, go to "System Settings," then "Data Management." Select "Move Data Between System / microSD Card" and choose the data you wish to move.
2. Game Data: You can also redownload games directly to the memory card by setting it as the default storage for downloads in the "Data Management" section.
Organizing Files
3. Organize Efficiently: As you download or transfer data, consider maintaining an organized structure by categorizing games, updates, and saved data. This makes navigation easier and improves efficiency.
Troubleshooting Common Issues
Even with meticulous handling, you may encounter some issues with your memory card. Here’s how to address them:
Error Messages
1. Incompatible Card: If you receive an error message stating the card is incompatible, ensure it meets the Switch’s specifications (MicroSDHC or MicroSDXC, UHS-I U3 speed class). Reformat the card if necessary and try again.
2. Corrupted Data: Data corruption can happen due to improper ejections or sudden power losses. Back up your data regularly and reformat the card if you suspect corruption. Reinstall affected games or applications post-formatting.
Slow Performance
3. Check Speed Class: Ensure you’re using a high-speed card. Lower speed classes can cause lag and extended load times.
4. Free Up Space: If the card is nearly full, transfer some data to another storage device. It's recommended to have at least 10-20% free space to maintain optimal performance.
Maximizing the Lifespan of Your Memory Card
Prolonging the lifespan of your memory card not only protects your data but also ensures the continued smooth operation of your Nintendo Switch.
Regular Maintenance
1. Data Backups: Periodically back up your data to another storage device or cloud service. This protects against data loss due to card failures.
2. Avoid Physical Damage: Handle the card with care, avoiding exposure to dust, moisture, or extreme temperatures.
Safe Ejection
3. Proper Ejection: Always turn off your Switch before removing the memory card to avoid data corruption. Follow the same careful procedure when inserting the card.
Expanding your Nintendo Switch's storage with a memory card is a straightforward yet essential process for enhancing your gaming experience. From selecting the right card to installing, managing data, troubleshooting issues, and maximizing the card's lifespan, every step is crucial. By following the guidelines and best practices outlined in this guide, you can ensure your Switch operates smoothly, providing you with countless hours of uninterrupted gaming fun.
Whether you are a casual player or a dedicated gamer, a well-managed memory card can make a significant difference in your Nintendo Switch experience. Equip yourself with the knowledge and tools needed, and enjoy the vast library of games the Switch has to offer without worrying about storage limitations. Happy gaming!

