How To View Cameras On Wifi Network?
How to View Cameras on Your Wi-Fi Network: A Complete Guide
In today's connected world, more and more households and businesses are adopting IP cameras for surveillance and security. These cameras, which connect to your Wi-Fi network, allow you to monitor activities from anywhere—whether you're at home, at the office, or on the go. However, many users struggle with setting up and viewing these cameras over a Wi-Fi network. If you’ve been wondering how to view cameras on your Wi-Fi network effectively, this article will walk you through the entire process—from setting up the camera to accessing the footage remotely.
Understanding IP Cameras and Wi-Fi Networks
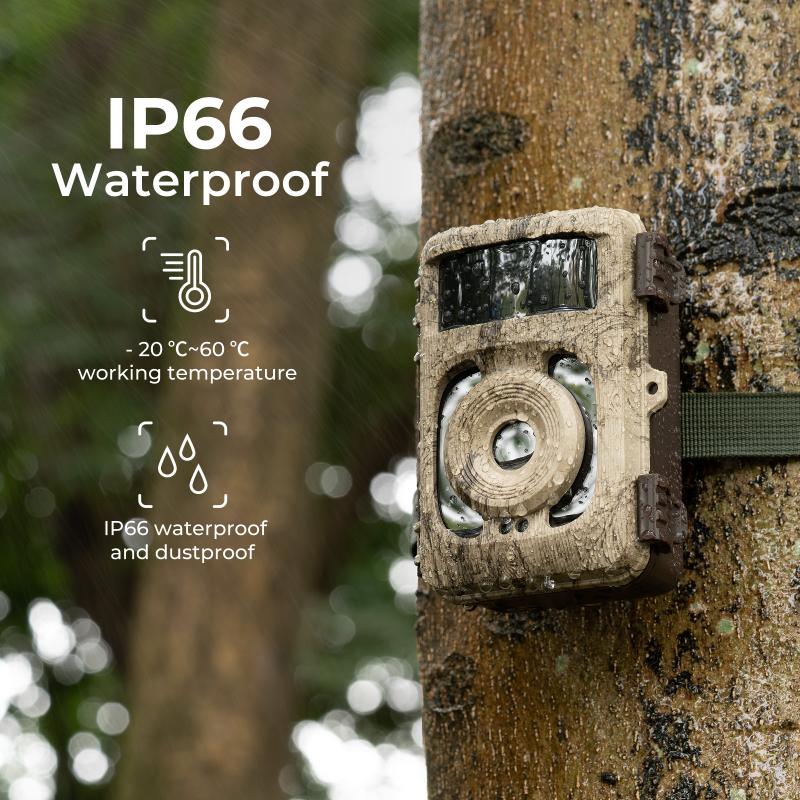
Before diving into the specifics of viewing cameras on your Wi-Fi network, it's important to understand how IP cameras work. An IP camera (Internet Protocol camera) is a digital video camera that transmits data over a network (usually Wi-Fi) to a storage device or viewing platform. This means that, unlike traditional CCTV cameras which use a direct cable connection to a monitor or recording device, IP cameras send video streams through the internet.
The cameras are typically connected to your Wi-Fi router, which then enables them to communicate with your smartphone, computer, or other devices. The advantage of IP cameras is their ability to provide real-time footage without the need for extensive wiring. Additionally, they often come with advanced features like motion detection, cloud storage, and remote viewing capabilities.
Step-by-Step Guide to Viewing Cameras on a Wi-Fi Network
1. Set Up the Camera on Your Wi-Fi Network
The first step in the process is to set up your IP camera and connect it to your Wi-Fi network. Most IP cameras come with detailed instructions, but here’s a general overview of the setup process:
- Install the Camera: Position the camera in a location with a good view of the area you want to monitor. Ensure that it is within range of your Wi-Fi router for a stable connection.
- Power Up: Plug in the camera and ensure it is powered on. Some cameras may have a status LED that blinks to indicate the device is ready to be configured.
- Connect the Camera to Your Wi-Fi Network:
- Using an App: Most modern cameras come with a companion app that allows you to set up the device. Download the app on your smartphone (available for iOS and Android).
- Wi-Fi Configuration: In the app, follow the on-screen instructions to connect your camera to the Wi-Fi network. This typically involves selecting your Wi-Fi network from a list and entering the Wi-Fi password.
- Via QR Code: Some cameras offer an easy setup method through a QR code. You will scan the code with your phone or the app, which then automatically configures the camera to your network.
- Test the Connection: After setting up the camera, ensure that it is transmitting video by checking the live feed in the app or on the camera’s web interface.
2. Accessing the Camera Locally on Your Network
Once your camera is connected to the Wi-Fi network, you can view the feed locally on your network. This can be done through your smartphone, computer, or a dedicated monitor.
- Smartphone or Tablet: Open the camera app that you used to configure the camera. The app should automatically detect the camera if it’s connected to the same Wi-Fi network. Once the camera is found, you can tap on it to view the live feed.
- PC or Laptop: Some IP cameras allow you to access their feed through a web browser. This is usually done by entering the camera’s IP address into the browser’s address bar. For example, if your camera’s IP address is 192.168.1.10, you can type that in, and it will prompt you for a username and password. After logging in, you’ll be able to view the camera’s feed.
- Third-Party Software: Many users prefer to use third-party software like Blue Iris, iSpy, or SecuritySpy to manage multiple IP cameras. These programs offer more advanced features such as motion detection alerts, video recording, and the ability to view multiple cameras simultaneously.
3. Viewing the Camera Remotely
One of the main advantages of IP cameras is the ability to access the camera feed remotely—whether you're at work, on vacation, or anywhere else. To view your camera remotely, you will need to ensure that it is set up for remote access.
- Cloud Services: Many modern IP cameras come with cloud storage and remote viewing capabilities built-in. Cameras like Nest, Ring, Arlo, and Wyze offer cloud services that allow you to view live footage or review past recordings from anywhere with an internet connection. Simply log into the associated app or website to access your camera feed.
- Port Forwarding (For Direct Access): If your camera does not provide cloud services, you can configure your router for port forwarding. This allows you to access the camera directly from your browser or app using your external IP address. The steps typically include:
1. Login to Router Settings: Open your browser and go to your router’s IP address (e.g., 192.168.1.1).
2. Find Port Forwarding Section: Locate the port forwarding section, usually under advanced settings.
3. Add a New Rule: Create a rule that forwards a specific port (usually port 80 for HTTP or 443 for HTTPS) to the internal IP address of your camera.
4. Access via External IP: Once port forwarding is set up, you can access the camera feed remotely by entering your external IP address (found by searching “What’s my IP?” in a search engine) followed by the port number in the browser. Example: `http://your-external-ip:8080`.
- VPN (Virtual Private Network): A more secure way to access your camera remotely is through a VPN. Setting up a VPN on your home network allows you to create a secure connection between your remote device and your home network. With a VPN, it will be as if you’re physically on the same network, and you can view your camera feed securely without exposing it to the internet.
4. Troubleshooting Common Issues
While the process of viewing your camera on a Wi-Fi network is generally straightforward, there can be some issues that arise. Here are some common problems and solutions:
- Camera Not Appearing in the App: If the camera doesn’t show up in your app or software, make sure it is connected to the same Wi-Fi network. Check if the camera is powered on and if the Wi-Fi signal is strong. You might need to reset the camera or restart your router.
- Lag or Low Quality Feed: If you experience lag or poor video quality, ensure that your Wi-Fi network has sufficient bandwidth. Cameras can consume a lot of data, especially when streaming at high resolution. You may need to upgrade your router or move the camera closer to the router for a stronger signal.
- Remote Access Issues: If you’re having trouble accessing your camera remotely, double-check the port forwarding settings or ensure that your cloud services are properly configured. Using a VPN is another option to secure and stabilize remote access.
5. Security Considerations
When setting up and using cameras on your Wi-Fi network, security is paramount. Exposing your cameras to the internet can create vulnerabilities if not done correctly. Here are a few tips to keep your surveillance system secure:
- Change Default Passwords: Always change the default username and password provided by the camera manufacturer. Use strong, unique passwords for both the camera and the router.
- Use Two-Factor Authentication (2FA): Many camera apps and services offer two-factor authentication, which provides an additional layer of security. Enable this feature if available.
- Update Firmware Regularly: Manufacturers release firmware updates to fix security vulnerabilities. Keep your camera’s firmware up to date to protect it from potential cyber threats.
- Network Segmentation: Consider placing your cameras on a separate Wi-Fi network (a guest network) rather than your main home or office network. This way, if the camera is compromised, your other devices remain secure.
Viewing cameras on your Wi-Fi network is not just about convenience; it’s about enhancing security, protecting your home or business, and having peace of mind. By following the steps outlined in this guide, you can easily set up and access your IP cameras locally and remotely. Whether you’re using a smartphone app, a browser interface, or third-party software, the process remains relatively simple, provided your Wi-Fi network is set up correctly. Always prioritize security in your setup to ensure that your camera feed is protected from unauthorized access. With the right knowledge and tools, you can confidently monitor your property from anywhere in the world.













There are no comments for this blog.