How To Watch Recorded Security Camera Footage?
Security cameras have become an integral part of our daily lives, whether for home security, business monitoring, or public safety. One of the key functionalities of security cameras is the ability to record footage for later review. Whether you're looking to solve a mystery, verify an event, or simply keep an eye on things, knowing how to watch recorded security camera footage is essential. In this comprehensive guide, we will walk you through the process step-by-step, address common concerns, and help you resolve practical problems you might face along the way.
Understanding Your Security Camera System
Before diving into the process of watching recorded footage, it is essential that you understand the type of security camera system you have. There are generally two main types:
1. Analog CCTV Systems: These are traditional surveillance systems that use coaxial cables to transmit video to a Digital Video Recorder (DVR). The footage is stored on a hard drive within the DVR.
2. IP Camera Systems: These modern systems utilize Internet Protocol (IP) to transmit footage digitally to a Network Video Recorder (NVR) or sometimes directly to cloud storage.
Accessing Recorded Footage on a DVR System
Step 1: Connecting to Your DVR
- Direct Connection: Your DVR will usually be connected to a monitor. Use the provided cables to connect the DVR to the monitor. Switch on both devices.
- Remote Connection: Some DVRs allow remote access via the internet. You’ll need to connect your DVR to a router using an Ethernet cable and configure network settings.
Step 2: Navigating the DVR Menu
- Access the DVR Menu: Use the remote control or buttons on the DVR to access the main menu.
- Find Recorded Footage: Look for an option labeled "Playback," "Search," or similar.
Step 3: Selecting the Footage
- Choose Date and Time: Use the interface to select the specific date and time you wish to review. Some DVRs offer a timeline view to help you pinpoint the exact moment more easily.
- Playback Controls: Use play, pause, fast-forward, and rewind controls to view the footage.
Step 4: Exporting Footage (Optional)
- USB Drive: Many DVRs allow you to export footage to a USB drive. Insert the USB drive into the appropriate port and follow the on-screen instructions to save the footage.
Accessing Recorded Footage on an NVR System
Step 1: Connecting to Your NVR
- Direct Connection: Similar to DVRs, use your NVR’s provided cables to connect it to a monitor. Alternatively, NVRs are often accessed through a web interface or a dedicated app, allowing remote reviewing.
- Web Interface: Connect to the NVR over the internet by entering its IP address into a web browser. You will need login credentials for this.
Step 2: Navigating the NVR Menu
- Access the NVR Software: Depending on the manufacturer, the interface can vary. Use the menu options to find the recorded footage. The option is usually labeled as "Playback," "Search," or something related.
Step 3: Finding the Footage
- Search by Timestamp: Select the date and time you are interested in by using the on-screen calendar and timeline.
- Playback Options: Use the playback controls to watch, fast forward, rewind, or pause the footage.
Step 4: Exporting the Footage (Optional)
- USB or Network Export: Like DVRs, NVRs also have options to export selected footage to a USB drive or even send it over the network to a different storage location.
Cloud-Based Security Cameras
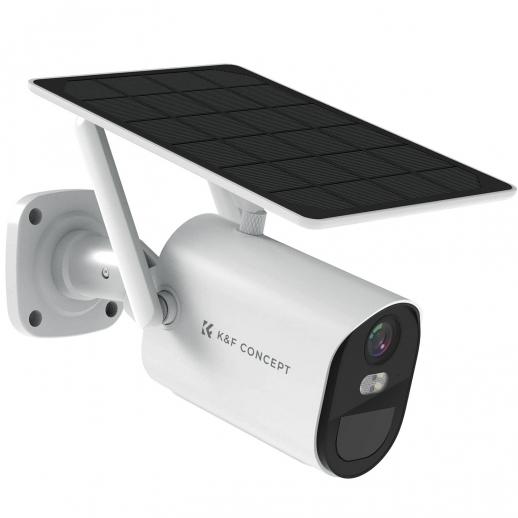
With advancements in technology, many modern security cameras use cloud storage to save recorded footage. This has the advantage of more accessible remote viewing but may come with subscription fees.
Step 1: Logging Into Your Cloud Service
- App Login: Most cloud-based systems offer mobile and desktop apps. Use your login credentials to sign in.
Step 2: Navigating the Cloud Interface
- Accessing Playback: Navigate to the playback or history section within the app. This section typically offers a calendar or timeline view.
Step 3: Viewing and Downloading Footage
- Select Date and Time: Similar to DVR/NVR systems, choose the date and time of the event you are interested in.
- Playback Controls: Use similar controls for playing, pausing, and fast-forwarding.
- Download Options: Many apps allow you to download segments of the footage directly to your device for offline viewing.
Common Issues and Solutions
Footage Not Loading
- Check Connections: Ensure all cables are securely connected. For networked systems, verify that the internet connection is stable.
- Reboot System: Sometimes, simply restarting the DVR/NVR or refreshing the app can solve loading issues.
Poor Video Quality
- Resolution Settings: Check if the recording quality settings are set to a lower resolution. Higher resolutions will have clearer footage but consume more storage.
- Camera Lens: Ensure the camera lens is clean. Sometimes, dirt or condensation can cause blurry footage.
Forgotten Login Credentials
- Reset Option: Look for a “Forgot Password?” option available in most cloud-based systems and some NVRs/DVDs allowing account recovery.
- Default Credentials: If you have never changed the credentials, consult your system’s manual for default login information.
Best Practices for Easier Access in the Future
Regular Maintenance
- Firmware Updates: Keep your DVR/NVR and cameras updated with the latest firmware to ensure compatibility and fix bugs.
Labeling Cameras
- Naming Conventions: If your system allows, name each camera according to its location. It makes identifying and searching for specific footage easier.
Scheduled Backups
- Regular Exports: Regularly export important footage and maintain backups. This can save critical data in case of system failure or physical damage.
Having security cameras is a step towards ensuring safety, but understanding how to access and review recorded footage is equally important. Different systems have their unique interfaces, but the core process remains consistent: connect to the recorder, navigate to the recorded footage, and utilize playback controls to review the content. With this guide, you should now be able to confidently watch recorded security camera footage, troubleshoot common issues, and employ best practices for easier access in the future. Stay vigilant, and you’ll always be a step ahead in securing your environment.


