How Use Button On Selfie Stick?
Selfie sticks have become an essential accessory for photography enthusiasts and casual users alike. They offer a convenient way to capture wide-angle selfies, group photos, and scenic backgrounds without the need for an extended arm or a second person. However, many users often find themselves puzzled by the button on their selfie stick. This article aims to demystify the process of using the button on a selfie stick, providing a comprehensive guide to ensure you get the most out of your device.
Understanding the Basics
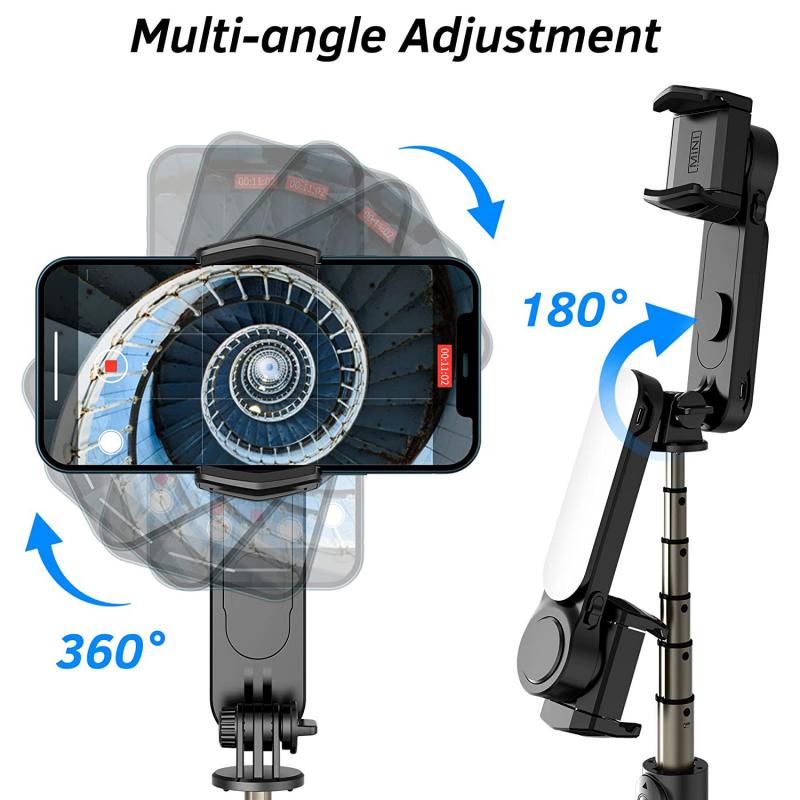
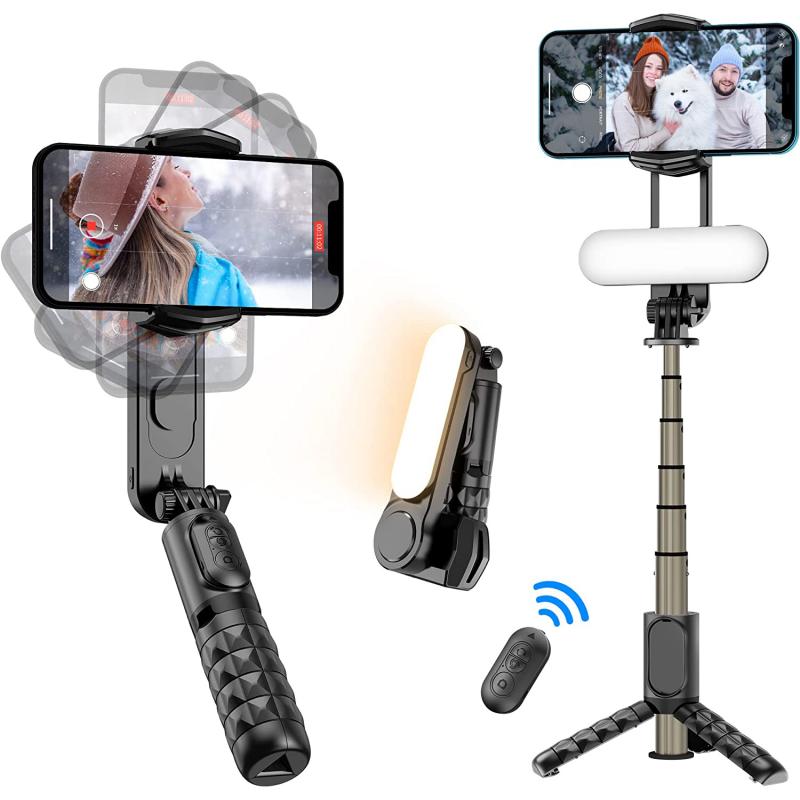
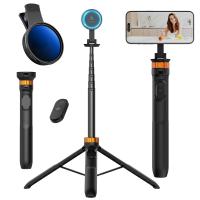
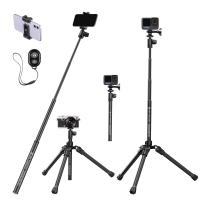
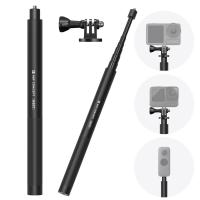
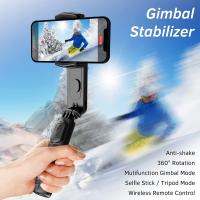
Before diving into the specifics of using the button on a selfie stick, it's crucial to understand the basic components of the device. A typical selfie stick consists of the following parts:
1. Handle: The part you hold onto.
2. Extendable Arm: The telescopic section that can be extended or retracted.
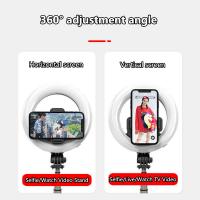
3. Phone Holder: The clamp that holds your smartphone in place.
4. Button: Usually located on the handle, this button is used to take photos or videos.
Types of Selfie Sticks
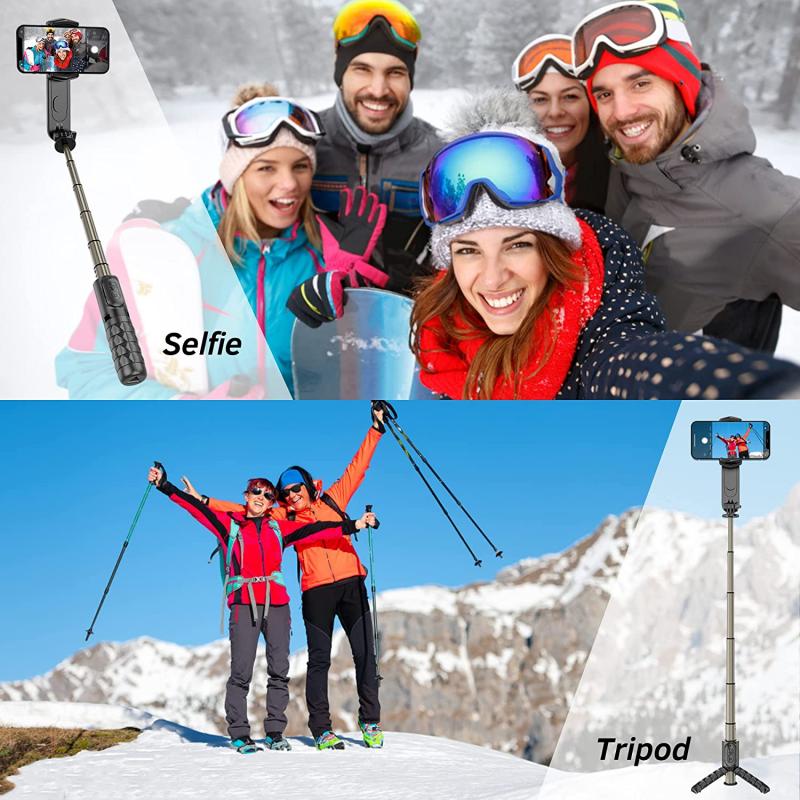
There are primarily two types of selfie sticks based on how the button functions:
1. Wired Selfie Sticks: These come with a 3.5mm audio jack that plugs into your phone's headphone port. The button on the handle sends a signal through this wire to trigger the camera shutter.
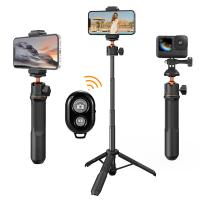
2. Wireless (Bluetooth) Selfie Sticks: These connect to your phone via Bluetooth. The button on the handle sends a wireless signal to your phone to take a photo or video.
Setting Up Your Selfie Stick
For Wired Selfie Sticks
1. Attach Your Phone: Secure your smartphone in the phone holder. Make sure it is tightly clamped to avoid any accidental drops.
2. Plug In the Audio Jack: Insert the 3.5mm audio jack into your phone's headphone port.
3. Open Your Camera App: Launch the camera application on your smartphone.
4. Extend the Arm: Adjust the length of the extendable arm to your desired length.
5. Press the Button: Once everything is set up, press the button on the handle to take a photo or start recording a video.
For Wireless (Bluetooth) Selfie Sticks
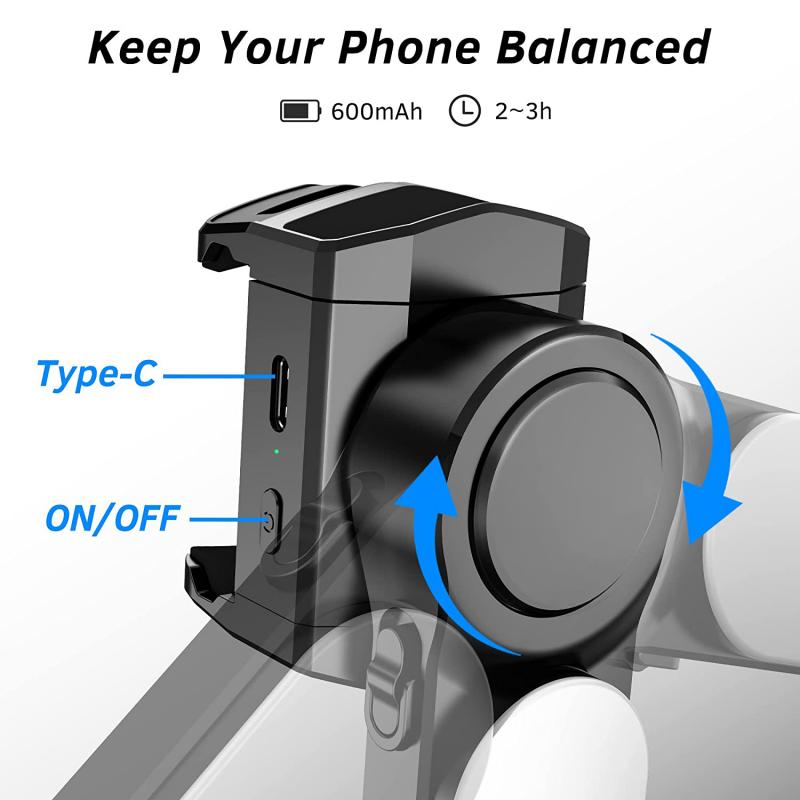
1. Charge the Selfie Stick: Ensure your selfie stick is fully charged. Most Bluetooth selfie sticks come with a USB charging cable.
2. Pair with Your Phone: Turn on the Bluetooth function on your smartphone. Press and hold the button on the selfie stick to enter pairing mode. Select the selfie stick from the list of available devices on your phone.
3. Attach Your Phone: Secure your smartphone in the phone holder.
4. Open Your Camera App: Launch the camera application on your smartphone.
5. Extend the Arm: Adjust the length of the extendable arm to your desired length.
6. Press the Button: Once everything is set up, press the button on the handle to take a photo or start recording a video.
Troubleshooting Common Issues
Button Not Working
- Wired Selfie Sticks: Ensure the audio jack is fully inserted into the headphone port. Some phones may require you to change the camera settings to recognize the selfie stick button as a shutter trigger.
- Wireless Selfie Sticks: Make sure the selfie stick is charged and properly paired with your phone. If the connection is unstable, try re-pairing the devices.
Phone Not Fitting Properly
- Adjust the Clamp: Most phone holders are adjustable. Ensure that the clamp is wide enough to hold your phone securely.
- Use a Case: If your phone is too thin, consider using a case to provide a better grip.
Poor Photo Quality
- Stabilize the Stick: Ensure that the selfie stick is stable and not shaking. Use both hands if necessary.
- Check Camera Settings: Make sure your camera settings are optimized for the best photo quality. Adjust the focus and exposure as needed.
Advanced Tips for Better Photos
1. Use a Timer: Some camera apps allow you to set a timer. This can be useful for reducing shake and ensuring everyone is ready for the photo.
2. Experiment with Angles: Don't just stick to the standard front-facing angle. Experiment with different angles to capture unique perspectives.
3. Utilize the Rear Camera: The rear camera on most smartphones offers better quality than the front camera. Use it for higher-quality photos.
4. Lighting: Ensure you have good lighting. Natural light is often the best, but if you're indoors, make sure the area is well-lit.
Using the button on a selfie stick may seem straightforward, but understanding the nuances can significantly enhance your photography experience. Whether you're using a wired or wireless selfie stick, following the steps outlined in this guide will help you capture stunning photos and videos with ease. Remember to troubleshoot common issues and experiment with advanced tips to take your selfie game to the next level. Happy snapping!










There are no comments for this blog.