Osmo Mobile 2 How To Record Sound?
# Mastering Sound Recording with the Osmo Mobile 2: A Comprehensive Guide
When capturing cinematic footage with the Osmo Mobile 2, many users are puzzled about how to record high-quality sound. This article will provide you with a step-by-step guide on effectively recording sound using the Osmo Mobile 2. We'll explore various techniques, the essential accessories you'll need, and address some common challenges you may face during the process.
## Understanding the Basics of Osmo Mobile 2
The Osmo Mobile 2 is a smartphone gimbal designed by DJI, specifically tailored to stabilize your footage. While it excels at smoothing out video, sound recording is a different beast altogether. The Osmo Mobile 2 itself doesn't have a built-in microphone; it relies on your smartphone's microphone to capture audio. As such, your audio quality directly depends on the capabilities of your smartphone and the environment around you.
Why Sound Quality Matters
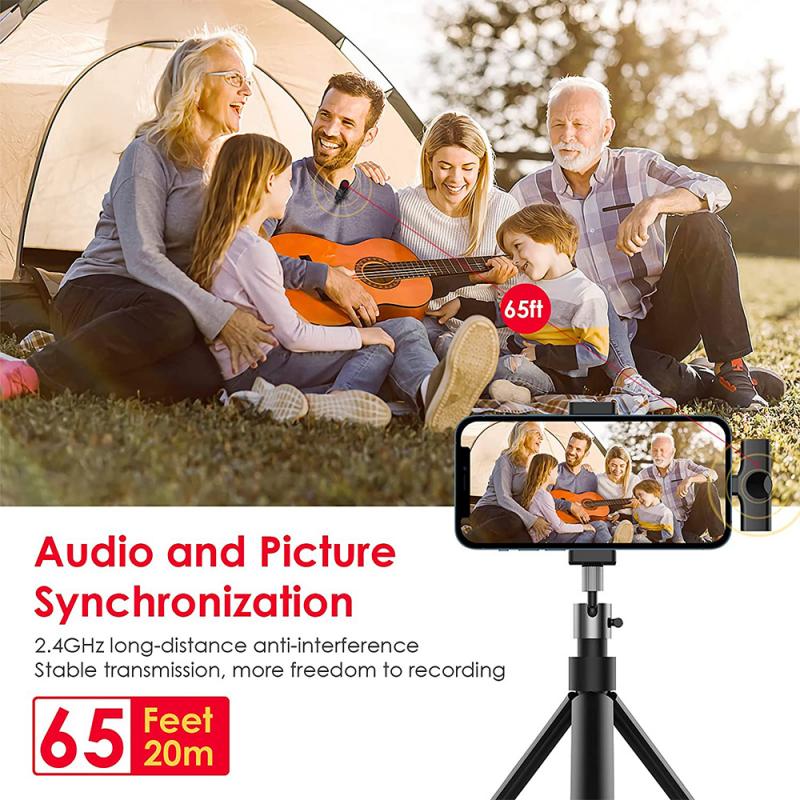
Clear and crisp sound is crucial for engaging video content. Poor sound quality can detract from the viewing experience and make even the most stunning visuals fall short. This is why understanding how to optimize your sound recording process with the Osmo Mobile 2 is imperative.
## Essential Tools and Accessories
To enhance the sound recording capabilities of your Osmo Mobile 2 setup, consider investing in the following tools and accessories:
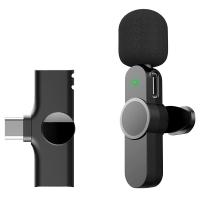
- External Microphones: These can significantly boost your audio quality. Options include lavalier mics, shotgun mics, and wireless systems.
- Audio Adapters: Depending on your smartphone's connections (3.5mm jack, USB-C, or Lightning), you may need an appropriate adapter.
- Windshields or Windjammers: To reduce wind noise when recording outdoors.
- Audio Recording Apps: These apps offer more control over sound levels and quality compared to the default smartphone recorder.
## Step-by-Step Guide to Recording Sound with the Osmo Mobile 2
1. Choosing the Right External Microphone
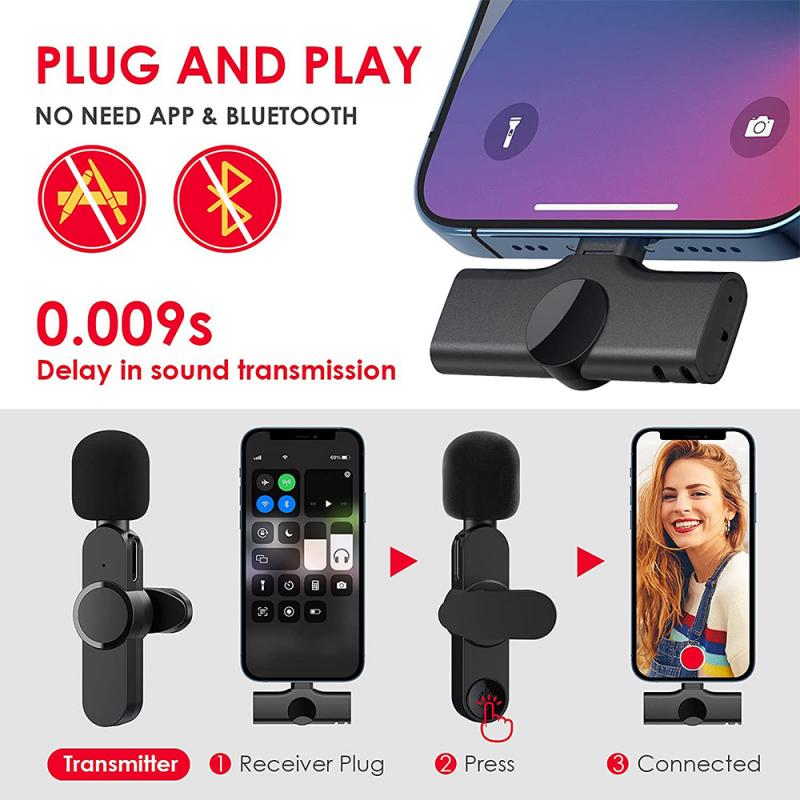
Firstly, pick an external microphone compatible with your recording needs. Here's a brief look at various types:
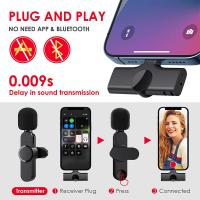
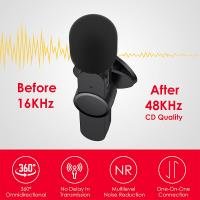
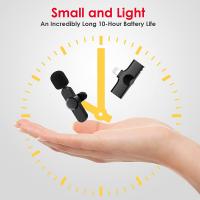
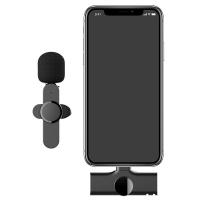
- Lavalier Microphones: Ideal for interviews and vlogs, lavalier mics are small and clip onto your clothing, providing hands-free audio capture.
- Shotgun Microphones: Perfect for directional recording, these mics capture sound from a specific area and are excellent for both indoor and outdoor settings.
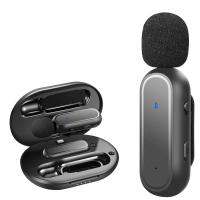
- Wireless Microphones: Best for mobility, wireless systems are great for dynamic recording scenarios where you need freedom of movement.
2. Connecting the Microphone to Your Smartphone
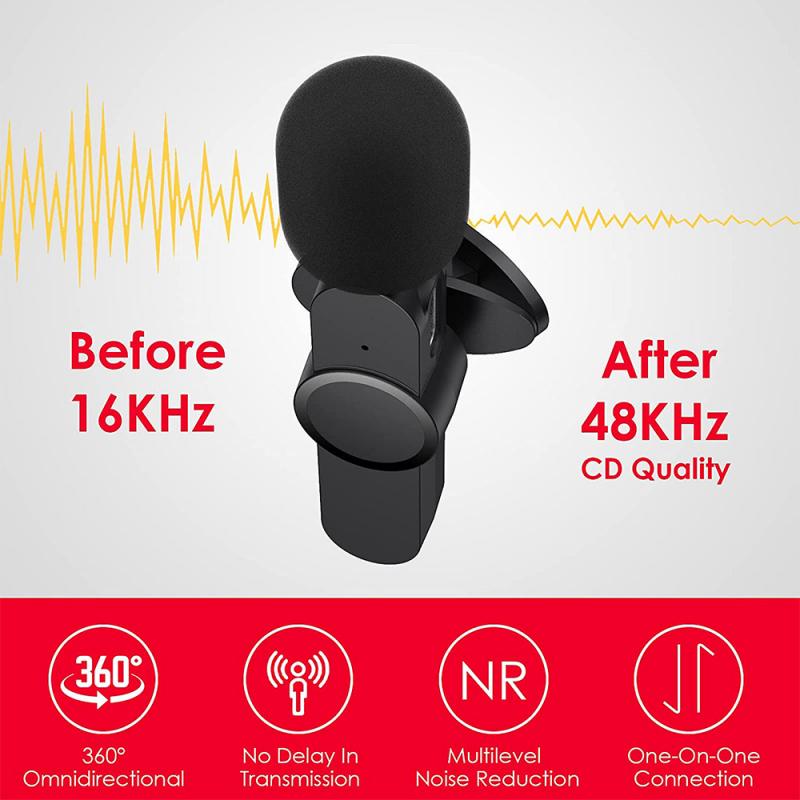
Once you've selected a suitable microphone, you’ll need to connect it to your smartphone. Modern smartphones may lack a traditional headphone jack, necessitating an audio adapter. Ensure your microphone's connector matches your smartphone's port (e.g., 3.5mm, USB-C, or Lightning).
3. Setting Up the Osmo Mobile 2
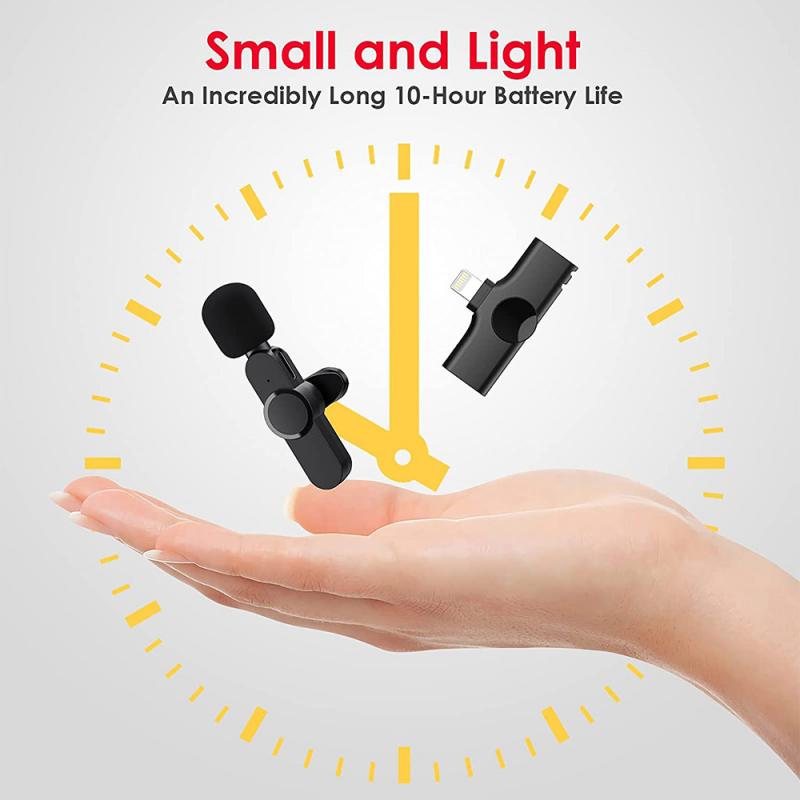
Mount your smartphone on the Osmo Mobile 2 and balance it correctly. Connect the external microphone to your smartphone, making sure that the wire does not obstruct the gimbal’s movement. This setup ensures seamless operation without compromising the stability of your footage.
4. Using Audio Recording Apps
While the default camera app is serviceable, specialized audio recording apps offer advanced features such as gain control, equalization, and real-time monitoring. Apps like Filmic Pro or Rode Rec are popular choices among professionals.
Configuring the App
Open your chosen app and navigate to the audio settings. Select the external microphone as your input source. This step is crucial for ensuring that audio is recorded via the external mic and not the internal smartphone mic.
5. Monitoring Audio Levels
Monitoring audio levels is an essential aspect of ensuring quality sound. Make use of headphones plugged into your smartphone or an audio interface to listen in real-time. Check for balance and peak levels to avoid distortion.
6. Minimizing Background Noise
Recording in a quiet environment yields the best results. However, when shooting outdoors or in noisy locations, use a windscreen or windshield on your microphone to reduce wind noise. Position yourself away from loud background sounds whenever possible.
7. Recording Tips and Best Practices
- Stay Close to the Microphone: The closer the sound source to the microphone, the clearer the audio.
- Use a Pop Filter: If using a handheld mic, a pop filter helps to minimize plosive sounds (like "p" and "t" sounds).
- Avoid Hand Noise: Any handling of the external microphone can introduce unwanted noise. Hold it steady or use a stand.
## Post-Production
Capturing high-quality sound is just half the battle. Post-production work polishes your audio and eliminates any imperfections.
Editing Software
Invest in reliable audio editing software like Adobe Audition, Audacity (free), or GarageBand. These tools allow you to tweak sound levels, remove noise, and add effects to enhance audio quality.
Syncing Audio with Video
If you record audio separately for better control, syncing it with your video footage is crucial. Most video editing software has features to match waveforms from the audio and video tracks, making this process seamless.
## Troubleshooting Common Issues
Static Noise or Interference
Static noise can ruin an otherwise perfect recording. To minimize this, ensure all connections are secure and use shielded cables if possible. Sometimes turning off other electronic devices nearby can mitigate interference.
Distorted Sound
Distortion often results from audio levels being too high. Adjust the gain settings in your recording app or lower the input volume directly from your microphone. Remember that a clean, undistorted recording is better than one that's too loud and clipped.
Sync Problems
If you encounter issues with syncing audio in post-production, double-check your recording settings, frame rates, and timecode (if applicable). Using a clapperboard or simply clapping at the start of the recording can provide a visual and auditory cue for easier synchronization later.
## Conclusion
Recording high-quality sound with the Osmo Mobile 2 might seem daunting, but with the right approach and tools, it's entirely achievable. By using external microphones, monitoring audio levels, and applying best practices during recording and post-production, you can ensure that your videos are complemented by crystal-clear sound. Following this comprehensive guide will help you elevate the quality of your content, making it more engaging and professional for your audience. Happy filming and recording!


