
Smart Life Camera How To Change Wifi Network?

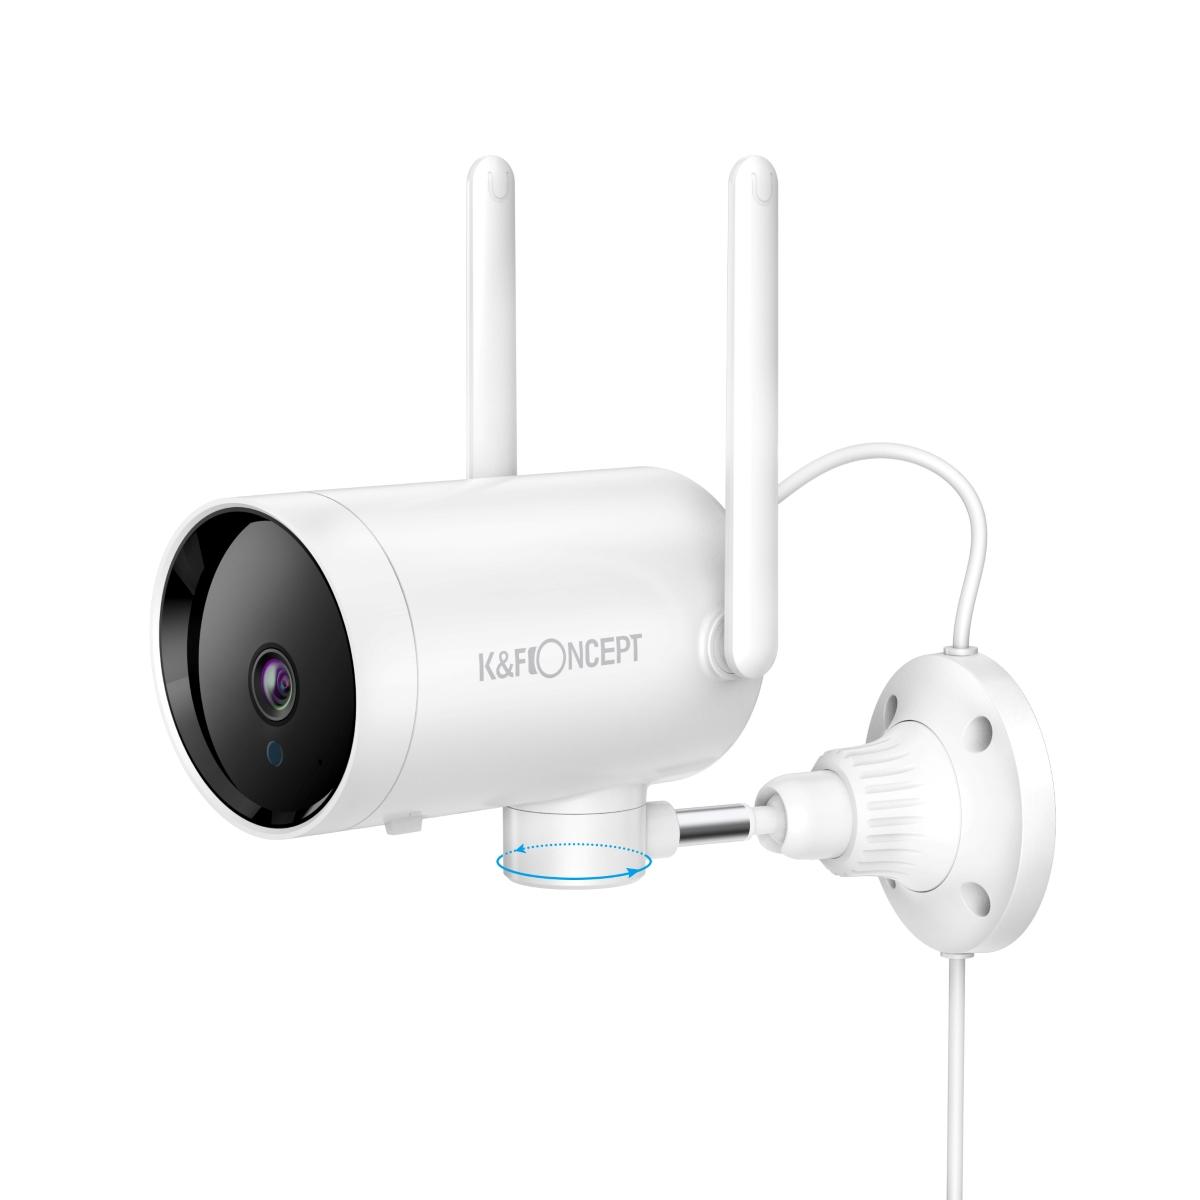
In today’s connected world, smart home devices like cameras are essential for monitoring security and keeping an eye on your property. The Smart Life camera, which integrates with platforms like Tuya, offers users the ability to monitor their homes remotely through their smartphones or tablets. However, there may come a time when you need to change the Wi-Fi network your Smart Life camera is connected to. Whether you’ve upgraded your router, changed your ISP, or simply need to move your camera to a different location with a different network, understanding how to switch the Wi-Fi network on your Smart Life camera is important.
This guide walks you through the steps involved in changing the Wi-Fi network on your Smart Life camera. We’ll also discuss common issues users face and provide troubleshooting tips to ensure that the process goes smoothly.
Why You Might Need to Change the Wi-Fi Network
Before we dive into the "how," let’s briefly discuss why this may be necessary. There are a few scenarios in which you might want to change the Wi-Fi network on your Smart Life camera:
1. Router Upgrade or Change: If you’ve upgraded your router or changed to a new Wi-Fi provider, the Smart Life camera will be connected to your old router settings and will no longer work unless you update the Wi-Fi credentials.
2. Relocation: If you move your camera to a different area of your home or office that has a separate Wi-Fi network, you’ll need to connect it to that new network.
3. Wi-Fi Signal Issues: If your current network’s signal strength is weak, moving to a new network with a stronger signal might improve the camera’s connectivity and performance.
4. Security Concerns: If you suspect that your network is compromised or that you need to improve the security settings, changing the camera’s Wi-Fi network might be a necessary step.
Step-by-Step Guide to Changing the Wi-Fi Network on a Smart Life Camera
Step 1: Open the Smart Life App
The first step is to open the Smart Life app on your smartphone or tablet. If you haven’t already installed the app, you can download it from the Google Play Store or Apple App Store.
Once the app is installed, open it and log in to your account. If you don’t have an account, you’ll need to create one.
Step 2: Access the Device Settings
Once logged in, locate your Smart Life camera in the app. It should appear on the main dashboard under the "Devices" section. Tap on the camera you wish to change the Wi-Fi settings for to enter the camera’s settings page.
Step 3: Reset the Camera (If Necessary)
In most cases, when you change the Wi-Fi network, your camera will need to be re-paired with the new network. To do this, you may need to perform a reset on the camera. Here’s how:
- Soft Reset: Press and hold the reset button on the camera for about 5–10 seconds until you hear a chime or see an indicator light flash. This resets the Wi-Fi settings on the camera without affecting other settings.
- Hard Reset: If the soft reset doesn’t work, perform a hard reset by pressing and holding the reset button for a longer period (usually around 15–20 seconds). This will restore the camera to its factory settings, which may be necessary if you can’t access the camera’s settings from the app.
Step 4: Connect the Camera to the New Wi-Fi Network
Once the camera is reset, you’ll need to reconnect it to the new Wi-Fi network. Here’s how to do that:
1. Enter Pairing Mode: After resetting, the camera should automatically enter pairing mode. If it doesn’t, follow the on-screen instructions in the Smart Life app to manually put the camera into pairing mode.
2. Select Wi-Fi Network: In the Smart Life app, select the “Add Device” option. The app will scan for available devices, and your camera should appear in the list. Follow the instructions to select the new Wi-Fi network that you want to connect to.
3. Enter Network Details: You’ll be prompted to enter the Wi-Fi network’s name (SSID) and password. Make sure to enter the correct details, including case sensitivity for the password. If you are using a 5GHz network, ensure the camera supports 5GHz connections, as some cameras only support 2.4GHz Wi-Fi.
4. Confirm Connection: Once you enter the correct Wi-Fi credentials, the camera should connect to the network. After a few moments, the app will confirm that the camera has successfully connected. You may see a success message or an indicator light on the camera itself confirming the connection.
Step 5: Test the Camera’s Connection
After the camera has successfully connected to the new network, it’s essential to test the camera’s functionality. Ensure that:
- The camera’s live feed is accessible from the Smart Life app.
- There is no delay or buffering when streaming video.
- You can control other settings like motion detection, recording options, or notifications as you did before.
If the camera is not responding correctly, try rebooting both the camera and your router to resolve any connectivity issues.
Common Problems and Troubleshooting Tips
While the process is straightforward, users may encounter some issues when trying to change the Wi-Fi network on their Smart Life camera. Here are a few common problems and how to fix them:
1. Unable to Find the Camera in the App
If the camera doesn’t appear in the app after you’ve reset it, make sure you’ve put the camera in pairing mode correctly. You may need to reset it again and ensure it is within the range of the new Wi-Fi network.
2. Camera Won’t Connect to Wi-Fi
If the camera won’t connect to the new network, double-check the Wi-Fi credentials to make sure you’ve entered the correct network name (SSID) and password. Also, ensure that the Wi-Fi network is working and that the camera is within range of the router. If you're using a 5GHz network, try switching to 2.4GHz since some cameras do not support 5GHz Wi-Fi.
3. Weak Wi-Fi Signal
If the camera is connecting but the feed is buffering or the image quality is poor, it might be due to a weak Wi-Fi signal. Consider moving the camera closer to the router or using a Wi-Fi extender to boost the signal strength.
4. Error Messages
If you see error messages in the Smart Life app, such as “Wi-Fi connection failed,” try restarting both the camera and the router. Sometimes, routers need to be rebooted for new devices to connect properly.
Additional Tips for a Smooth Wi-Fi Switch
- Check Your Internet Speed: Ensure that your new Wi-Fi network has sufficient speed and bandwidth for the camera. Some cameras require a stable connection with good upload speeds to stream video smoothly.
- Set Up Static IP: If you’re having trouble with connectivity or want to prevent the camera from losing its connection in the future, consider setting up a static IP address for the camera in your router’s settings. This ensures the camera will always use the same IP address.
- Update Firmware: Before changing the Wi-Fi network, make sure your camera’s firmware is up to date. Firmware updates often contain bug fixes and performance improvements that may resolve connection issues.
- Use a 2.4GHz Network for Better Coverage: While many newer routers offer dual-band (2.4GHz and 5GHz) networks, 2.4GHz tends to have better range, which is beneficial for smart devices like cameras that might be placed farther from the router.
Changing the Wi-Fi network on your Smart Life camera doesn’t have to be complicated. With the right steps, you can ensure that your camera reconnects to a new network and continues to provide reliable security monitoring for your home or business. Always remember to follow the app’s instructions carefully and perform resets when necessary. If you run into issues, the troubleshooting tips above should help you resolve common connection problems.
By understanding how to change the Wi-Fi network and being aware of potential issues, you can keep your Smart Life camera functioning smoothly and ensure your security system remains operational no matter where you decide to place it or change your network.


 Optical Glass Ultra-clear Waterproof Anti-Scratch Anti-Reflection Green Film Nano-X Series")

 Mist Cinematic Effect Filter for Vlog/Video/Portrait Image with 28 Multi-Layer Coated-Nano-X")


 Lens Filter Waterproof Scratch Resistant Nano-Xcel Series")

 Variable ND Filter Neutral Density Filter for Camera Lens Ultra-Slim, Multi Coated Nano-Klear")


There are no comments for this blog.