Trail Camera How Set Up New?
Setting Up a New Trail Camera: A Comprehensive Guide
Trail cameras have become indispensable tools for wildlife enthusiasts, hunters, and property owners alike. These devices allow you to monitor wildlife activity, track game, and even enhance security around your property. However, setting up a new trail camera can be a daunting task, especially for beginners. This guide aims to provide a step-by-step approach to setting up your new trail camera, ensuring you get the most out of your investment.
Understanding the Basics
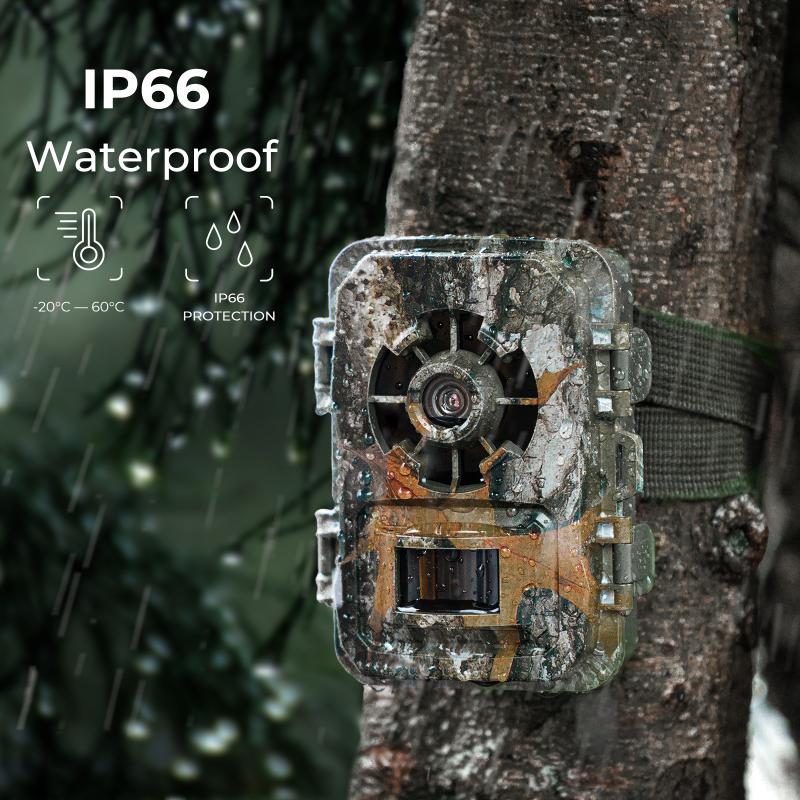
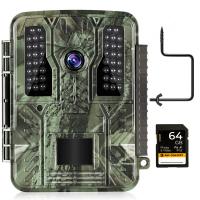
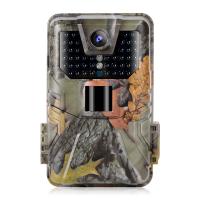
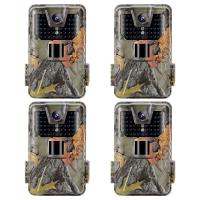
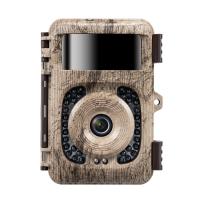
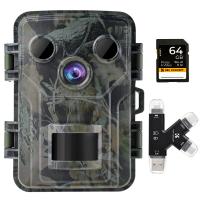
Before diving into the setup process, it's essential to understand the basic components and functionalities of a trail camera. Most trail cameras consist of the following parts:
1. Camera Lens: Captures images and videos.
2. Motion Sensor: Detects movement and triggers the camera.
3. Infrared LEDs: Provide illumination for night-time shots.
4. Control Panel: Allows you to configure settings.
5. Battery Compartment: Powers the device.
6. SD Card Slot: Stores captured images and videos.
Step-by-Step Setup Guide
1. Unboxing and Initial Inspection
Upon receiving your new trail camera, carefully unbox it and inspect all components. Ensure that the camera, mounting straps, and any additional accessories are present and in good condition. Read the user manual thoroughly to familiarize yourself with the specific features and functions of your model.
2. Powering Up
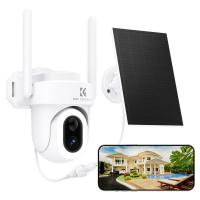
Most trail cameras are powered by AA batteries, although some models may use rechargeable lithium-ion batteries. Insert the batteries into the battery compartment, ensuring they are correctly oriented. Some cameras also support external power sources, such as solar panels, which can be a great option for long-term use.
3. Inserting the SD Card
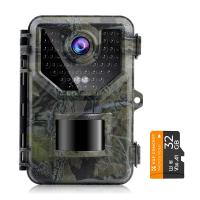
An SD card is essential for storing the images and videos captured by your trail camera. Insert a compatible SD card into the SD card slot. It's advisable to use a high-capacity card (32GB or higher) to avoid running out of storage space. Additionally, format the SD card using the camera's built-in formatting option to ensure compatibility.
4. Configuring Settings
Access the control panel to configure the camera settings. Key settings to consider include:
- Date and Time: Set the correct date and time to ensure accurate timestamps on your images and videos.
- Image Resolution: Choose the desired image resolution. Higher resolutions provide better image quality but consume more storage space.
- Video Length: Set the duration for video recordings. Shorter videos save storage space, while longer videos provide more context.
- Trigger Interval: Define the time interval between consecutive triggers to avoid capturing too many images of the same event.
- Sensitivity: Adjust the motion sensor sensitivity based on the environment. Higher sensitivity is suitable for detecting small animals, while lower sensitivity reduces false triggers from wind or vegetation.
5. Mounting the Camera
Selecting the right location and mounting the camera correctly are crucial for capturing useful footage. Follow these steps for optimal placement:
- Location: Choose a location with high wildlife activity or the area you wish to monitor. Look for animal trails, feeding spots, or water sources.
- Height: Mount the camera at a height of 3-4 feet for capturing medium to large animals. For smaller animals, consider mounting it lower.
- Angle: Position the camera at a slight downward angle to cover a broader area and reduce false triggers from the sky or distant objects.
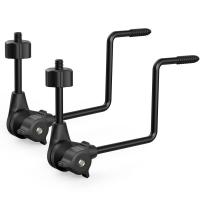
- Mounting: Use the provided straps or a mounting bracket to secure the camera to a tree, post, or other stable structures. Ensure the camera is stable and not prone to movement.
6. Testing the Setup
Before leaving the camera in the field, perform a test run to ensure everything is working correctly. Walk in front of the camera to trigger the motion sensor and verify that it captures images or videos as expected. Check the captured footage to ensure the camera is positioned correctly and the settings are appropriate.
Advanced Tips for Optimal Performance
1. Camouflage and Security
To prevent theft and avoid disturbing wildlife, consider camouflaging your trail camera. Use natural materials like leaves and branches or purchase a camouflage skin designed for your camera model. Additionally, use a security box and a cable lock to secure the camera against theft.
2. Regular Maintenance
Regularly check and maintain your trail camera to ensure it continues to function correctly. Replace batteries and SD cards as needed, and clean the camera lens and motion sensor to maintain image quality. Periodically review the captured footage to adjust settings and placement as necessary.
3. Data Management
Efficiently manage the data captured by your trail camera to make the most of your observations. Regularly transfer images and videos to your computer or cloud storage to free up space on the SD card. Use software tools to organize and analyze the data, helping you identify patterns and make informed decisions.
Troubleshooting Common Issues
Despite careful setup, you may encounter some common issues with your trail camera. Here are a few troubleshooting tips:
- False Triggers: If your camera is capturing too many empty shots, reduce the motion sensor sensitivity or reposition the camera to avoid moving vegetation.
- Blurry Images: Ensure the camera lens is clean and free of obstructions. Adjust the image resolution and check for any issues with the camera's focus.
- Short Battery Life: Use high-quality batteries and consider an external power source for extended use. Reduce the number of triggers and video length to conserve battery life.
- SD Card Errors: Ensure the SD card is compatible and properly formatted. Regularly check for any signs of damage or wear.
Setting up a new trail camera may seem complex, but with careful planning and attention to detail, you can achieve excellent results. By following this comprehensive guide, you'll be well-equipped to capture valuable footage, whether for wildlife observation, hunting, or property monitoring. Remember to regularly review and adjust your setup to adapt to changing conditions and maximize the effectiveness of your trail camera. Happy monitoring!














There are no comments for this blog.