What Camera Filter To Use Sunny Day?
When it comes to photography, capturing the perfect shot often requires more than just a good camera and a keen eye. One of the most essential tools in a photographer's kit is the camera filter, especially when shooting on a sunny day. The right filter can enhance colors, reduce glare, and add a professional touch to your photos. In this article, we will explore the different types of camera filters that are most effective for sunny day photography, their specific uses, and how to choose the best one for your needs.
Understanding Camera Filters
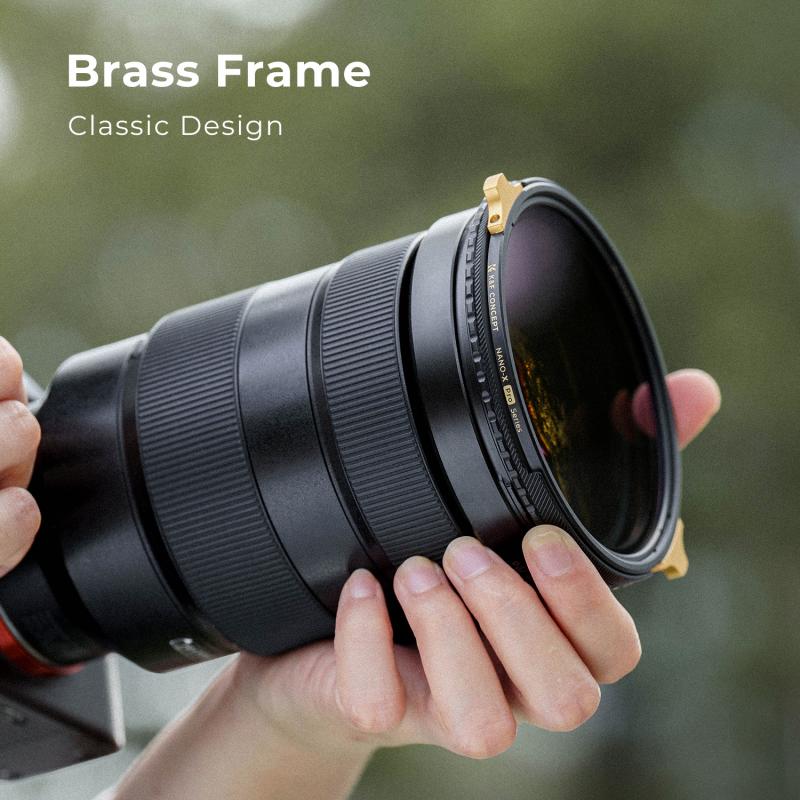
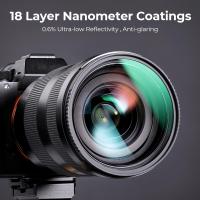
Camera filters are accessories that photographers attach to the front of their camera lenses. They serve various purposes, such as protecting the lens, enhancing colors, and controlling light. On a sunny day, the intensity of sunlight can create challenges like overexposure, harsh shadows, and glare. This is where camera filters come in handy.
Types of Camera Filters for Sunny Days
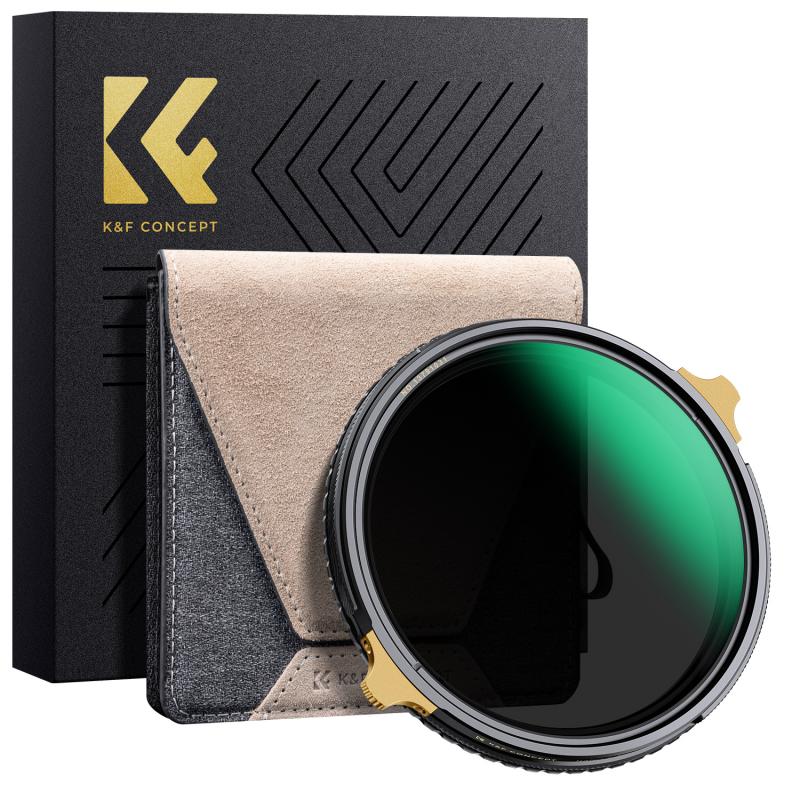
1. Polarizing Filters
- Purpose: Polarizing filters are perhaps the most popular choice for sunny day photography. They reduce reflections and glare from non-metallic surfaces like water and glass. Additionally, they enhance the colors of the sky and foliage, making them appear more vibrant.
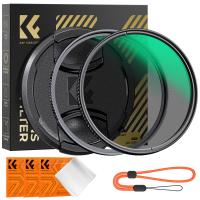
- Usage: To use a polarizing filter, simply rotate it until you achieve the desired effect. This filter is particularly useful for landscape photography, where you want to capture the deep blue of the sky and the rich greens of trees and grass.
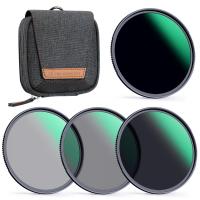
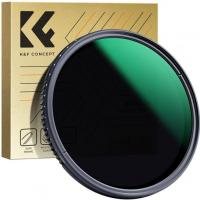
2. Neutral Density (ND) Filters
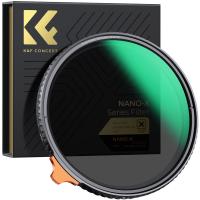
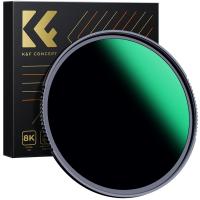
- Purpose: ND filters reduce the amount of light entering the lens without affecting the color of the image. This allows for longer exposure times, even in bright sunlight, which can create motion blur effects in water or clouds.
- Usage: ND filters come in various strengths, measured in stops. A 3-stop ND filter, for example, reduces the light by three stops, allowing for longer exposures. These filters are ideal for capturing smooth, flowing water or creating a sense of motion in a busy street scene.
3. Graduated Neutral Density (GND) Filters
- Purpose: GND filters are similar to ND filters but with a gradient. They are darker at the top and gradually become clear at the bottom. This is useful for balancing the exposure between the bright sky and the darker foreground.
- Usage: GND filters are commonly used in landscape photography. Position the darker part of the filter over the sky to prevent it from being overexposed while keeping the foreground properly exposed.
4. UV Filters
- Purpose: UV filters block ultraviolet light, which can cause haziness and reduce contrast in your photos. While modern digital cameras are less affected by UV light, these filters are still useful for protecting your lens from dust, scratches, and moisture.
- Usage: UV filters are straightforward to use. Simply attach them to your lens, and they will provide continuous protection without affecting your image quality.
5. Warming and Cooling Filters
- Purpose: Warming filters add a warm, yellowish tone to your photos, while cooling filters add a blueish tone. These filters can help correct the color temperature of your images, making them appear more natural.
- Usage: Use warming filters during the golden hour to enhance the warm tones of the sunlight. Cooling filters can be used in the shade or on overcast days to counteract the blueish tint.
Choosing the Right Filter
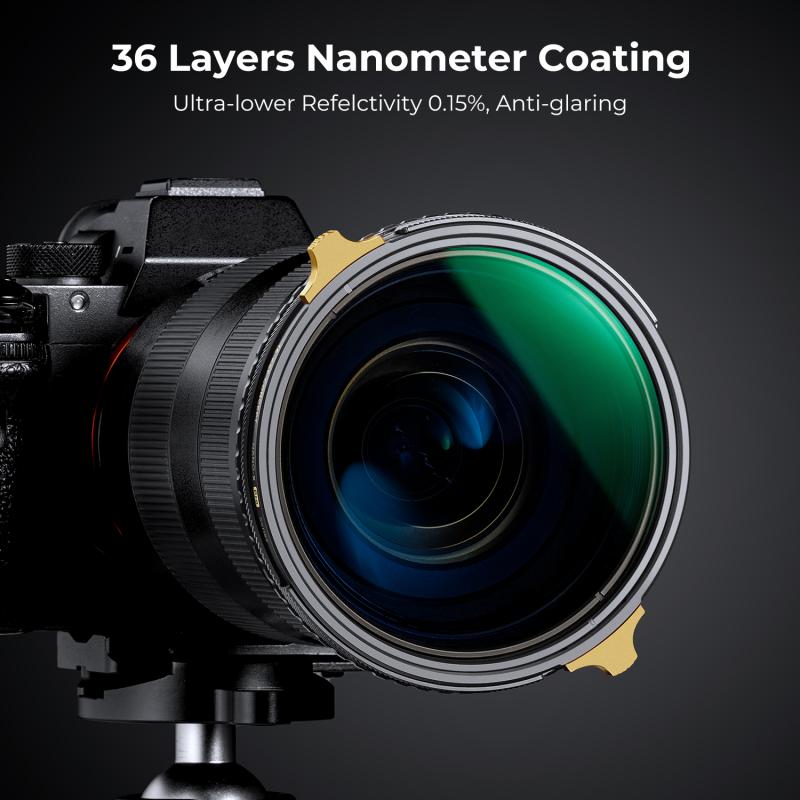
Selecting the right filter depends on the specific conditions and the effect you want to achieve. Here are some tips to help you make the best choice:
- Assess the Lighting Conditions: On a bright, sunny day, a polarizing filter can help reduce glare and enhance colors. If you want to create long exposure effects, an ND filter is essential.
- Consider the Scene: For landscape photography, a GND filter can help balance the exposure between the sky and the ground. For general protection and slight enhancement, a UV filter is a good choice.
- Experiment with Different Filters: Don't be afraid to try different filters and see how they affect your photos. Each filter can bring a unique quality to your images, and experimenting will help you understand their strengths and limitations.
Practical Tips for Using Filters
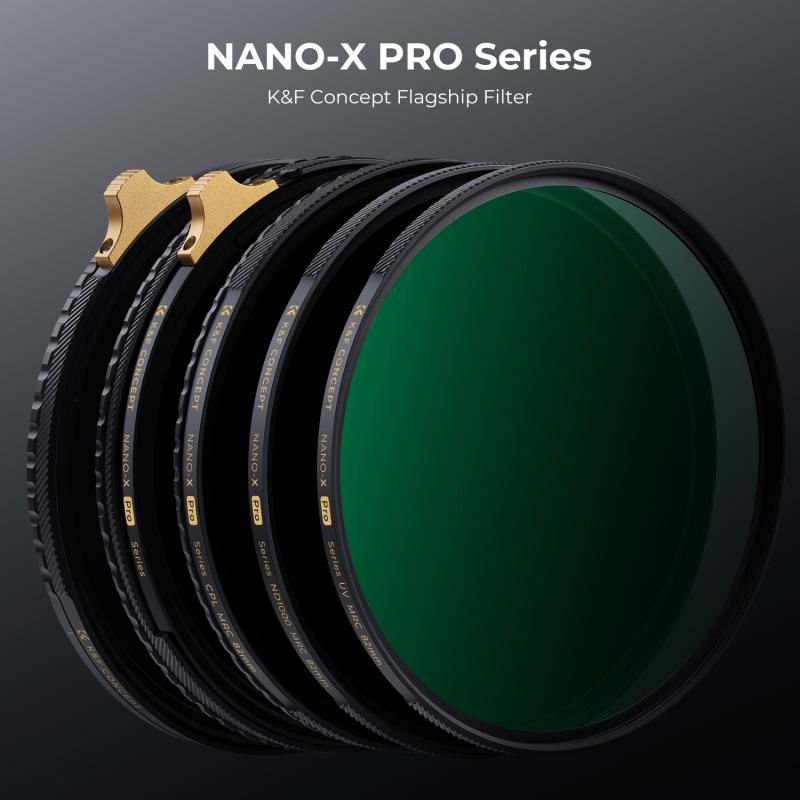
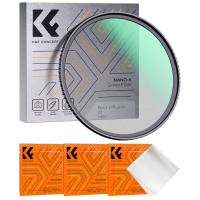
1. Keep Your Filters Clean: Dust and smudges can affect the quality of your photos. Use a microfiber cloth to clean your filters regularly.
2. Stack Filters with Caution: While it's possible to stack multiple filters, doing so can cause vignetting (darkening of the corners) and reduce image quality. Use filter stacking sparingly.
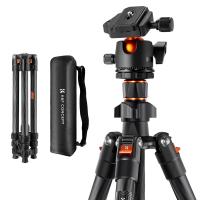
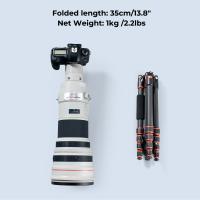
3. Use a Tripod for Long Exposures: When using ND filters for long exposure shots, a tripod is essential to keep your camera steady and avoid blurry images.
4. Adjust Your Camera Settings: Filters can affect the amount of light entering your lens, so you may need to adjust your camera settings accordingly. Use the camera's histogram to ensure proper exposure.
Camera filters are invaluable tools for photographers, especially on sunny days. Whether you're looking to reduce glare, enhance colors, or create stunning long exposure effects, the right filter can make a significant difference in your photos. By understanding the different types of filters and how to use them, you can take your photography to the next level and capture breathtaking images in any lighting condition.
Remember, the key to mastering the use of camera filters is practice and experimentation. So, grab your camera, attach your favorite filter, and head out to explore the world through your lens. Happy shooting!











There are no comments for this blog.