What Do You Need To Record Your Voice?
Recording your voice can be a straightforward process or a complex one, depending on your needs and the quality you aim to achieve. Whether you're a podcaster, a musician, a voice-over artist, or someone who needs to record voice for any other reason, understanding the essential tools and techniques is crucial. In this article, we will delve into the various components and considerations necessary for effective voice recording.
1. Microphone Selection
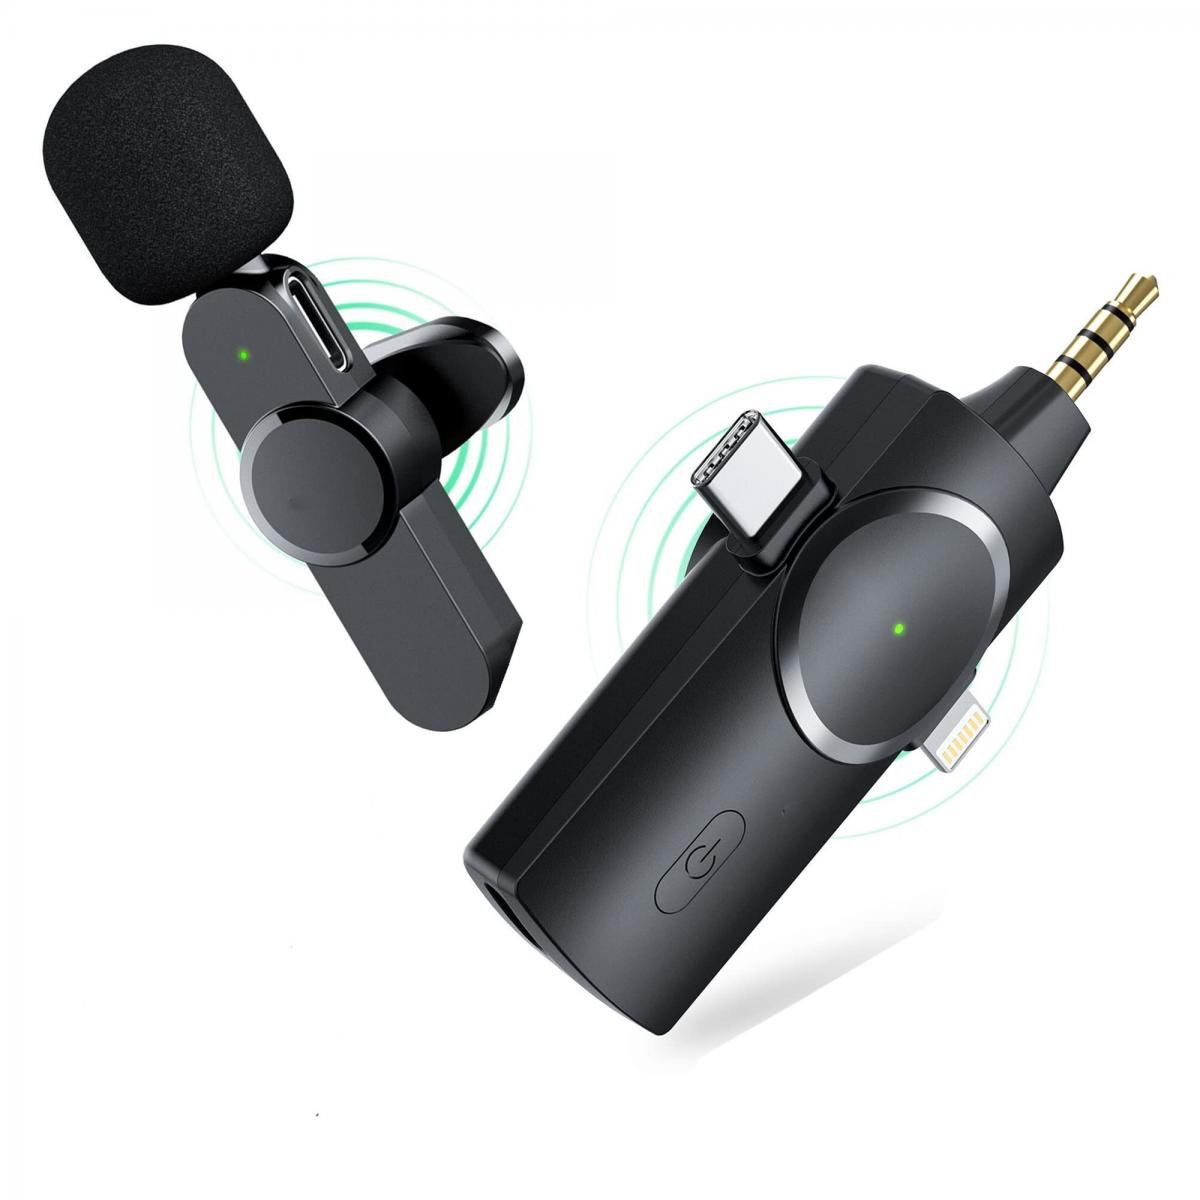
The microphone is the heart of any voice recording setup. The type of microphone you choose will significantly impact the quality of your recordings. There are several types of microphones, but the most commonly used for voice recording are:
- Dynamic Microphones: These are durable and can handle high sound pressure levels. They are less sensitive to background noise, making them ideal for live performances and environments where sound isolation is challenging.
- Condenser Microphones: These are more sensitive and provide a higher quality of sound. They are ideal for studio recordings where capturing the nuances of the voice is essential. However, they require a power source, usually provided by phantom power from an audio interface or mixer.
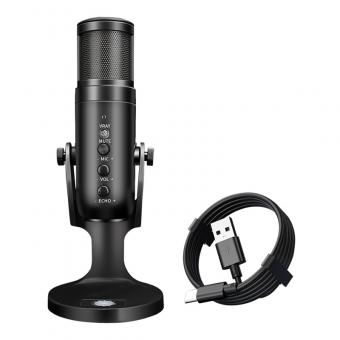
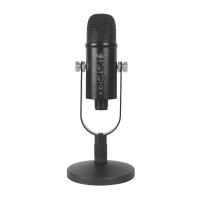
- USB Microphones: These are convenient and easy to use, as they connect directly to your computer via USB. They are a good choice for beginners or those on a budget.
2. Audio Interface
An audio interface is a device that converts analog signals from your microphone into digital signals that your computer can process. It also provides phantom power for condenser microphones. When choosing an audio interface, consider the following:
- Number of Inputs: Ensure it has enough inputs for your needs. If you plan to record multiple sources simultaneously, you'll need an interface with multiple inputs.
- Quality of Preamps: The preamps in the interface will affect the quality of the recorded sound. Look for interfaces with high-quality preamps.
- Connectivity: Make sure the interface is compatible with your computer's ports (USB, Thunderbolt, etc.).
3. Recording Environment
The environment in which you record can greatly affect the quality of your recordings. Here are some tips to optimize your recording space:
- Soundproofing: Reduce external noise by using soundproofing materials like foam panels, heavy curtains, or carpets. This will help to minimize background noise and echoes.
- Acoustic Treatment: Use acoustic panels or diffusers to manage reflections and standing waves within the room. This will help to create a more controlled recording environment.
- Quiet Space: Choose a quiet room away from noisy appliances, traffic, or other disturbances.
4. Recording Software
Recording software, also known as a Digital Audio Workstation (DAW), is essential for capturing and editing your voice recordings. Some popular DAWs include:
- Audacity: A free, open-source DAW that is great for beginners. It offers basic recording and editing features.
- Adobe Audition: A professional-grade DAW with advanced features for recording, editing, and mixing audio.
- GarageBand: A user-friendly DAW for Mac users, suitable for basic to intermediate recording needs.
- Pro Tools: An industry-standard DAW used by professionals for high-quality recordings and complex projects.
5. Headphones
A good pair of headphones is essential for monitoring your recordings. They allow you to hear the details of your voice and make necessary adjustments. There are two main types of headphones:
- Closed-Back Headphones: These are ideal for recording as they provide isolation from external noise and prevent sound leakage into the microphone.
- Open-Back Headphones: These are better for mixing and mastering as they offer a more natural sound. However, they are not suitable for recording due to sound leakage.
6. Pop Filter
A pop filter is a simple yet effective tool that helps to reduce plosive sounds (like "p" and "b" sounds) that can cause distortion in your recordings. It is placed between the microphone and the vocalist to diffuse the air pressure from plosive sounds.
7. Microphone Stand
A sturdy microphone stand is essential for positioning your microphone correctly. It allows you to adjust the height and angle of the microphone to achieve the best sound quality. Boom arms are also useful for flexible positioning.
8. Cables
High-quality cables are crucial for maintaining the integrity of your audio signal. XLR cables are commonly used for connecting microphones to audio interfaces. Ensure that the cables are well-shielded to prevent interference and signal loss.
9. Pre-Recording Preparation
Before you start recording, there are a few steps you should take to ensure the best possible outcome:
- Warm-Up: Perform vocal warm-up exercises to prepare your voice and reduce the risk of strain.
- Hydration: Stay hydrated to keep your vocal cords in good condition. Avoid dairy products and caffeine before recording, as they can affect your voice.
- Script Preparation: If you are recording a script, practice reading it aloud to become familiar with the content and flow.
10. Recording Techniques
To achieve the best results, consider the following recording techniques:
- Microphone Placement: Position the microphone about 6-12 inches away from your mouth. Experiment with angles and distances to find the best sound.
- Consistent Volume: Maintain a consistent distance from the microphone to avoid fluctuations in volume.
- Breath Control: Practice good breath control to avoid unwanted breaths in your recordings. Use pauses and edit out breaths during post-production if necessary.
11. Post-Production
After recording, the next step is post-production, which involves editing and processing your recordings. Here are some key tasks:
- Editing: Remove any unwanted noise, mistakes, or pauses. Use crossfades to smooth out transitions.
- Equalization (EQ): Adjust the frequency balance of your recording to enhance clarity and presence. Cut unwanted frequencies and boost those that enhance the voice.
- Compression: Use compression to even out the dynamic range of your recording. This helps to maintain a consistent volume level.
- Reverb and Effects: Add reverb or other effects to create a sense of space and depth. Use these effects sparingly to avoid overwhelming the voice.
Recording your voice involves a combination of the right equipment, a suitable environment, and proper techniques. By investing in a good microphone, audio interface, and other essential tools, and by optimizing your recording space and honing your recording skills, you can achieve high-quality voice recordings. Whether you're a beginner or a seasoned professional, understanding these fundamentals will help you produce recordings that meet your needs and exceed your expectations.

