What Does The Flash Do On A Camera?
Understanding the Role of Flash in Photography
Photography is an art form that relies heavily on light. The way light interacts with the subject and the camera sensor can make or break a photograph. One of the most essential tools in a photographer's arsenal to control light is the camera flash. But what exactly does the flash do on a camera? This article aims to delve into the various functions and types of camera flashes, their practical applications, and how to use them effectively to enhance your photography.
The Basics of Camera Flash
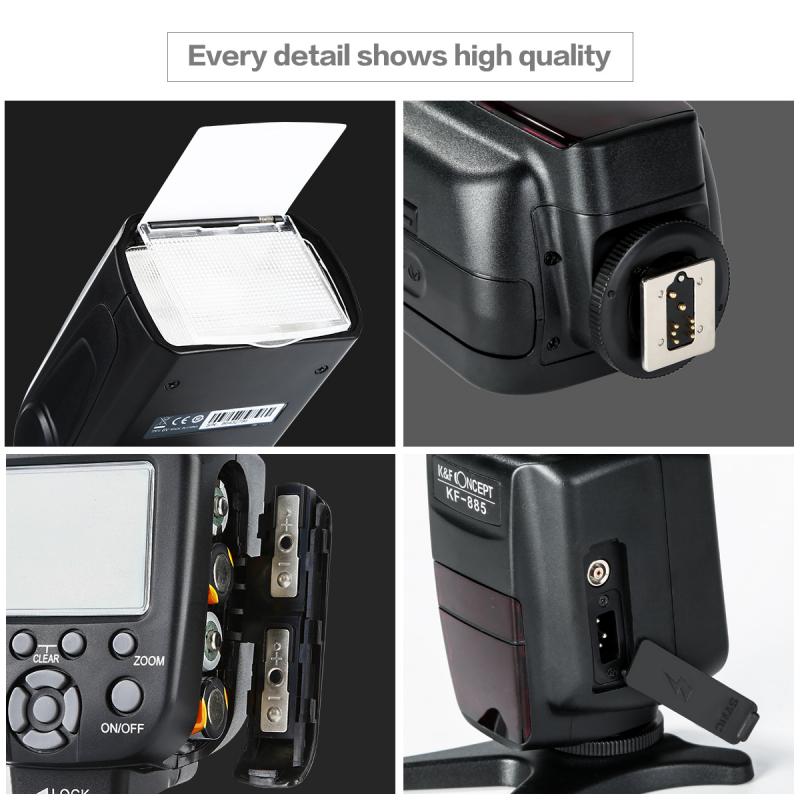
At its core, a camera flash is a burst of artificial light that illuminates a scene. This burst is typically very brief, lasting only a fraction of a second, but it can have a significant impact on the final image. The primary purpose of a flash is to provide additional light when natural or ambient light is insufficient. However, its utility extends far beyond merely brightening a dark scene.
Types of Camera Flashes
1. Built-in Flash: Most consumer-grade cameras come with a built-in flash. This type of flash is convenient and easy to use but often lacks the power and flexibility of external flashes. Built-in flashes are generally suitable for casual photography and situations where portability is a priority.
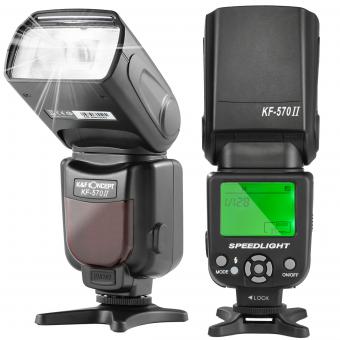
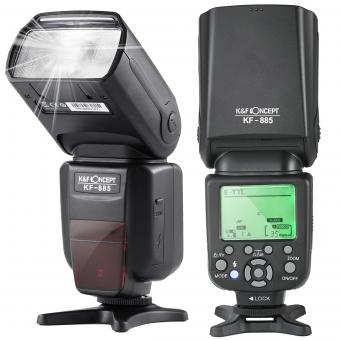
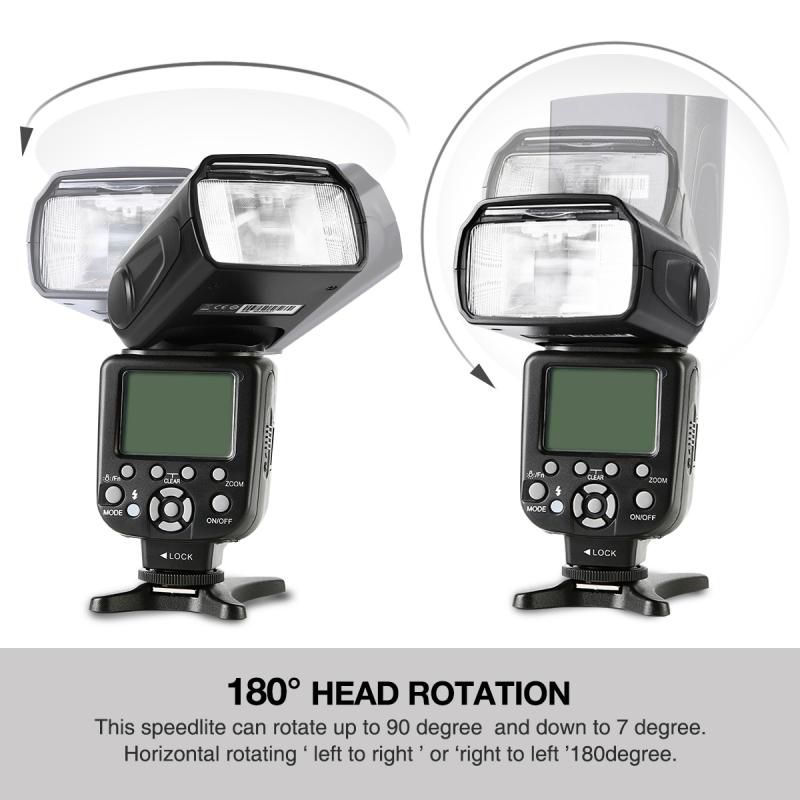
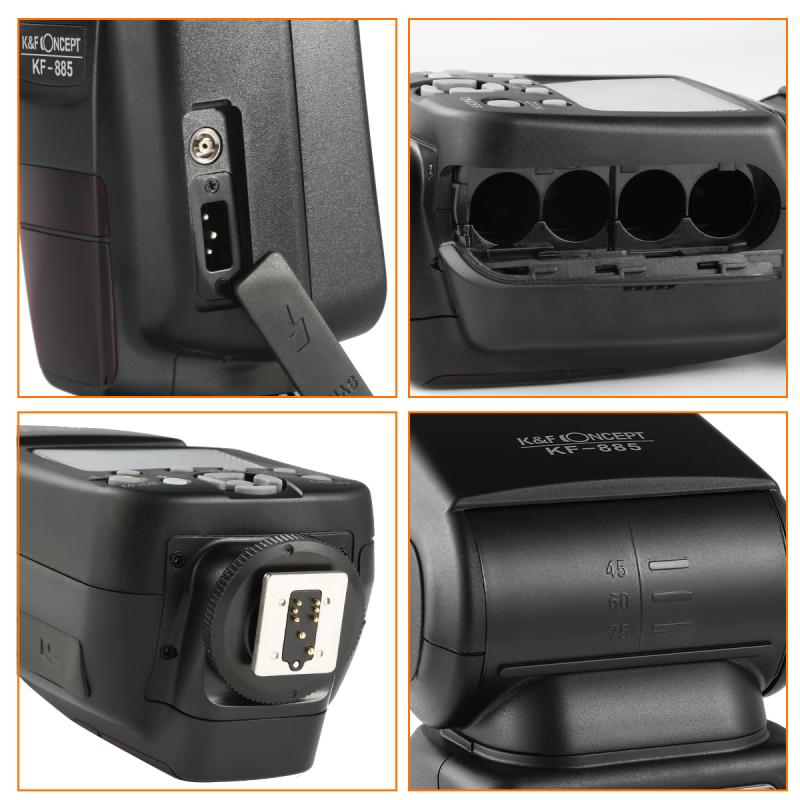
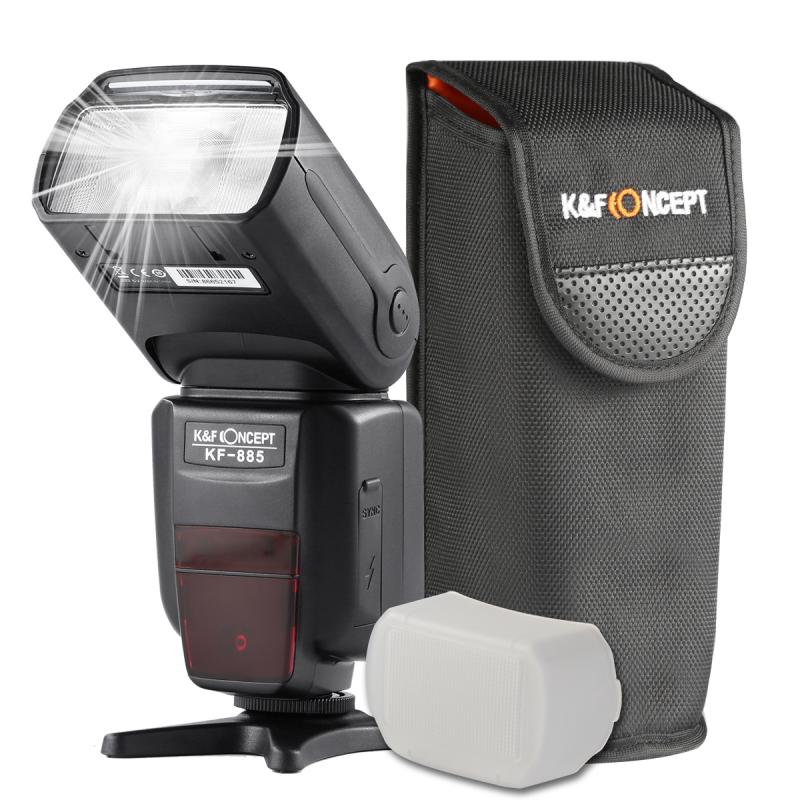
2. External Flash (Speedlight): External flashes, also known as speedlights, offer greater power and versatility. They can be mounted on the camera's hot shoe or used off-camera for more creative lighting setups. Speedlights often come with adjustable settings for power, zoom, and angle, allowing photographers to fine-tune the light according to their needs.
3. Studio Strobes: These are high-powered flashes used primarily in studio settings. They offer the most control and power but are less portable. Studio strobes are ideal for professional photographers who need consistent and high-quality lighting.
Functions of Camera Flash
1. Illuminating Dark Scenes: The most obvious function of a flash is to illuminate scenes that are too dark for the camera to capture adequately. This is particularly useful in low-light conditions, such as indoor events or nighttime photography.
2. Freezing Motion: A flash can freeze fast-moving subjects by providing a quick burst of light. This is especially useful in sports photography or when capturing action shots.
3. Fill Flash: In situations where the subject is backlit or there are harsh shadows, a fill flash can help balance the exposure. By adding light to the shadowed areas, the flash ensures that the subject is well-lit and the details are visible.
4. Creating Catchlights: Catchlights are the reflections of the flash in the subject's eyes, which can add a sparkle and make the eyes appear more lively. This is a subtle but effective way to enhance portrait photography.
5. Adding Drama and Depth: By using off-camera flash or multiple light sources, photographers can create dramatic lighting effects that add depth and dimension to the image. This technique is often used in fashion and editorial photography.
Practical Applications and Techniques
1. Bounce Flash: Instead of pointing the flash directly at the subject, you can bounce it off a ceiling or wall. This diffuses the light, creating a softer and more natural look. Bounce flash is particularly useful for indoor photography where direct flash can create harsh shadows and unflattering highlights.
2. Diffusers and Modifiers: Using diffusers, softboxes, or other light modifiers can help soften the light from the flash, reducing harsh shadows and creating a more pleasing illumination. These tools are essential for portrait and macro photography.
3. Rear Curtain Sync: This technique involves firing the flash at the end of the exposure rather than at the beginning. It can create interesting motion blur effects while keeping the subject sharp. Rear curtain sync is often used in creative and experimental photography.
4. High-Speed Sync: High-speed sync allows the flash to be used at shutter speeds faster than the camera's native sync speed. This is useful for outdoor portraits where you want to use a wide aperture to blur the background while still properly exposing the subject.
5. Manual vs. TTL Flash: TTL (Through-The-Lens) flash automatically adjusts the flash output based on the camera's metering system. While convenient, it may not always provide the desired results. Manual flash, on the other hand, allows photographers to set the flash power themselves, offering greater control and consistency.
Common Challenges and Solutions
1. Red-Eye Effect: This occurs when the flash is too close to the camera lens, causing light to reflect off the subject's retina. To avoid red-eye, use an external flash or a camera with a red-eye reduction mode.
2. Overexposure and Underexposure: Balancing flash output with ambient light can be challenging. Using the flash exposure compensation feature can help fine-tune the flash intensity to achieve the desired exposure.
3. Harsh Shadows: Direct flash can create unflattering shadows. Using bounce flash, diffusers, or multiple light sources can help soften the shadows and create a more balanced illumination.
4. Battery Life: Flash units, especially high-powered ones, can drain batteries quickly. Carrying spare batteries or using rechargeable ones can ensure that you don't run out of power during a shoot.
The flash is an indispensable tool in photography, offering a range of functions that go beyond merely illuminating a scene. Whether you're a casual photographer using a built-in flash or a professional utilizing advanced lighting setups, understanding how to use flash effectively can significantly enhance your images. By mastering techniques such as bounce flash, high-speed sync, and using diffusers, you can control the quality and direction of light to create stunning photographs. So, the next time you pick up your camera, don't just rely on natural light—experiment with your flash and discover the myriad ways it can transform your photography.

