What Filter Should I Keep On My Lens?
When it comes to photography, the right filter on your lens can significantly impact the quality of your images, whether you're a beginner or an experienced photographer. Filters help modify light, reduce glare, enhance colors, and even protect the lens. But with so many options available, how do you know which filter is best for your lens? In this guide, we’ll explore the most common types of filters used in photography, their benefits, and practical considerations to help you choose the right filter for your needs.
1. UV Filters: Protecting Your Lens
What is a UV Filter?
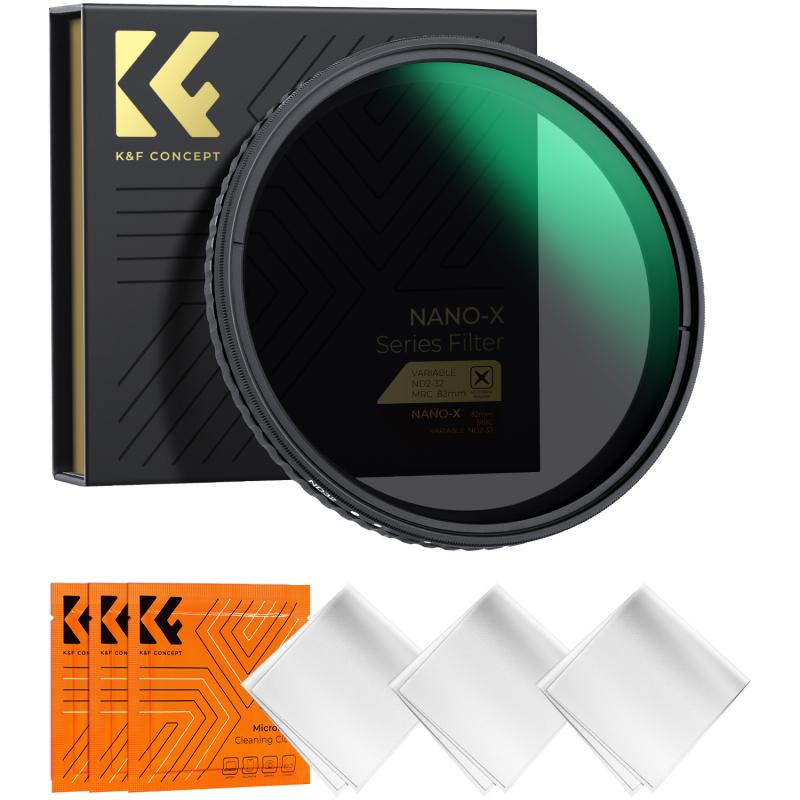
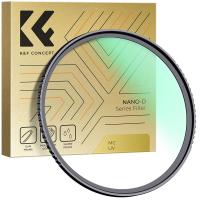
A UV filter is one of the simplest and most common filters used in photography. Historically, UV filters were used to block ultraviolet (UV) light, which could cause photos to appear hazy or foggy, especially at higher altitudes or in areas with intense sunlight. With the advent of modern digital sensors that are less sensitive to UV light, the UV filter is mostly used today for lens protection rather than its light-blocking properties.
Benefits:
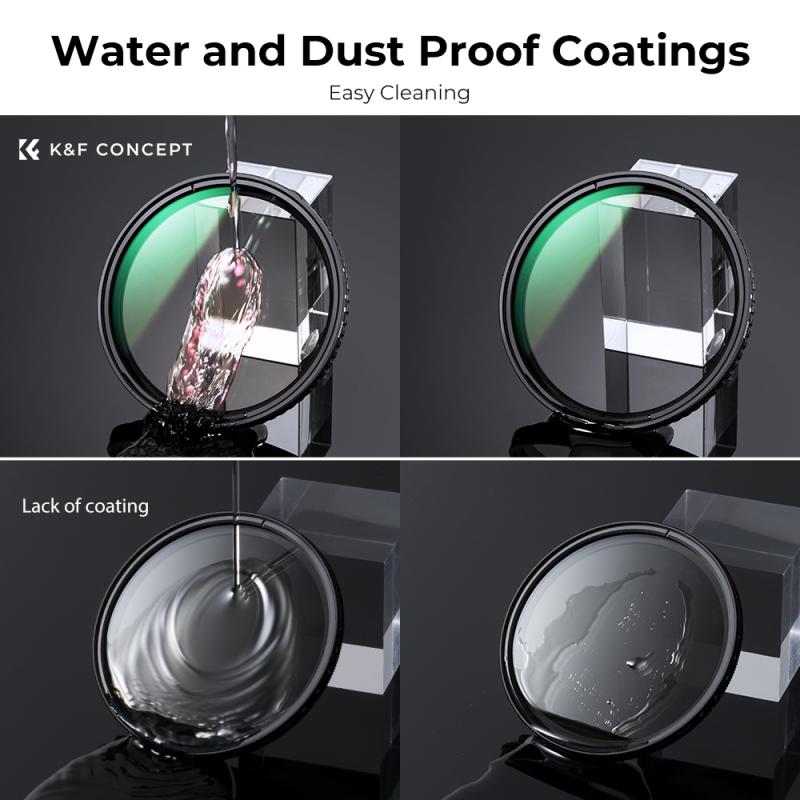
- Lens Protection: The most significant advantage of a UV filter is that it acts as a protective barrier for the lens. It keeps dust, dirt, scratches, and moisture from touching the delicate surface of your lens.
- Improved Image Quality (in certain conditions): In some rare situations, such as when shooting in areas with high altitudes or near the ocean, a UV filter might still help reduce haze caused by UV light.
When to Use:
- If you're shooting outdoors, especially in bright sunlight or at high altitudes.
- If you want an affordable way to protect the front element of your lens.
- If you're using an older film camera with UV sensitivity.
Drawbacks:
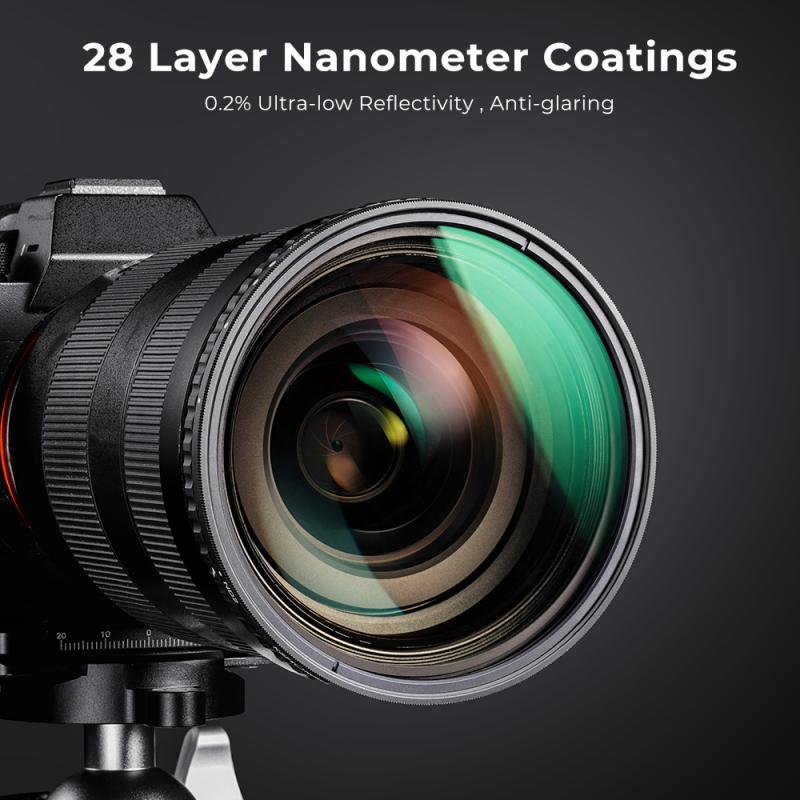
- Some photographers argue that UV filters may slightly degrade image quality by introducing reflections or affecting sharpness, especially with cheaper filters.
2. Polarizing Filters: Enhancing Colors and Reducing Glare
What is a Polarizing Filter?
A polarizer is a more advanced filter that can greatly improve your outdoor and landscape photography. It works by blocking specific wavelengths of light that cause reflections, glare, and haze. This filter is most effective when photographing scenes with water, glass, or reflective surfaces.
Benefits:
- Reduces Reflections: Polarizers are excellent for removing reflections on water, glass, or wet surfaces, making them invaluable in outdoor and architectural photography.
- Enhances Colors: A polarizing filter can deepen the blue of the sky and make green foliage appear more vibrant by reducing the glare caused by scattered light.
- Improves Contrast: The filter also helps to increase contrast between the sky and clouds, making the image appear more dramatic.
When to Use:
- When shooting landscapes, particularly near bodies of water, where reflections can reduce the sharpness and contrast of the image.
- In outdoor photography, when you want to enhance the blue sky or the greens of nature.
- When photographing glass surfaces or other reflective objects.
Drawbacks:
- Exposure Loss: A polarizer reduces the amount of light entering your lens, which can require adjustments to your exposure settings, such as using a slower shutter speed or a higher ISO.
- Limited Effectivity: The effect of a polarizing filter is most noticeable when the light is at a 90-degree angle to your shooting position. It might not work as effectively when the sun is directly overhead or behind you.
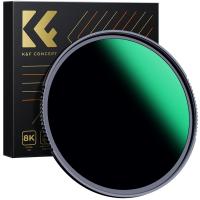
3. Neutral Density (ND) Filters: Controlling Exposure
What is a Neutral Density Filter?
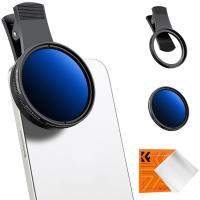
Neutral Density filters are designed to reduce the amount of light entering your lens without affecting the color balance of the image. ND filters come in various strengths, typically measured in "stops." A 1-stop ND filter will halve the amount of light hitting the sensor, while a 3-stop ND filter will reduce light by 8 times.
Benefits:
- Longer Exposure Times: ND filters are particularly useful for achieving long-exposure shots in bright conditions. They allow you to use a slower shutter speed to capture motion blur (e.g., flowing water, moving clouds) or create a soft, dreamlike effect in your images.
- Wide Aperture in Bright Light: ND filters allow you to use wide apertures (e.g., f/1.4 or f/2.8) even in bright daylight, which is essential for achieving shallow depth of field and subject isolation.
- Better Control Over Exposure: ND filters allow for better control when balancing exposure, especially in scenes with extreme contrast between light and shadow.
When to Use:
- When you want to create long-exposure images, such as capturing waterfalls or moving traffic.
- In bright environments where you need to use wide apertures but want to avoid overexposing the image.
- For shooting video, where you might want to maintain the correct shutter speed for cinematic motion blur.
Drawbacks:
- Loss of Light: Because ND filters reduce the light entering your lens, you will need to adjust your settings accordingly, which could impact other aspects of your shot (e.g., aperture or ISO).
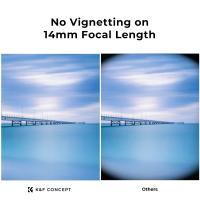
- Vignetting: Some ND filters, especially cheaper or poorly constructed ones, can cause vignetting, particularly when used on wide-angle lenses.
4. Graduated ND Filters: Balancing Bright Skies and Dark Foregrounds
What is a Graduated ND Filter?
A graduated ND filter is a type of ND filter that is darker at the top and gradually transitions to clear at the bottom. This allows for exposure balancing in scenes where there is a significant difference in brightness between the sky and the land, such as during sunset or sunrise.
Benefits:
- Balanced Exposure: Graduated ND filters allow photographers to properly expose the sky while maintaining detail in the foreground. This is particularly useful in high-contrast scenes like landscapes with bright skies and dark ground.
- Versatile Use: You can choose from various strengths, such as 1, 2, or 3 stops, to achieve the perfect balance between light and dark areas in the scene.
When to Use:
- In landscape photography, especially when shooting scenes with both bright skies and darker foregrounds, such as during golden hour or on overcast days.
- When shooting sunrises or sunsets where the sky is much brighter than the ground.
Drawbacks:
- Limited Control: Graduated ND filters can be tricky to use when the transition from dark to light doesn't align well with the scene you’re shooting.
- Can Be Noticeable in Some Images: In certain situations, the gradual transition of light can result in noticeable lines or banding in the image, especially with lower-quality filters.
5. Warming and Cooling Filters: Adjusting White Balance
What are Warming and Cooling Filters?
Warming and cooling filters are used to adjust the color temperature of your images. Warming filters add a yellow or orange tone, making images appear warmer, while cooling filters add a blue tone, making the images cooler.
Benefits:
- Creative Color Adjustment: These filters are often used to create a specific mood in a scene. A warming filter is great for creating a sunset or golden-hour effect, while a cooling filter can help balance overly warm scenes or add a cold, sterile feel.
- Prevents Post-Processing: With the right filter, you can adjust the color temperature of the image in-camera, reducing the need for post-processing.
When to Use:
- In situations where you want to enhance the mood of your images without having to rely on post-processing.
- When shooting in challenging lighting conditions, such as tungsten indoor lighting, where the image may appear too yellow or warm.
Drawbacks:
- Not Always Necessary: In most modern cameras, white balance can be easily adjusted in-camera or during post-processing, so using a warming or cooling filter might not always be necessary.
6. Close-Up Filters: Macro Photography Enhancement
What are Close-Up Filters?
Close-up filters are essentially magnifying lenses that you screw onto the front of your lens to allow for closer focusing. They are popular among macro photographers because they provide a simple way to capture small subjects at a higher magnification.
Benefits:
- Affordable Macro Photography: Close-up filters are much cheaper than dedicated macro lenses and can be a good alternative for photographers just starting with macro work.
- Easy to Use: They are simple to attach and remove and are generally lightweight, making them an excellent choice for quick close-up shots.
When to Use:
- When you want to capture small subjects, such as flowers, insects, or fine details in everyday objects.
- If you don’t want to invest in an expensive macro lens but still want to explore macro photography.
Drawbacks:
- Reduced Image Quality: While close-up filters can enhance magnification, they may reduce the overall image quality by introducing distortion, especially at higher magnifications.
Conclusion: Which Filter Should You Keep on Your Lens?
Ultimately, the right filter for your lens depends on your photographic needs, style, and the type of subjects you shoot. If you're primarily focused on protecting your lens, a UV filter is an affordable and effective option. For enhancing colors and reducing glare, a polarizing filter is a must-have, especially for outdoor and landscape photography. Neutral Density and Graduated ND filters are indispensable for controlling exposure in bright conditions and balancing high-contrast scenes, respectively. Warming and cooling filters offer creative control over your image’s color temperature, and close-up filters can be a budget-friendly option for macro enthusiasts.
The best advice is to experiment with different filters to understand their impact on your images. As you develop your photography style, you’ll find that the right filter can significantly enhance your creative expression and problem-solving when shooting in challenging environments.












There are no comments for this blog.