What Is A Off Camera Flash?
Mastering Off-Camera Flash: An Essential Guide for Photographers
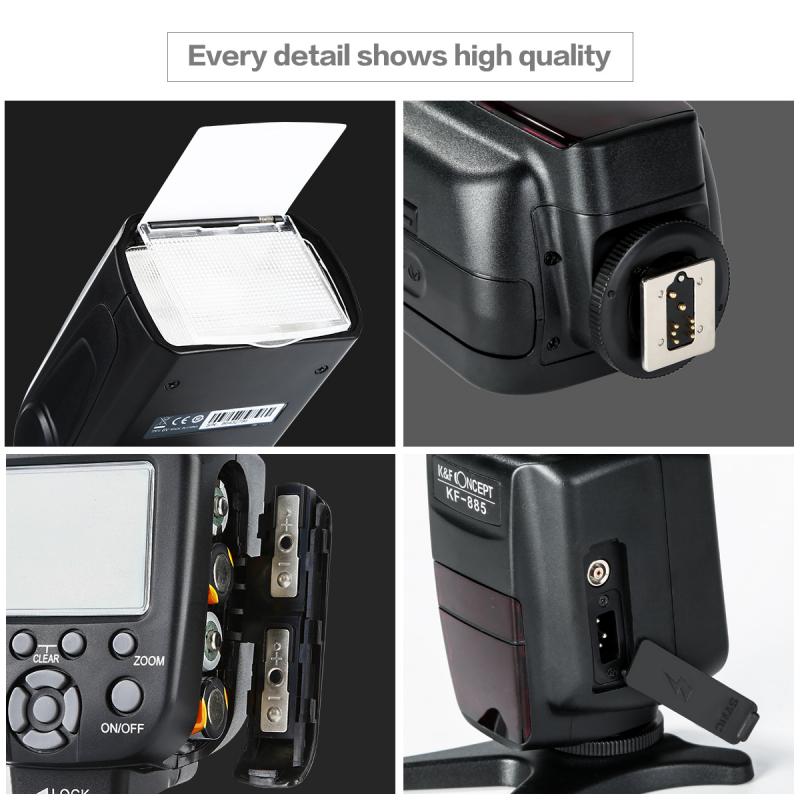
Photography is an art where light is the paintbrush, and understanding how to manipulate light can elevate your work from ordinary to extraordinary. One of the most powerful tools in a photographer’s arsenal is the off-camera flash. This article delves into the fundamentals of off-camera flash, its applications, and how it can transform your photography.
---
What Is an Off-Camera Flash?
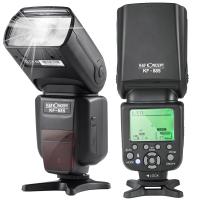
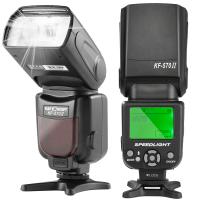
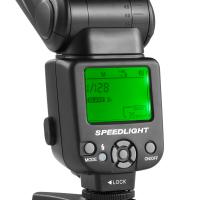
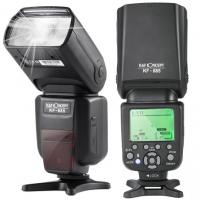
An off-camera flash is a portable light source that operates independently of the camera's built-in or attached flash unit. Unlike on-camera flash, which is fixed to the hot shoe mount of your camera, an off-camera flash can be positioned away from the camera, giving you greater creative control over the direction, intensity, and quality of light.
Off-camera flashes are typically used in conjunction with triggers or wireless systems to synchronize the flash with the camera’s shutter. This setup enables photographers to create dynamic lighting that goes beyond the flat, harsh effects often associated with direct on-camera flash.
---
Why Use an Off-Camera Flash?
1. Creative Lighting Control
Off-camera flash allows you to shape the light according to your vision. You can position the flash at any angle—side, top, or even behind your subject—to achieve unique lighting effects, such as dramatic shadows or backlighting.
2. Improved Subject Isolation
By controlling the direction and intensity of light, you can separate your subject from the background, making them stand out. This is particularly useful in portrait and product photography.
3. Minimized Red-Eye Effect
Red-eye is a common issue with on-camera flash due to its proximity to the lens. Off-camera flash eliminates this problem by changing the angle of light entry into the subject's eyes.
4. Enhanced Texture and Depth
Directional lighting highlights textures and contours, adding depth and dimension to your photographs. This effect is crucial in genres like fashion and food photography, where texture plays a vital role.
5. Versatility in Various Settings
Off-camera flashes can be adapted to different scenarios, from studio setups to outdoor shoots. With the right modifiers and placement, you can mimic natural light or create a completely artificial lighting environment.
---
Essential Components of an Off-Camera Flash Setup
To successfully use off-camera flash, you’ll need several key components:
1. Flash Unit
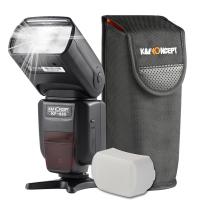
The flash itself is the primary light source. Speedlights and studio strobes are the two main types of off-camera flashes. Speedlights are portable and battery-powered, while studio strobes are more powerful and often used in controlled environments.
2. Triggering System
A triggering system synchronizes the camera with the flash. Common options include:
- Wireless Transmitters and Receivers: Allow remote triggering over long distances.
- Infrared Systems: Limited to line-of-sight communication.
- Built-in Wireless Protocols: Some modern cameras and flashes support built-in wireless synchronization.
3. Light Modifiers
Modifiers shape and diffuse light, providing creative flexibility. Popular options include:
- Softboxes: Produce soft, even light.
- Umbrellas: Reflect or diffuse light for a broader spread.
- Snoots: Focus light into a narrow beam.
- Gels: Add color to your light.
- Grids: Control light spill for more precision.
4. Light Stands and Mounts
Stands provide stability and allow precise positioning of your flash. Mounts are essential for attaching the flash and modifiers securely.
---
How to Use an Off-Camera Flash
Using off-camera flash effectively requires an understanding of exposure and lighting principles. Below is a step-by-step guide to get you started:
Step 1: Understand Flash Power and Distance
Flash power determines the intensity of light, often measured in stops (e.g., full power, ½ power, ¼ power). The inverse square law states that the intensity of light decreases with the square of the distance, so positioning your flash correctly is crucial.
Step 2: Set Your Camera
Adjust your camera’s settings for off-camera flash photography:
- Shutter Speed: Keep it below your camera’s sync speed (usually 1/200–1/250) to avoid flash banding.
- Aperture: Controls the amount of light reaching the sensor.
- ISO: Adjust based on ambient light and flash power.
Step 3: Position the Flash
Decide where to place your flash based on the desired effect. Experiment with angles to see how light falls on your subject.
Step 4: Use Modifiers
Attach a modifier to control the quality of light. A softbox, for instance, creates softer shadows, while a snoot delivers concentrated light.
Step 5: Test and Adjust
Take test shots and fine-tune the flash power, position, and camera settings as needed. Trial and error are part of the creative process.
---
Common Applications of Off-Camera Flash
1. Portrait Photography
Off-camera flash is a game-changer in portrait photography, allowing you to create mood and depth. Use side lighting for drama, or backlighting for ethereal effects.
2. Event Photography
In dimly lit venues, off-camera flash provides consistent illumination without overpowering the scene. Place flashes strategically around the room for optimal coverage.
3. Product and Commercial Photography
For product shots, off-camera flash helps highlight details and textures. It’s especially effective when paired with modifiers like diffusers or reflectors.
4. Outdoor Photography
Off-camera flash balances harsh sunlight or fills in shadows. In golden hour shoots, it can add a pop of light to your subject, ensuring they don’t get lost in the background.
---
Advanced Techniques for Off-Camera Flash
Once you’ve mastered the basics, explore advanced techniques to expand your creative repertoire:
High-Speed Sync (HSS)
HSS allows you to use shutter speeds faster than your camera’s sync speed, ideal for freezing motion or overpowering bright sunlight.
Rear-Curtain Sync
This technique fires the flash at the end of the exposure, creating motion trails that appear behind the subject, perfect for dynamic action shots.
Multiple Flash Setup
Using multiple off-camera flashes lets you build complex lighting schemes, such as three-point lighting (key light, fill light, and rim light).
Gel Effects
Add gels to your flash to introduce creative colors, enhancing the mood or emphasizing specific elements in your frame.
---
Challenges and Solutions
1. Balancing Flash with Ambient Light
Balancing artificial and natural light can be tricky. Use a light meter or rely on your camera’s metering to ensure proper exposure.
2. Overpowering Sunlight
In outdoor shoots, high-powered flashes or HSS can help you overpower bright sunlight while maintaining balanced exposure.
3. Learning Curve
Mastering off-camera flash takes time and practice. Start with simple setups and gradually experiment with more advanced techniques.
---
Conclusion
Off-camera flash is a versatile tool that unlocks endless possibilities in photography. By stepping away from the limitations of on-camera flash, you gain the freedom to sculpt light in ways that align with your creative vision. Whether you’re a budding photographer or an experienced professional, investing time in mastering off-camera flash will pay dividends in the quality and impact of your work. So grab your flash, experiment fearlessly, and watch your photography transform.


