What Nd Filter For 60fps Outside?
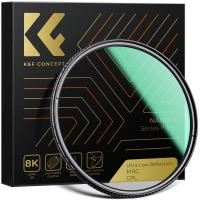
When it comes to shooting video at 60 frames per second (fps) outdoors, one of the most critical tools in your arsenal is the Neutral Density (ND) filter. ND filters are essential for controlling exposure and achieving the cinematic look that many videographers strive for. In this article, we will delve into the importance of ND filters, how to choose the right one for shooting at 60fps outside, and practical tips for their use.
Understanding ND Filters

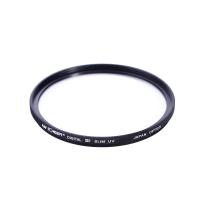
Neutral Density filters are essentially sunglasses for your camera lens. They reduce the amount of light entering the lens without affecting the color balance of the scene. This allows you to use wider apertures and slower shutter speeds even in bright conditions, which is crucial for achieving a shallow depth of field and motion blur that are often desirable in video production.
Why ND Filters are Essential for 60fps Outdoor Shooting

When shooting at 60fps, the general rule of thumb is to set your shutter speed to double your frame rate, which would be 1/120th of a second. This is known as the 180-degree shutter rule and is used to create natural-looking motion blur. However, in bright outdoor conditions, using such a slow shutter speed can result in overexposed footage. This is where ND filters come into play.
Choosing the Right ND Filter
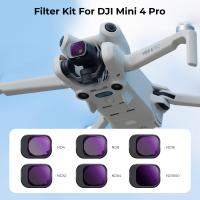
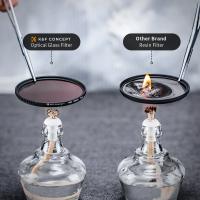
The strength of an ND filter is measured in stops, which indicate how much light the filter blocks. Here are some common ND filter strengths and their uses:
- ND2 (1 stop): Reduces light by 50%. Useful for slightly reducing exposure.
- ND4 (2 stops): Reduces light by 75%. Good for moderately bright conditions.
- ND8 (3 stops): Reduces light by 87.5%. Suitable for very bright conditions.
- ND16 (4 stops): Reduces light by 94%. Ideal for extremely bright conditions.
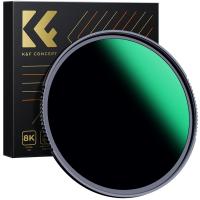
For shooting at 60fps outdoors, an ND8 or ND16 filter is often recommended. These filters will allow you to maintain the 180-degree shutter rule without overexposing your footage.
Variable ND Filters
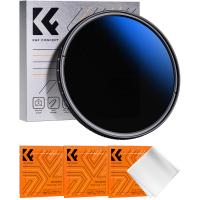
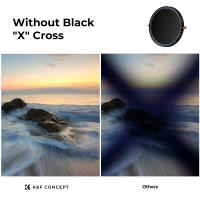
Variable ND filters offer a range of light reduction, typically from 2 to 8 stops. They are convenient because you can adjust the level of light reduction without changing filters. However, they can sometimes introduce unwanted artifacts like color shifts or the dreaded "X" pattern at higher densities. Despite these potential drawbacks, many videographers find the flexibility of variable ND filters to be worth the trade-off.
Practical Tips for Using ND Filters
1. Test Before You Shoot: Always test your ND filters in the conditions you plan to shoot in. This will help you understand how much light reduction you need and whether your filter introduces any unwanted artifacts.
2. Check for Vignetting: Some ND filters, especially variable ones, can cause vignetting (darkening of the corners of the image). Make sure to check for this and adjust your filter or framing as needed.
3. Use a Lens Hood: A lens hood can help reduce lens flare and protect your ND filter from scratches and dust.
4. Clean Your Filters: Dust and smudges on your ND filter can affect image quality. Make sure to clean your filters regularly with a microfiber cloth.
5. Stacking Filters: If you need more light reduction than a single ND filter can provide, you can stack multiple filters. However, be aware that this can increase the risk of vignetting and reduce image quality.
Real-World Scenarios
Let's consider a few real-world scenarios to illustrate the importance of ND filters for 60fps outdoor shooting.
Scenario 1: Bright Sunny Day
You're shooting a scene on a bright sunny day, and you want to maintain a shallow depth of field to keep your subject in focus while blurring the background. Without an ND filter, you would have to use a very high shutter speed to avoid overexposure, which would result in a lack of motion blur and a more "video-like" appearance. By using an ND16 filter, you can keep your shutter speed at 1/120th of a second, maintain your desired aperture, and achieve the cinematic look you want.
Scenario 2: Overcast Day
On an overcast day, the light is softer, but you still need to control your exposure. An ND8 filter might be sufficient in this case. It will allow you to use a wider aperture and slower shutter speed without overexposing your footage, giving you more creative control over your shot.
Scenario 3: Golden Hour
During the golden hour, the light is warm and soft, but it can still be quite bright. An ND4 or ND8 filter can help you manage your exposure while taking advantage of the beautiful natural light. This will enable you to capture stunning footage with a balanced exposure and natural motion blur.
Choosing the right ND filter for shooting at 60fps outdoors is crucial for achieving professional-quality video. By understanding the different strengths of ND filters and how they affect your exposure, you can make informed decisions that enhance your creative vision. Whether you opt for fixed ND filters or the flexibility of a variable ND filter, the key is to test and practice using them in various lighting conditions. With the right ND filter, you can transform your outdoor footage and elevate your video production to new heights.


