What To Use For A Lens Cap?
Photography is as much about precision as it is about passion, and taking care of your gear is vital to sustaining both. One often overlooked yet critical accessory for protecting your camera lens is the lens cap. Whether you’re a budding photographer or a seasoned professional, understanding what to use for a lens cap can save you from costly repairs, ensure the longevity of your equipment, and maintain the quality of your images. In this article, we will delve into the various options for lens caps, their pros and cons, and tips to choose the right one for your camera setup.
Why a Lens Cap Matters
Your camera lens is one of the most valuable parts of your photography gear. It’s the window through which your camera sees the world. Dust, scratches, fingerprints, and accidental bumps can degrade the lens’s optical performance over time. A lens cap provides a physical barrier against these potential damages, ensuring that your lens remains in pristine condition when not in use.
Types of Lens Caps
There are several types of lens caps available, each with its unique features and use cases. Let’s explore them in detail:
1. Snap-On Lens Caps
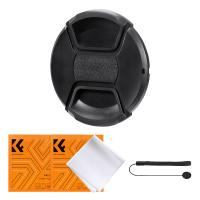
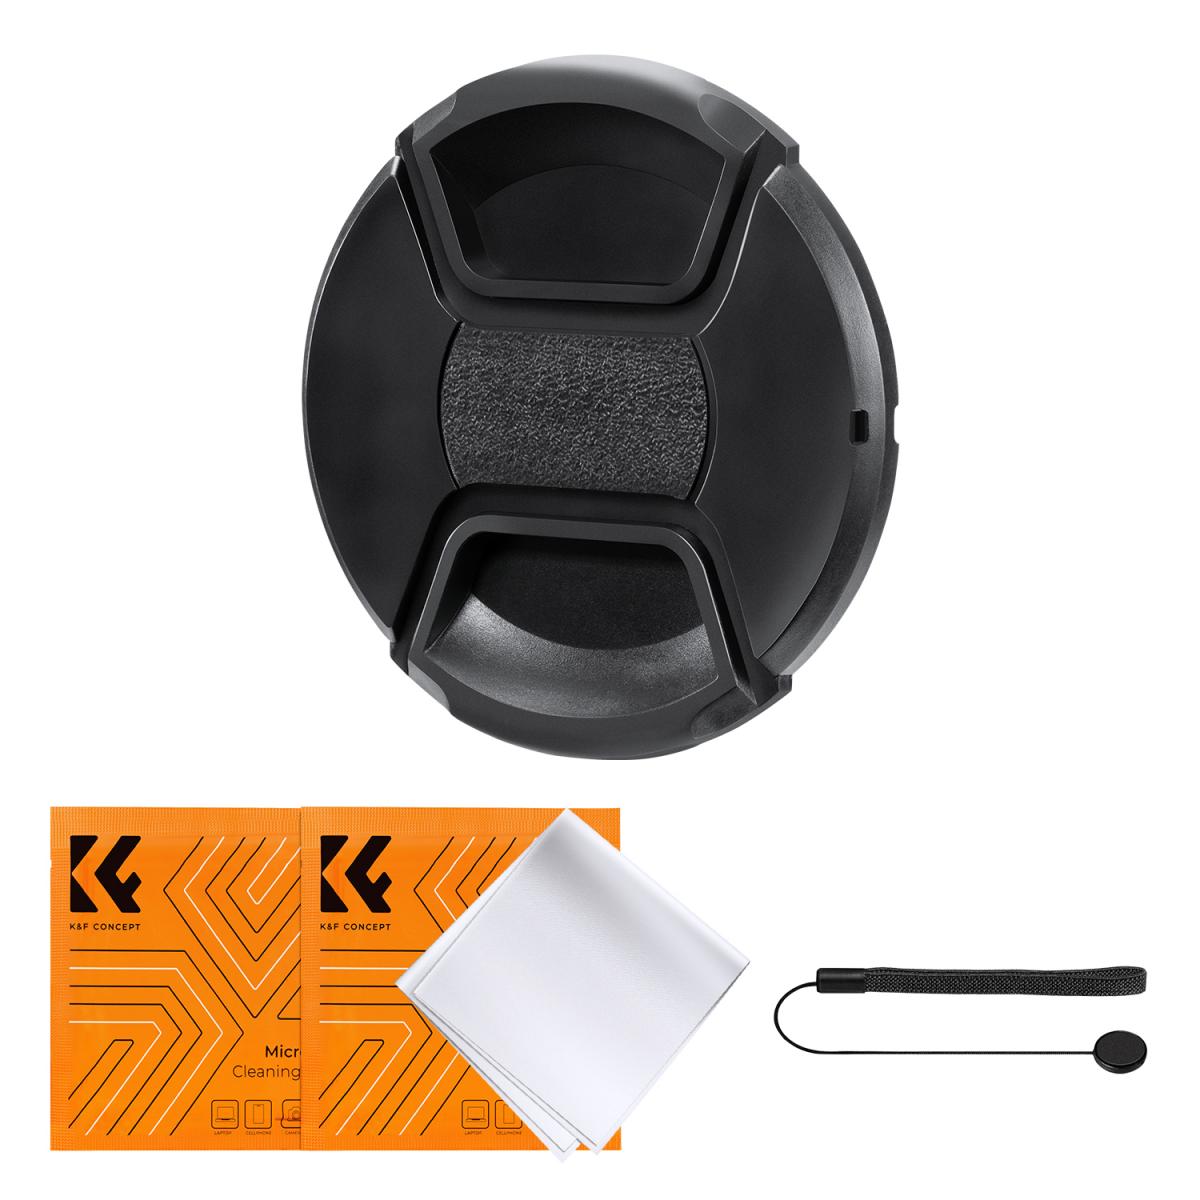
Snap-on caps are the most common type found in the market. They use a spring-loaded mechanism that clamps onto the lens’s outer ring or filter threads.
Pros:
- Easy to attach and remove.
- Provides a secure fit.
- Affordable and widely available.
Cons:
- Can be lost easily if not tethered.
- Requires a clean and smooth edge for proper attachment.
2. Center-Pinch Lens Caps
A subtype of snap-on caps, center-pinch caps feature a mechanism that can be pinched from the center. This design makes them easier to use when a lens hood is attached.
Pros:
- Convenient with lens hoods.
- Firm grip reduces the risk of accidental detachment.
- Similar affordability as snap-on caps.
Cons:
- Shares the same downside of easy misplacement.
3. Screw-On Lens Caps
These caps screw into the lens’s filter thread, providing a very secure fit.
Pros:
- Extremely reliable and less likely to fall off.
- Durable, especially for long-term storage.
Cons:
- Slightly slower to attach and detach.
- Can be incompatible with certain filters or accessories.
4. Magnetic Lens Caps
Magnetic caps use a magnet to attach to the lens or an adapter. They are gaining popularity for their ease of use.
Pros:
- Quick and effortless attachment/detachment.
- Sleek and modern design.
Cons:
- Relatively more expensive.
- Magnetic components might interfere with electronic devices in rare cases.
5. Custom Caps (3D-Printed or Branded)
Some photographers prefer personalized caps, often 3D-printed or custom-branded.
Pros:
- Personalization adds a unique touch.
- Functionality can be tailored to specific needs.
Cons:
- Might lack the durability of mass-produced options.
- Can be more expensive.
Alternative Solutions for Missing Lens Caps
Losing a lens cap is not uncommon, especially during on-the-go photography. Here are some practical alternatives to consider if your lens cap goes missing:
1. UV or Clear Filters
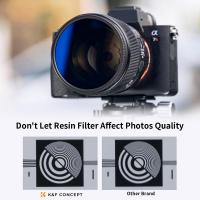
Attaching a UV or clear protective filter to your lens is an effective temporary solution. These filters act as a protective barrier without degrading image quality.
2. Reusable Silicone Caps
These flexible, stretchable caps are designed to fit snugly over lenses of various sizes. They are easy to carry and highly versatile.
3. Camera Bag Padding
When in a pinch, ensure your camera lens is cushioned inside your camera bag with soft padding to avoid direct exposure to dust or impact.
4. DIY Solutions
Household items like rubber bands and soft fabric can be improvised into makeshift lens covers. While not ideal, they can work as a stopgap measure.
Choosing the Best Lens Cap for Your Needs
Selecting the right lens cap depends on your specific needs, habits, and equipment. Here’s a breakdown of considerations to help you decide:
1. Type of Photography
- Travel Photography: Opt for a center-pinch or magnetic cap for quick access and ease of use in dynamic environments.
- Studio Photography: Screw-on caps are suitable for stationary setups where frequent detachment is not required.
- Outdoor and Wildlife Photography: Prioritize caps with tethering options to prevent loss during shoots.
2. Lens Size and Compatibility
Always check the diameter of your lens’s filter thread (measured in millimeters) to ensure the cap fits perfectly. This measurement is typically engraved on the front of the lens or mentioned in its manual.
3. Budget
While basic snap-on caps are budget-friendly, investing in a higher-quality option like magnetic caps or UV filters might save you money in the long run by protecting your lens better.
4. Durability and Maintenance
Choose a lens cap made of high-quality materials that can withstand wear and tear. Regularly clean your cap to ensure it doesn’t transfer dust or debris to the lens.
Pro Tips for Lens Cap Maintenance
1. Tethering: Use lens cap holders or tethers to attach the cap to your camera or strap, minimizing the chances of losing it.
2. Regular Cleaning: Dust and grime can accumulate on the inside of the cap, so wipe it clean periodically with a microfiber cloth.
3. Replace When Worn: Over time, the clamping mechanisms of snap-on caps can wear out. Replace them to maintain a secure fit.
Conclusion
A lens cap might seem like a small accessory, but its role in protecting your photography gear is significant. From snap-on caps to advanced magnetic designs, there is a wide range of options to suit every photographer's needs. Whether you're replacing a lost cap or upgrading to a more convenient design, consider your style of photography, lens compatibility, and budget to make the best choice.
By taking care of the finer details, such as your lens cap, you not only safeguard your investment but also ensure that your gear is always ready to capture that perfect shot.






![4K Digital Camera for Photography & Video [Autofocus and Stabilisation] 48MP 16X Digital Zoom 3” 180° Flip Screen Vlog Camera with 32G SD Card, Flash 4K Digital Camera for Photography & Video [Autofocus and Stabilisation] 48MP 16X Digital Zoom 3” 180° Flip Screen Vlog Camera with 32G SD Card, Flash](https://img.kentfaith.com/cache/catalog/products/us/GW41.0065/GW41.0065-1-200x200.jpg)

