What's The Best Filter To Control Highlights Camera?
When it comes to photography, controlling highlights is a crucial aspect of achieving well-balanced and visually appealing images. Highlights can often be too bright, causing a loss of detail in the brightest parts of a photo. To manage this, photographers use various filters. In this article, we will explore the best filters to control highlights in camera, providing practical insights and tips for both amateur and professional photographers.
Understanding Highlights in Photography
Before diving into the filters, it's essential to understand what highlights are. Highlights are the brightest parts of an image, often where the light source is most intense. In digital photography, these areas can easily become overexposed, leading to a loss of detail. Controlling highlights is crucial for maintaining the dynamic range and overall quality of a photograph.
The Role of Filters in Controlling Highlights
Filters are accessories that attach to the front of a camera lens. They modify the light entering the lens, helping photographers achieve specific effects or improve image quality. When it comes to controlling highlights, several types of filters can be particularly effective:
1. Neutral Density (ND) Filters
2. Graduated Neutral Density (GND) Filters
3. Polarizing Filters
4. UV Filters
Let's delve into each of these filters and understand how they help in controlling highlights.
Neutral Density (ND) Filters
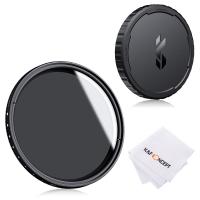
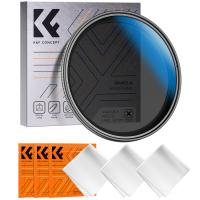
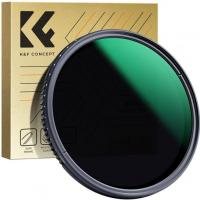
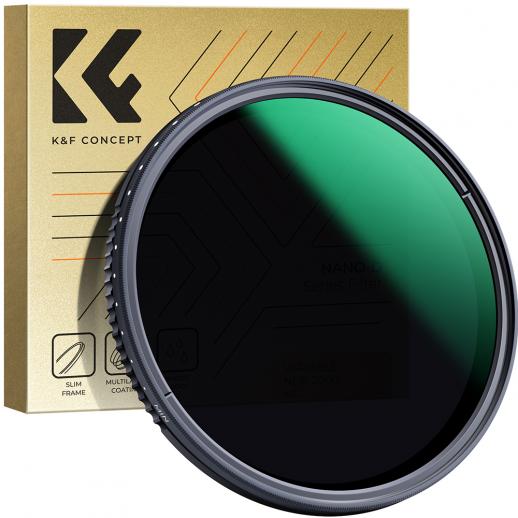
Neutral Density (ND) filters reduce the amount of light entering the lens without affecting the color of the image. They are essentially sunglasses for your camera. ND filters come in various strengths, measured in stops, which indicate how much light they block.
How ND Filters Control Highlights
- Reducing Exposure: By limiting the light entering the lens, ND filters help prevent overexposure in bright conditions. This is particularly useful in landscape photography, where the sun can create harsh highlights.
- Longer Exposures: ND filters allow for longer exposure times, which can help in creating balanced images with well-controlled highlights, especially in high-contrast scenes.
Graduated Neutral Density (GND) Filters
Graduated Neutral Density (GND) filters are similar to ND filters but with a gradient. One part of the filter is darker, gradually transitioning to clear. This design is perfect for scenes with a significant difference in brightness between the sky and the ground.
How GND Filters Control Highlights
- Balancing Exposure: GND filters are ideal for landscape photography, where the sky is often much brighter than the foreground. By darkening the sky, these filters help balance the exposure, ensuring that highlights are not blown out.
- Enhanced Detail: By controlling the brightness of the sky, GND filters help retain details in both the sky and the landscape, resulting in a more dynamic and detailed image.
Polarizing Filters
Polarizing filters are used to reduce reflections and glare from non-metallic surfaces, such as water and glass. They also enhance the color and contrast of an image.
How Polarizing Filters Control Highlights
- Reducing Glare: By minimizing reflections, polarizing filters help control highlights that can occur due to glare. This is particularly useful in outdoor photography, where reflections from water or wet surfaces can create unwanted highlights.
- Enhancing Colors: Polarizing filters can deepen the blue of the sky and enhance the overall color contrast, which helps in managing highlights and creating a more balanced image.
UV Filters
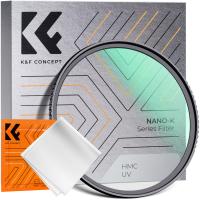
UV filters are primarily used to protect the camera lens from dust, dirt, and scratches. However, they also block ultraviolet light, which can cause haziness and reduce image clarity.
How UV Filters Control Highlights
- Reducing Haze: By blocking UV light, these filters help reduce the haziness that can affect image clarity, especially in high-altitude or coastal areas. This can indirectly help in controlling highlights by ensuring that the image remains clear and detailed.
- Lens Protection: While not directly related to controlling highlights, protecting the lens ensures that the image quality remains high, which is crucial for managing highlights effectively.
Practical Tips for Using Filters to Control Highlights
Now that we have a good understanding of the different types of filters, here are some practical tips for using them to control highlights:
1. Choose the Right Filter: Depending on the shooting conditions, select the appropriate filter. For instance, use an ND filter for bright, sunny days, and a GND filter for landscapes with a bright sky.
2. Experiment with Different Strengths: ND and GND filters come in various strengths. Experiment with different stops to find the right balance for your scene.
3. Combine Filters: In some cases, combining filters can be beneficial. For example, using a polarizing filter with an ND filter can help control both reflections and overall exposure.
4. Use a Tripod: When using ND filters for long exposures, a tripod is essential to avoid camera shake and ensure sharp images.
5. Check the Histogram: Use the camera's histogram to monitor exposure levels. This can help you identify if highlights are being controlled effectively.
6. Post-Processing: While filters can do a lot to control highlights, post-processing software like Adobe Lightroom or Photoshop can further refine the image. Use tools like the highlights slider to adjust and recover details in the brightest areas.
Controlling highlights is a vital aspect of photography that can significantly impact the quality of your images. By understanding and using the right filters, photographers can manage highlights effectively, ensuring well-balanced and visually appealing photos. Whether you're using ND, GND, polarizing, or UV filters, each has its unique benefits and applications. By following the practical tips provided, you can enhance your photography skills and achieve better control over highlights in your images. Happy shooting!


