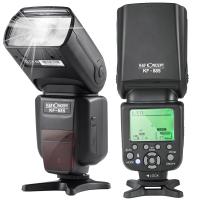
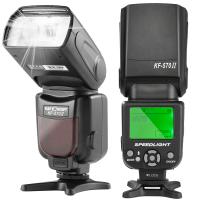
When Should I Use On Camera Flash?
Lighting is an essential element in photography, often dictating the quality and mood of an image. Among the tools photographers use to manipulate light, the on-camera flash stands out for its convenience and versatility. Yet, its use is often debated, as it can both enhance and detract from a photograph depending on how and when it's applied. This article dives into the scenarios where on-camera flash is most effective, its benefits, and practical tips for optimizing its use.
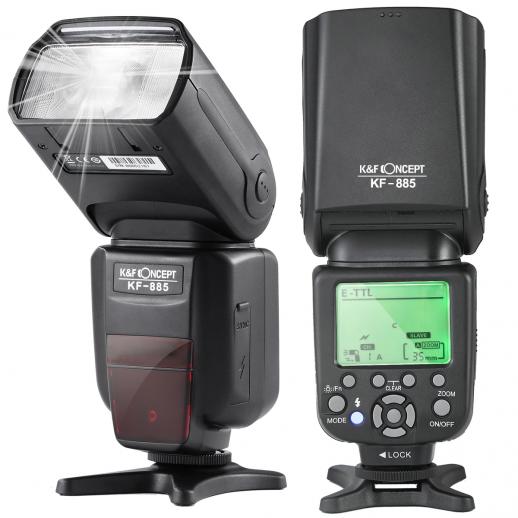
Understanding the Role of On-Camera Flash
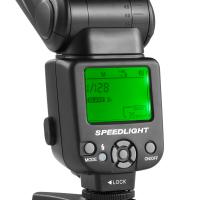
The primary function of any flash system is to provide additional light when natural or ambient lighting is insufficient. On-camera flash, being directly attached to the camera, offers a compact and straightforward solution to lighting challenges. However, the proximity of the flash to the lens can result in harsh shadows, flat lighting, or the dreaded "flashy look." Knowing when to use on-camera flash is crucial to leveraging its strengths and mitigating its weaknesses.
---
When to Use On-Camera Flash
1. Low-Light Environments
On-camera flash is indispensable in poorly lit settings where natural or ambient light fails to illuminate your subject adequately. Examples include:
- Indoor events such as weddings, parties, or conferences.
- Nighttime photography in urban settings.
- Dimly lit interiors like museums or historic buildings.
In these cases, the flash acts as a supplementary light source, ensuring your subject is visible and well-exposed.
2. Filling in Shadows
Outdoor photography during the day can also benefit from on-camera flash, particularly when shooting in direct sunlight. This technique, known as fill flash, helps to soften harsh shadows and balance exposure, especially in scenarios like:
- Portraits taken under strong midday sun.
- Backlit subjects where the background is brighter than the foreground.
- Situations where your subject is wearing a hat or standing under an awning, causing shadowing on their face.
3. Capturing Movement Indoors
In indoor environments where movement is frequent (e.g., dance floors or sports events), on-camera flash provides the quick bursts of light needed to freeze action. Its immediacy and direct illumination reduce motion blur, allowing for crisp, sharp images.
4. Creating Eye Catchlights
On-camera flash often creates a small, controlled reflection of light in a subject's eyes, called catchlights. These enhance the liveliness and depth of a portrait, making them a favored technique for portrait photographers working in controlled environments.
5. Balancing Mixed Lighting
In settings with mixed or artificial lighting (e.g., fluorescent or tungsten), on-camera flash can act as a neutralizer. By overpowering ambient light with flash, photographers gain greater control over color balance and exposure.
6. As a Trigger for Off-Camera Flash
Many on-camera flashes have a secondary role as a trigger for off-camera flash systems. This application is invaluable in multi-light setups where the on-camera flash is used sparingly or only for communication with other light sources.
---
Advantages of On-Camera Flash
While on-camera flash is sometimes criticized for producing less artistic lighting, it offers several distinct benefits that make it a valuable tool:
- Portability and Convenience: On-camera flashes are compact and easy to carry, making them ideal for photographers who need to move quickly between shots.
- Ease of Use: With automatic settings like TTL (Through The Lens metering), even beginners can achieve a balanced exposure without extensive manual adjustments.
- Cost-Effective: Compared to investing in off-camera lighting gear, an on-camera flash is a relatively affordable solution.
- Quick Setup: On-camera flash eliminates the need for stands, modifiers, or extensive preparation, allowing photographers to focus on capturing moments.
---
Practical Tips for Using On-Camera Flash
To avoid common pitfalls and make the most of your on-camera flash, consider these best practices:
1. Diffuse the Light
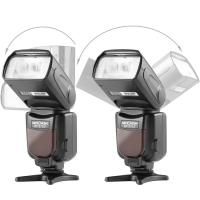
Bare flash can be harsh and unflattering. Use a diffuser, such as a softbox attachment or a bounce card, to soften the light and create a more natural look. Many photographers also bounce the flash off walls or ceilings to spread and diffuse the light.
2. Control Flash Power
Adjusting the flash power (or flash compensation) allows for subtle control over the intensity of the light. For instance, reducing the flash output by -1 or -2 stops during fill flash creates a balanced effect without overpowering ambient light.
3. Watch for Red-Eye
Red-eye occurs when the flash reflects directly off a subject's retina. Reduce red-eye by:
- Using a flash with an off-axis angle to the lens.
- Asking your subject to look slightly away from the camera.
- Enabling red-eye reduction settings on your camera.
4. Utilize Bounce Flash
When possible, bounce the flash off ceilings or walls to create a softer, more even light. This technique minimizes harsh shadows and spreads light more naturally across the subject.
5. Consider Light Modifiers
Accessories like small softboxes, diffusers, or reflectors can transform the quality of your on-camera flash, allowing for greater creative control.
6. Master TTL and Manual Modes
While TTL offers convenience in dynamic environments, switching to manual flash control can provide consistency and precision, particularly in controlled settings.
7. Pay Attention to Ambient Light
Balance your on-camera flash with existing light sources by adjusting shutter speed, ISO, or aperture. A slower shutter speed, for example, can help preserve background details while the flash highlights the subject.
8. Practice Creative Techniques
Advanced photographers can experiment with creative uses of on-camera flash, such as:
- Dragging the shutter: Combining a slower shutter speed with flash to capture ambient light trails.
- Rear-curtain sync: Firing the flash at the end of an exposure for dynamic motion effects.
---
Common Challenges and Solutions
- Flat Lighting
Flat lighting occurs when the flash directly faces the subject, creating minimal depth or shadow. Solve this by bouncing the flash or using a diffuser to soften the effect.
- Overexposure
Direct flash can overexpose the subject, particularly when they're close to the camera. Adjust flash power or use exposure compensation to correct this issue.
- Unflattering Shadows
On-camera flash can cast strong shadows behind the subject. To minimize this, use bounce flash techniques or a larger light modifier.
- Reflective Surfaces
Flash can cause glare or unwanted reflections when shooting near glass or shiny objects. Adjust the flash angle or use polarizing filters to mitigate these effects.
---
Conclusion
On-camera flash is a versatile tool that, when used thoughtfully, can enhance your photography in diverse situations. From illuminating dimly lit scenes to balancing harsh shadows, it offers practical solutions for common lighting challenges. However, its success lies in the photographer's ability to use it creatively and judiciously, avoiding the pitfalls of harsh, unflattering light.
By mastering techniques like bounce flash, fill flash, and creative light control, photographers can unlock the full potential of on-camera flash. Whether you're capturing spontaneous moments at an event or crafting a well-lit portrait, understanding when and how to use on-camera flash will elevate your images and expand your creative possibilities.


