When To Use A 10 Stop Nd Filter?
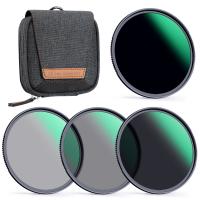
Neutral Density (ND) filters are essential tools in a photographer's kit, enabling them to control light exposure in a scene without altering the color balance. Among these filters, the 10-stop ND filter stands out as a powerful accessory for capturing specific visual effects and managing difficult lighting conditions. This article delves into the practical applications and advantages of using a 10-stop ND filter, helping both beginners and seasoned photographers understand when and how to utilize this tool effectively.
Understanding ND Filters
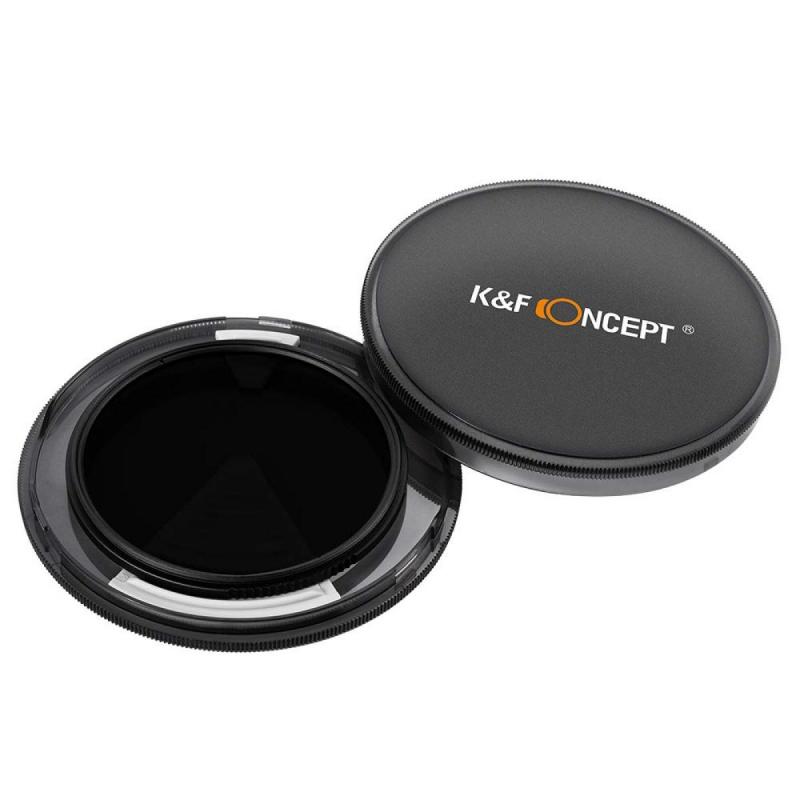
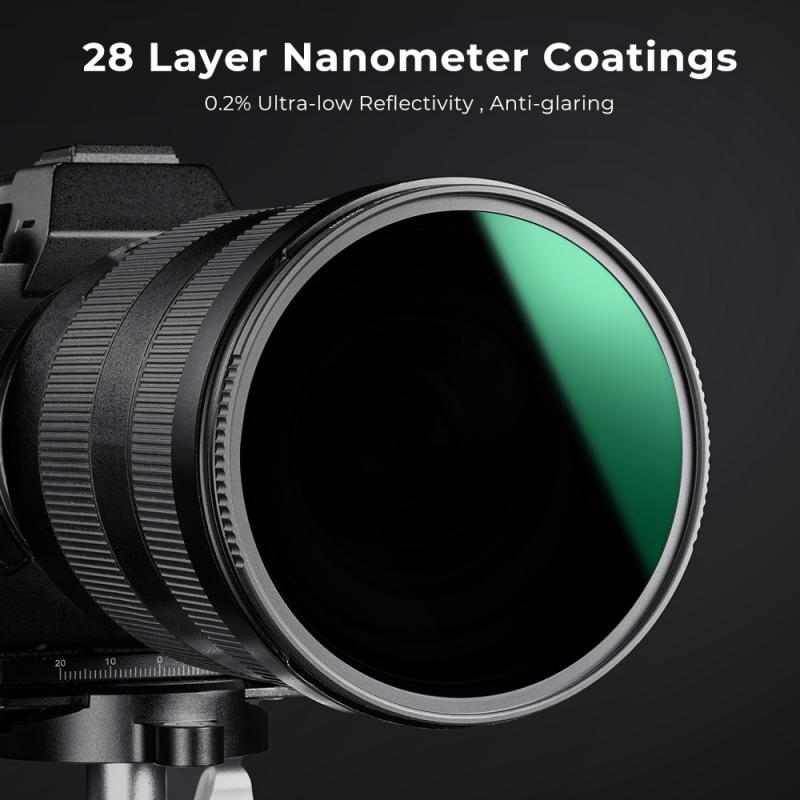
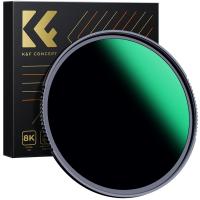
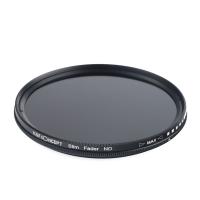
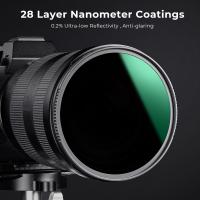
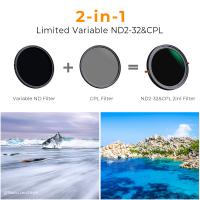
Before discussing the specific circumstances ideal for a 10-stop ND filter, it's crucial to understand the general concept of ND filters. ND filters reduce the amount of light entering the camera lens uniformly across the visible spectrum, allowing photographers to use slower shutter speeds, wider apertures, or achieve a combination of both without overexposing the image. The "10-stop" designation means the filter reduces incoming light by a factor of 1,024 (2^10), significantly darkening the scene.
Situations Ideal for a 10-stop ND Filter
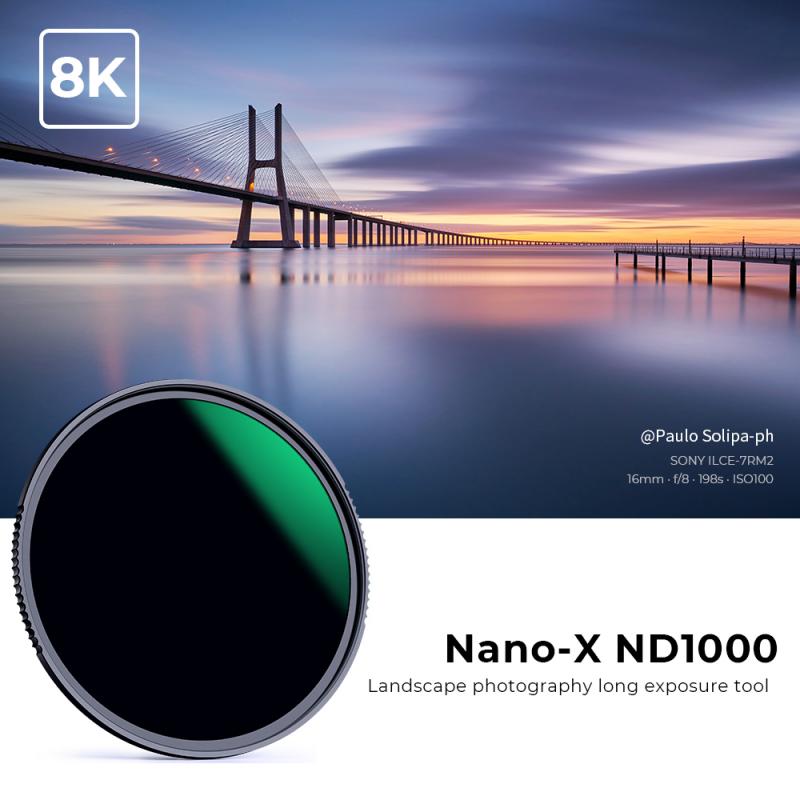
1. Long Exposure Photography in Daylight
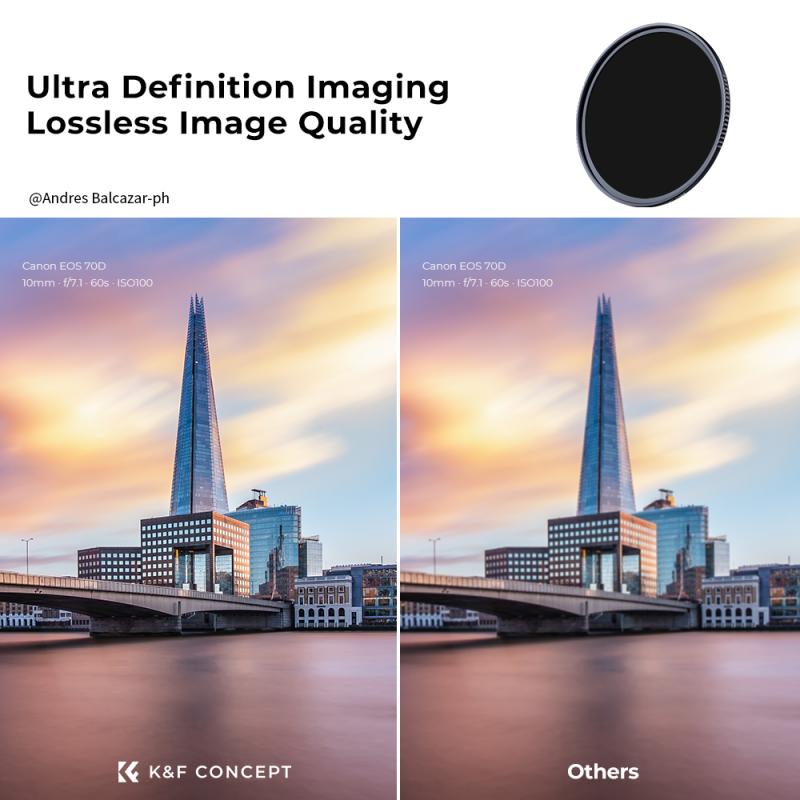
One of the primary uses for a 10-stop ND filter is to facilitate long exposure photography during daylight hours. Long exposures can transform moving elements in a scene, such as clouds, water, or traffic, into silky, smooth streaks, creating a dreamy, surreal effect. Without a 10-stop ND filter, achieving the necessary slow shutter speeds during the day would result in an overexposed image due to the abundance of light.
* Seascapes and Waterfalls: By using a 10-stop ND filter, photographers can capture the motion of water, turning waves into a soft mist or waterfalls into flowing veils. This technique highlights the dynamic nature of water while maintaining a sense of tranquility in the final image.
* Clouds and Skies: The filter allows for prolonged exposure times, making clouds appear as ethereal streaks across the sky, adding a dramatic element to landscape photographs.
2. Eliminating Moving Objects for Clean Compositions
In busy urban environments or crowded natural settings, a 10-stop ND filter can help eliminate or minimize the appearance of moving objects like people, cars, or wildlife. By using a long exposure, moving subjects blend into the background or disappear entirely, resulting in a cleaner, less cluttered composition. This technique is particularly useful for architectural photography, where the focus is on the structure rather than the transient activity around it.
3. Achieving Shallow Depth of Field in Bright Light
Photographers often want to use a wide aperture (low f-stop number) to achieve a shallow depth of field, isolating the subject from the background. However, in bright light conditions, using a wide aperture without an ND filter can overexpose the image. A 10-stop ND filter helps to maintain a correct exposure by significantly reducing the light, allowing for the desired depth-of-field effect even in harsh lighting scenarios.
Practical Tips for Using a 10-stop ND Filter
1. Metering and Focusing
With a 10-stop ND filter in place, the viewfinder and live view (if available) will be significantly darkened, making it difficult to compose, focus, and meter the scene. Therefore, it is advisable to set up your shot, achieve accurate focus, and determine the correct exposure settings before attaching the filter. Use manual focus or pre-focus on your subject to ensure sharpness.
2. Exposure Calculation
Since the 10-stop ND filter dramatically reduces light, you'll need to adjust your exposure settings accordingly. If your camera's light meter cannot compensate for the filter, basic calculations or smartphone apps can help. For example, if your base exposure without the filter is 1/60 second at f/8, adding a 10-stop ND filter requires adjusting the shutter speed to 15 seconds to maintain the same exposure.
3. Avoiding Light Leaks
Light leaking into the camera can become a problem during long exposures, particularly with the significant reduction in light from the filter. Ensure your viewfinder is covered, and any potential gaps in the camera body or lens are sealed to prevent stray light from affecting the exposure.
4. Using a Tripod and Remote Shutter
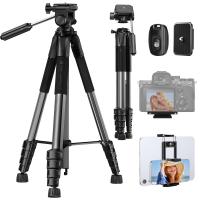
Given that a 10-stop ND filter often necessitates long exposure times, a sturdy tripod is essential to keep the camera steady. Additionally, using a remote shutter release or the camera's self-timer function will help prevent any camera shake from pressing the shutter button.
Creative Considerations
1. Experiment with Different Environments
A 10-stop ND filter opens a world of creative possibilities. Try using it in various environments and lighting conditions to explore its potential. From serene landscapes to bustling cityscapes, the filter’s ability to manipulate time and light can yield striking, one-of-a-kind images.
2. Post-Processing
While a 10-stop ND filter can help achieve many effects directly in-camera, post-processing remains a valuable tool to enhance your images. Adjustments to contrast, white balance, and sharpness can further refine your long-exposure photos. Combine the control offered by the 10-stop ND filter with software like Lightroom or Photoshop for optimal results.
A 10-stop ND filter is an essential tool for photographers aiming to push their creative boundaries and tackle challenging lighting conditions. Whether it's capturing the smooth flow of water, achieving a clean scene by eliminating moving objects, or experimenting with shallow depth-of-field effects in bright light, the 10-stop ND filter offers unparalleled flexibility and control. By understanding when and how to use this filter, photographers can elevate their work, creating images that captivate and inspire.














There are no comments for this blog.