Where Do You Put A Ring Light?
Ring lights have become a staple for many, from beauty enthusiasts and content creators to professionals attending virtual meetings. These versatile lighting tools enhance photographic and videographic quality by providing even, shadow-free illumination. However, to achieve the best results, understanding where to place a ring light is crucial. Below, we will explore the various aspects of ring light placement for different purposes, providing you with detailed guidance and practical tips.
Understanding Ring Light Basics
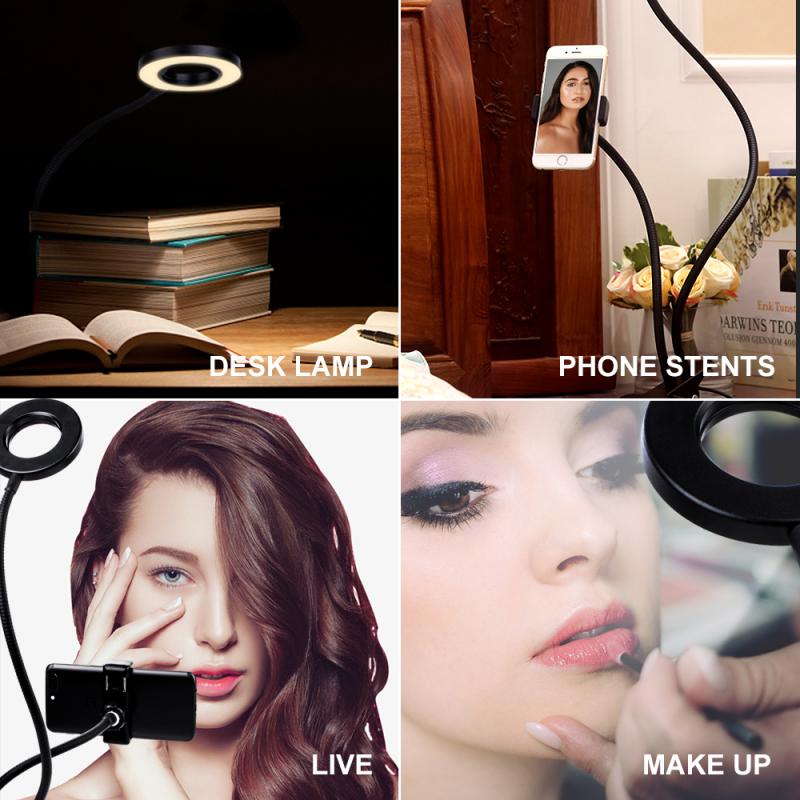
A ring light is a circular lighting tool that provides consistent, uniform lighting. It is commonly used for:
- Photography and Videography: To eliminate shadows and create catchlights in the eyes.
- Makeup Application: To provide even lighting, exposing all angles of the face.
- Virtual Meetings: To ensure clear and lit facial features.
- Content Creation: For clear, professional-quality video recordings.
Given these various applications, the placement of the ring light can differ based on the intended use. Let’s delve into ideal placements for each scenario.
Photography and Videography
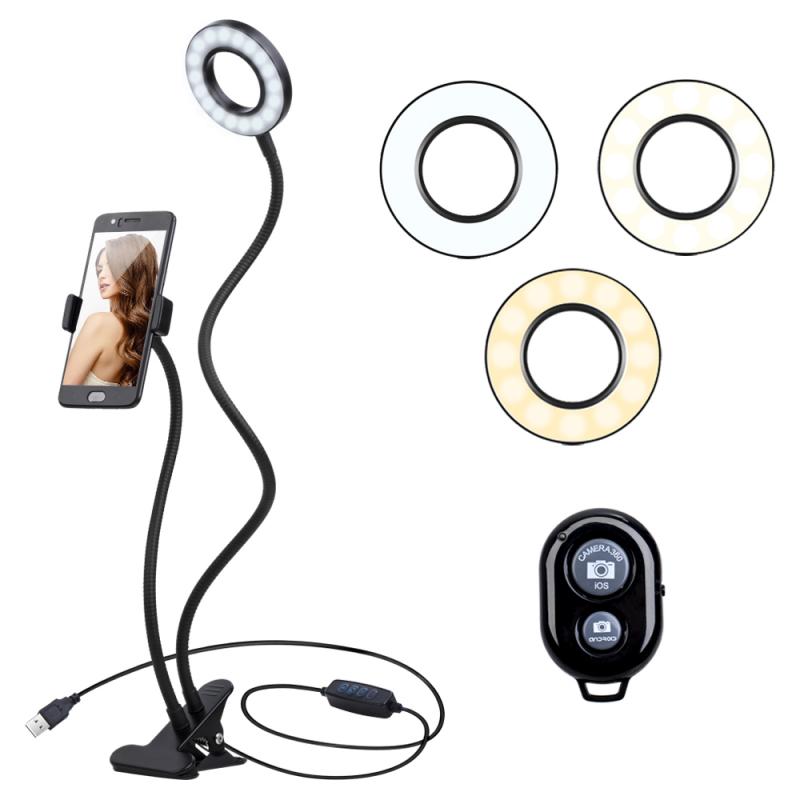
1. Directly in Front: Place the ring light directly in front of your subject at eye level. This minimizes shadows and provides a flattering illumination. This placement is ideal for headshots, portraits, and selfie videos.
2. Around the Lens: If your ring light is large enough, position it so that your camera lens sits in the middle hole of the ring light. This setup ensures an even distribution of light and is excellent for creating professional-looking photos and videos with a signature ring reflection in the eyes.
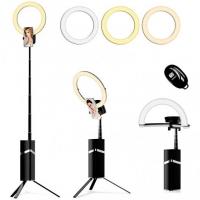
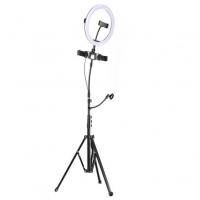
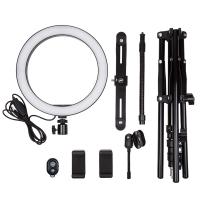
3. Using a Stand: Many ring lights come with adjustable stands. Use the stand to position the light at different heights and angles based on your specific needs. Adjust the light to be in line with the upper third of your subject's face to create a natural look.
Makeup Application
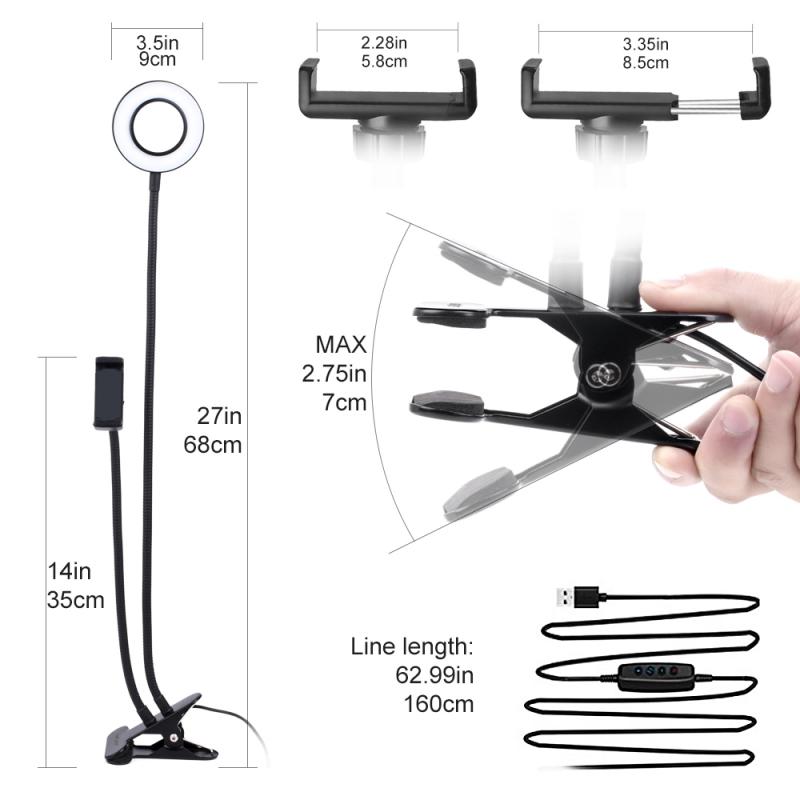
1. Straight on the Face: For makeup application, place the ring light directly in front of your face at a slightly higher angle than eye level. This positioning reduces shadowing, allowing true colors of the makeup products to be seen.
2. Close Proximity: Keep the ring light close enough to provide sufficient illumination. Adjust the brightness settings so that your face appears clear without glaring light.
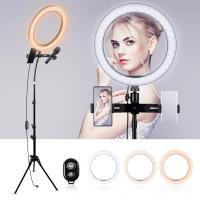
3. Mirror Integration: Some ring lights come with a built-in mirror. Place these on your vanity table and position them to reflect your face evenly. This is especially useful for detailed makeup work.
Virtual Meetings

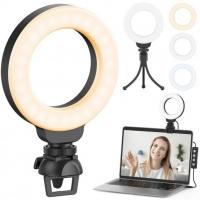
1. Behind the Device: Place the ring light behind and above your computer or tablet. Position it so that it directly illuminates your face. This ensures you're well-lit and clearly visible on video.
2. Adjust Height and Angle: Use a stand to adjust the height and angle of the ring light. The light should come from slightly above your face to mimic natural lighting.
3. Avoiding Glare: Ensure the ring light is angled to avoid glare on your glasses if you wear them. A slight tilt can help avoid reflections on the lenses.
Content Creation
1. Multi-Use Setup: For creating content like YouTube videos, TikToks, or Instagram Reels, place the ring light directly in front of your filming area. The height should correspond to the central subject to distribute light evenly.
2. Backdrop Consideration: Ensure the ring light illuminates not just your face, but also minimizes shadows on your background. This helps in maintaining a professional look in your videos.
3. Flexibility and Adjustment: Use the adjustable features of the ring light to test different angles and distances. Depending on the style of content—whether it's a vlog, tutorial, or unboxing video—vary the placement for optimal lighting.
Practical Tips for Ring Light Usage
1. Distance Matters: The distance between you and the ring light impacts lighting quality. Too close, and the light may be too harsh, too far, and the evenness may diminish. Experiment with different distances to find the sweet spot.
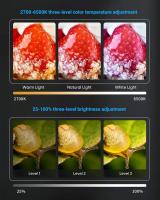
2. Dimmer Control: Most ring lights come with adjustable brightness. Use the dimmer to find the right brightness level for your environment.
3. Diffusion Enhancers: If your ring light doesn’t have a built-in diffuser, consider using a light-diffusing cover. This softens the light and creates a more natural look.
4. Avoid Overhead Lighting: Ring lights should supplement or replace overhead lighting, which can cast unwanted shadows and create uneven lighting.
5. Power Supply: Ensure your ring light is adequately powered, whether it’s through a direct plug-in or battery-operated. Stable power ensures consistent lighting without flickering.
Common Mistakes to Avoid
1. Wrong Placement: Placing the ring light too high or too low can create unflattering shadows. Always aim for an eye-level placement.
2. Ignoring Backgrounds: Pay attention to how your background is lit. A brightly lit face against a dark background can look unbalanced.
3. Overexposure: Avoid setting the brightness too high. Overly harsh light can wash out features and create grimacing expressions.
4. Glare and Reflections: Watch for glare on reflective surfaces like glasses, jewelry, or polished furniture. Adjust angles to mitigate these issues.
Incorporating a ring light into your setup, whether for photography, makeup, virtual meetings, or content creation, significantly enhances the quality of your output. By understanding proper placement and making necessary adjustments, you can utilize a ring light to its fullest potential. Remember that experimentation is key. Test different setups to see what works best for your specific needs, and enjoy the professional-grade lighting that a ring light provides.




![[4X Optical Zoom] Recharge power Security Camera PTZ Outdoor for Home Security with Human Detection Auto Tracking-EU Standard [4X Optical Zoom] Recharge power Security Camera PTZ Outdoor for Home Security with Human Detection Auto Tracking-EU Standard](https://img.kentfaith.com/cache/catalog/products/us/KF50.0003/KF50.0003-1-200x200.jpg)








There are no comments for this blog.