Where Does The Nintendo Switch Memory Card Go?
The Nintendo Switch has become a beloved console for gamers of all ages, thanks to its versatility, portability, and extensive library of games. However, one common question that arises among new users is: "Where does the Nintendo Switch memory card go?" This question is crucial for those looking to expand their storage capacity to accommodate more games, save data, and downloadable content. In this article, we will delve into the specifics of where the memory card slot is located on the Nintendo Switch, how to properly insert the card, and some additional tips for managing your storage effectively.
Locating the Memory Card Slot

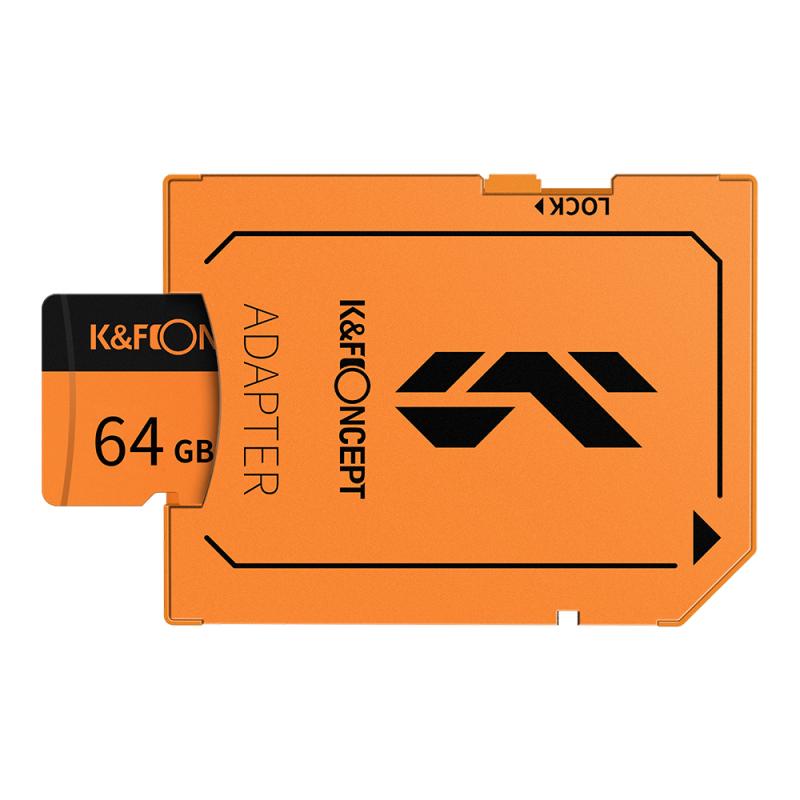
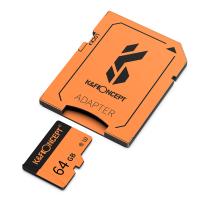
The Nintendo Switch uses microSD cards for additional storage. These cards are small, but they can significantly expand the console's storage capacity, allowing you to download and store more games and content. The memory card slot is cleverly hidden to maintain the sleek design of the console, which can make it a bit tricky to find if you are not familiar with the device.
On the Standard Nintendo Switch and Switch OLED

For the standard Nintendo Switch and the newer Switch OLED model, the microSD card slot is located behind the kickstand on the back of the console. Here’s how you can find it:
1. Locate the Kickstand: On the back of the Nintendo Switch, you will see a small, rectangular kickstand. This is used to prop up the console when playing in tabletop mode.
2. Open the Kickstand: Gently pull the kickstand away from the console. It should pop open easily, revealing a small compartment underneath.
3. Find the Slot: Inside this compartment, you will see a small slot labeled "microSD." This is where you will insert your memory card.
On the Nintendo Switch Lite
The Nintendo Switch Lite, being a more compact and handheld-only version of the console, has a slightly different design. The microSD card slot is still present but is located in a different place:
1. Locate the Slot: On the bottom edge of the Nintendo Switch Lite, you will find a small cover near the right-hand side.
2. Open the Cover: Gently open this cover to reveal the microSD card slot.
Inserting the Memory Card

Once you have located the memory card slot, the next step is to insert the microSD card. Here’s a step-by-step guide to ensure you do it correctly:
1. Power Off the Console: Before inserting or removing a microSD card, it is recommended to power off the console to prevent any data corruption.
2. Insert the Card: Hold the microSD card with the label facing away from the console (the metal contacts should be facing the console). Gently push the card into the slot until you hear a click, indicating that it is securely in place.
3. Close the Cover/Kickstand: Once the card is inserted, close the cover or kickstand to protect the slot and the card.
Managing Your Storage
Now that you have successfully inserted the microSD card, it’s important to manage your storage effectively to make the most out of your expanded capacity. Here are some tips:
Formatting the Card
When you insert a new microSD card into your Nintendo Switch, the console may prompt you to format the card. Formatting is necessary to ensure that the card is compatible with the system. Here’s how to do it:
1. Go to System Settings: From the Home menu, select the gear icon to open System Settings.
2. Select System: Scroll down and select the "System" option.
3. Formatting Options: Choose "Formatting Options" and then select "Format microSD Card." Follow the on-screen instructions to complete the process.
Transferring Data
If you are upgrading to a larger microSD card and need to transfer data from an old card, you can do so using a computer:
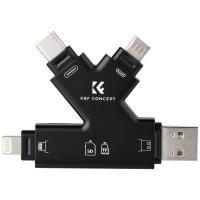
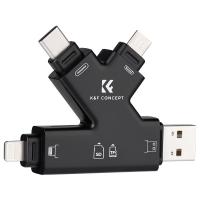
1. Copy Data to Computer: Insert the old microSD card into a card reader connected to your computer. Copy all the data from the card to a folder on your computer.
2. Insert New Card: Insert the new, larger microSD card into the card reader.
3. Transfer Data: Copy the data from the folder on your computer to the new microSD card.
4. Insert New Card into Switch: Once the data transfer is complete, insert the new card into your Nintendo Switch.
Managing Game Data
To make the most of your expanded storage, you can manage where your game data is stored:
1. Move Data: You can move data between the system memory and the microSD card. Go to System Settings > Data Management > Move Data Between System / microSD Card.
2. Archive Games: If you need to free up space, you can archive games that you are not currently playing. This will delete the game data from your console but keep the icon on your Home menu. You can re-download the game later without losing your save data.
Choosing the Right microSD Card
Not all microSD cards are created equal, and choosing the right one can make a significant difference in performance and storage capacity. Here are some factors to consider:
Storage Capacity
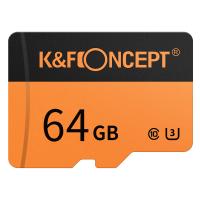
MicroSD cards come in various capacities, ranging from 16GB to 1TB. For most users, a card with at least 128GB of storage is recommended, as it provides ample space for multiple games and downloadable content.
Speed Class
The speed class of a microSD card determines how quickly data can be read from and written to the card. For the Nintendo Switch, it is recommended to use a card with a UHS-I (Ultra High Speed) rating and a minimum write speed of 60-90 MB/s. This ensures smooth performance, especially when loading games and saving data.
Brand and Reliability
Stick to reputable brands like SanDisk, Samsung, and Kingston, which are known for their reliability and performance. Avoid generic or unbranded cards, as they may not offer the same level of quality and could potentially lead to data loss.
Expanding the storage capacity of your Nintendo Switch with a microSD card is a straightforward process that can greatly enhance your gaming experience. By knowing where the memory card slot is located, how to properly insert the card, and how to manage your storage effectively, you can ensure that you have plenty of space for all your favorite games and content. Remember to choose a high-quality microSD card with sufficient capacity and speed to meet your needs. With these tips in mind, you can make the most out of your Nintendo Switch and enjoy a seamless gaming experience.












There are no comments for this blog.