Where To Mount Cameras At House?
In an era where home security is increasingly a priority, installing surveillance cameras is one of the most effective ways to protect your property, monitor activities, and deter intrusions. However, the placement of these cameras can significantly impact their effectiveness. Mounting cameras at the wrong locations or overlooking critical spots can render your security setup inefficient. This guide explores the best practices for mounting cameras around your house, providing actionable insights to enhance safety and peace of mind.
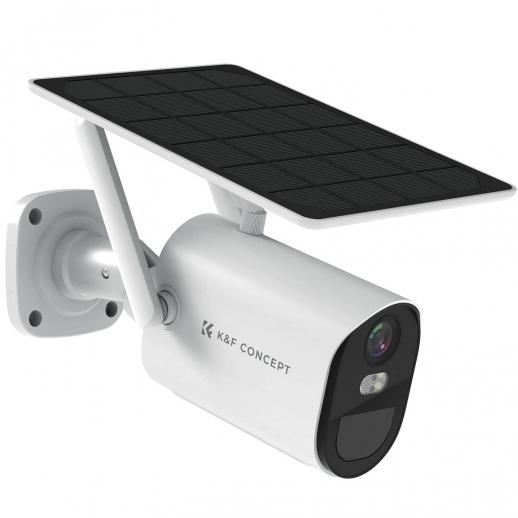
Key Factors to Consider Before Camera Placement
1. Understand Your Property's Vulnerabilities
- Assess your property for areas that are most susceptible to intrusion, such as poorly lit areas, low-visibility zones, and points of entry like doors and windows.
- Take note of blind spots and locations where valuables are stored.
2. Identify the Type of Cameras
- Different cameras serve different purposes. For example, wide-angle cameras cover broad areas, while PTZ (pan-tilt-zoom) cameras offer flexibility for larger properties.
- Ensure compatibility between the camera type and its intended location.
3. Consider the Environment
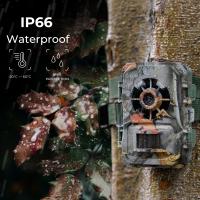
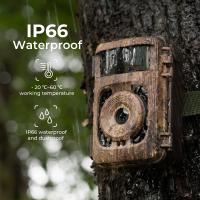
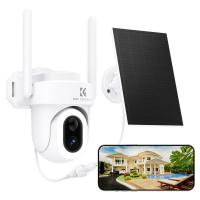
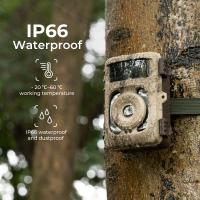
- Outdoor cameras should be weatherproof and equipped with night vision to withstand harsh conditions and provide 24/7 surveillance.
- Indoor cameras should blend with the home decor while offering comprehensive coverage of key areas.
4. Power Source and Connectivity
- Decide between wired and wireless cameras, keeping in mind the availability of power outlets and network strength.
- Ensure a stable internet connection for wireless cameras to function seamlessly.
---
Optimal Camera Placement Locations
1. Front Door
- Why? The front door is the main access point for visitors and delivery personnel. A significant portion of break-ins occurs through this entryway.
- Best Practices:
- Mount the camera at a height of 7–8 feet, angled slightly downward to capture faces.
- Consider using a doorbell camera for added convenience.
2. Back Door and Secondary Entrances
- Why? Back doors, garage doors, and side entrances are less visible but equally vulnerable.
- Best Practices:
- Install cameras above all secondary entrances, ensuring they are weather-resistant for outdoor use.
- Use motion-detection cameras to conserve storage and enhance effectiveness.
3. Ground-Floor Windows
- Why? Windows, especially those not facing the street, are often targeted by burglars.
- Best Practices:
- Place cameras to monitor ground-floor windows, particularly those hidden by landscaping or fencing.
- Ensure the angle covers the full frame of the window without obstruction.
4. Driveway and Garage
- Why? These areas are prone to vehicle theft and unauthorized access.
- Best Practices:
- Position cameras to monitor the driveway, garage door, and surrounding areas.
- Use cameras with a wide field of view to cover larger spaces effectively.
5. Backyard
- Why? Backyards often provide concealment for intruders, making them a critical surveillance point.
- Best Practices:
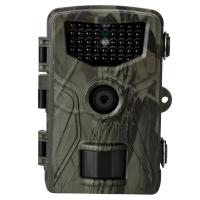
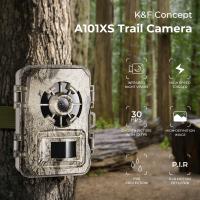
- Mount cameras on exterior walls or trees, ensuring they cover entry points like sliding doors or fences.
- Opt for infrared or night-vision cameras for better coverage in low-light conditions.
6. Indoor Strategic Points
- Why? Indoor cameras help monitor activity and secure high-value items.
- Best Practices:
- Place cameras in common areas, such as living rooms or hallways, to capture movement across multiple entry points.
- Avoid installing cameras in private areas like bedrooms to maintain privacy.
---
Technical Tips for Optimal Placement
1. Height and Angle
- Mount cameras at least 8–10 feet above the ground to prevent tampering and capture a broad view.
- Adjust the angle to ensure coverage without blind spots, focusing on entry points and high-traffic areas.
2. Field of View
- Choose cameras with an appropriate field of view to cover large areas without distortion.
- Use multiple cameras for comprehensive coverage of complex zones.
3. Lighting Conditions
- Ensure cameras are not directly exposed to bright lights or sunlight, which can cause glare and affect image quality.
- Use cameras with HDR (High Dynamic Range) capabilities to adapt to varying lighting conditions.
4. Motion Detection and Alerts
- Position cameras with motion detection features in areas with frequent activity, such as driveways or entry points.
- Customize motion zones to reduce false alarms triggered by pets or passing vehicles.
---
Common Mistakes to Avoid
1. Overlooking Hidden Spots
- Failure to cover concealed areas, such as behind large shrubs or fences, can create opportunities for intruders.
2. Placing Cameras Too High or Too Low
- Cameras mounted too high may miss important details like facial features, while those mounted too low are prone to vandalism.
3. Neglecting Maintenance
- Dirt, debris, and weather conditions can affect camera functionality. Regular maintenance ensures optimal performance.
4. Insufficient Camera Coverage
- Relying on a single camera to monitor multiple areas may lead to blind spots. Invest in additional cameras as needed.
5. Ignoring Privacy Laws
- Be aware of local regulations regarding camera placement to avoid legal issues. Avoid pointing cameras directly into neighbors' property.
---
Advanced Features to Consider
1. Smart Integration
- Modern cameras can integrate with smart home systems, allowing remote access and control via mobile apps.
- Features like two-way audio and live streaming add convenience and security.
2. AI and Analytics
- Cameras with AI capabilities can differentiate between humans, animals, and vehicles, reducing false alarms.
- Advanced analytics offer insights into activity patterns, helping to refine your security strategy.
3. Cloud Storage and Local Backup
- Choose a storage option that balances accessibility and data security.
- Cloud storage ensures access to footage even if the camera is stolen, while local backups provide redundancy.
---
Steps to Install Cameras Effectively
1. Plan the Layout
- Sketch your property and mark potential mounting points based on vulnerabilities.
- Identify overlaps to avoid blind spots.
2. Choose the Right Equipment
- Select cameras suitable for each location, considering factors like field of view, resolution, and night vision.
3. Test Before Installation
- Temporarily mount cameras and review the coverage to ensure they meet your expectations.
4. Secure Mounting
- Use weatherproof mounts and enclosures for outdoor cameras.
- Ensure cameras are firmly secured to prevent displacement by wind or tampering.
5. Optimize Settings
- Configure motion detection, alerts, and recording schedules for efficient operation.
6. Regular Monitoring
- Periodically review footage and settings to ensure your system remains effective.
---
Conclusion
Properly mounting cameras around your home is essential for creating a robust security system. By strategically placing cameras at key locations, optimizing technical settings, and avoiding common pitfalls, you can significantly enhance your home's safety. A well-thought-out security plan not only deters potential intruders but also provides peace of mind, knowing that your property and loved ones are well-protected.
Whether you’re a homeowner looking to secure your property or someone exploring ways to upgrade an existing system, following these guidelines ensures maximum effectiveness for your surveillance setup. By integrating modern features like AI analytics and smart connectivity, you can future-proof your security system and adapt to evolving threats with ease.









There are no comments for this blog.