Where To Position Lights For Photography?
Mastering Light Placement in Photography: A Comprehensive Guide
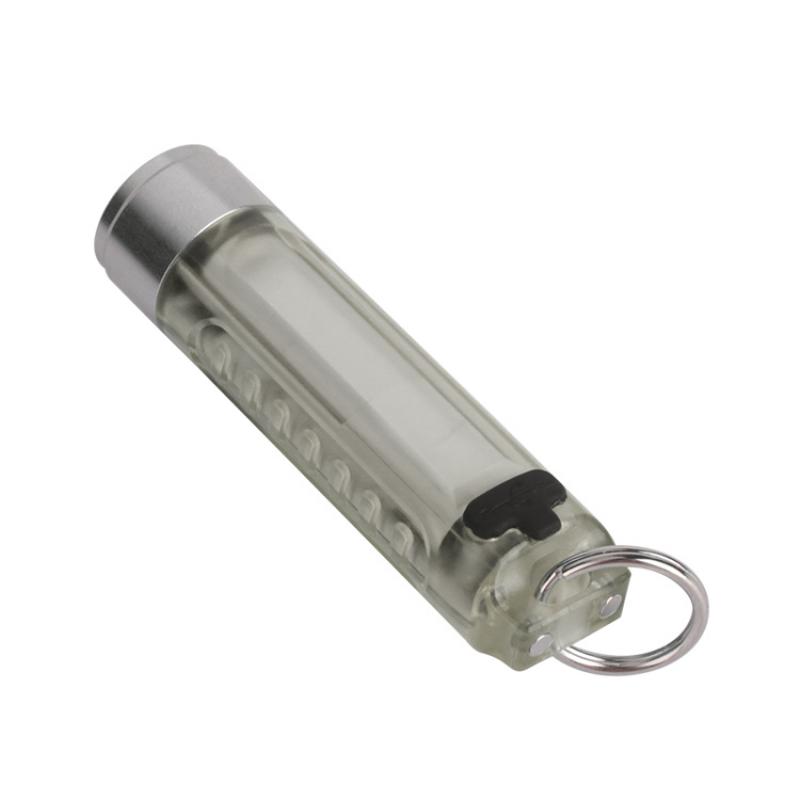
Lighting is the cornerstone of photography. Whether you’re a seasoned professional or an aspiring enthusiast, understanding where and how to position lights can transform your photos from ordinary to extraordinary. Proper light placement enhances the subject, creates mood, and conveys emotion. This guide walks you through practical strategies for positioning lights in different scenarios to achieve stunning results.
---
The Fundamentals of Light in Photography
Before diving into specific setups, it's essential to grasp the basics of light behavior and how it interacts with your subject. Key attributes of light include:
1. Intensity: The brightness of the light source.
2. Quality: Hard light (sharp shadows) versus soft light (diffused shadows).
3. Direction: The angle of the light in relation to the subject.
4. Color Temperature: Warmth or coolness of the light, measured in Kelvin.
---
Primary Light Types and Their Roles
1. Key Light: The main light source. Typically the brightest, it defines the primary illumination of the subject.
2. Fill Light: Used to soften shadows created by the key light.
3. Backlight: Positioned behind the subject, it separates them from the background.
4. Hair Light: Highlights hair or the edge of the subject for a polished look.
---
Optimal Light Positions for Different Scenarios
1. Portrait Photography
Portraits require lighting that flatters the subject’s face and enhances their features.
- 45-Degree Angle: Position the key light 45° to the side and above the subject, angled slightly downward. This creates natural shadows and adds depth.
- Butterfly Lighting: Place the light directly in front of the subject, high enough to cast a small shadow under the nose. It’s ideal for glamour shots.
- Rembrandt Lighting: A classic setup where the key light is at a 45° angle, creating a triangle of light on the cheek opposite the light source. This is perfect for dramatic and moody portraits.
- Split Lighting: Position the light to one side of the subject, splitting the face into light and shadow. Best for edgy, high-contrast portraits.
2. Product Photography
Product photography demands consistency and clarity to showcase items effectively.
- Even Lighting: Use softboxes or diffused lights to minimize harsh shadows and reflections.
- Backlighting: Position a light behind translucent products to highlight details like textures or transparency.
- Overhead Lighting: Place a light directly above for a clean and flat appearance, ideal for catalog photography.
3. Landscape Photography
While natural light dominates, understanding its behavior is critical.
- Golden Hour: Position yourself to capture the warm, diffused light of sunrise or sunset.
- Backlit Silhouettes: Use the setting sun as a backlight to create dramatic silhouettes.
- Side Lighting: Side light emphasizes textures, such as rugged terrain or flowing water.
4. Indoor Photography
When shooting indoors, artificial lighting compensates for insufficient natural light.
- Ceiling Bounce: Bounce the light off the ceiling using a flash or reflector for an even, soft look.
- Window Light: Position the subject near a window for a natural and flattering light source.
- Multiple Light Sources: Layer key, fill, and background lights for a balanced and controlled outcome.
---
Lighting Accessories and Tools
To elevate your lighting game, incorporate these tools:
1. Reflectors: Redirect light to fill shadows or add highlights. Silver for cool tones, gold for warmth, and white for subtle effects.
2. Diffusers: Soften harsh light for a more flattering effect.
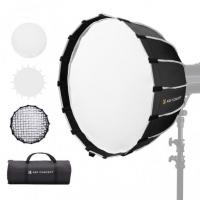
3. Softboxes: Create a large, even light source for minimizing shadows.
4. Gels: Add color to your lights for creative effects.
5. Barn Doors: Control the direction and spread of light.
---
Practical Tips for Light Positioning
1. Understand Your Subject: A model, product, or landscape all require distinct lighting techniques.
2. Experiment with Angles: Slight changes in light position can drastically alter the mood of a photo.
3. Distance Matters: The closer the light, the softer it appears. Moving it farther away creates a harder light.
4. Monitor Shadows: Use shadows to add drama or dimension but avoid harsh, unflattering results unless stylistically intentional.
5. Light Ratios: Adjust the intensity of multiple lights to control contrast and mood.
---
Common Challenges and Solutions
1. Harsh Shadows: Use diffusers or a fill light to soften the effect.
2. Flat Lighting: Introduce shadows with a key light at an angle for a more dynamic composition.
3. Color Casts: Ensure consistent white balance and use color-correcting gels if necessary.
4. Uneven Illumination: Test the lighting setup and adjust positions to achieve uniformity.
---
Creative Lighting Techniques
For photographers looking to push boundaries, explore these creative setups:
1. Low-Key Lighting: Minimal illumination focused on a specific area, ideal for moody portraits.
2. High-Key Lighting: Bright, even lighting for a clean and cheerful aesthetic.
3. Silhouette Photography: Place the subject between the camera and a strong light source for dramatic outlines.
4. Bokeh Effects: Use backlighting and a wide aperture to create soft, blurred backgrounds.
---
Conclusion
Lighting placement in photography is both an art and a science. By understanding the behavior of light and mastering different setups, you can control the mood, highlight features, and elevate your images to a professional standard. Remember, practice is key. Experiment with different light positions, accessories, and techniques to discover what works best for your subject and creative vision.
Embrace the power of light, and watch your photography skills illuminate new possibilities.













There are no comments for this blog.