Which Nd Filter Density?
When it comes to photography, capturing the perfect shot often requires a delicate balance of exposure settings. A tool that has become indispensable for many photographers in achieving this balance is the Neutral Density (ND) filter. However, one common question arises for both novice and experienced photographers: “Which ND filter density should I use?” With a myriad of options available, choosing the right ND filter density can be daunting, yet it is crucial for obtaining the desired photographic effects.
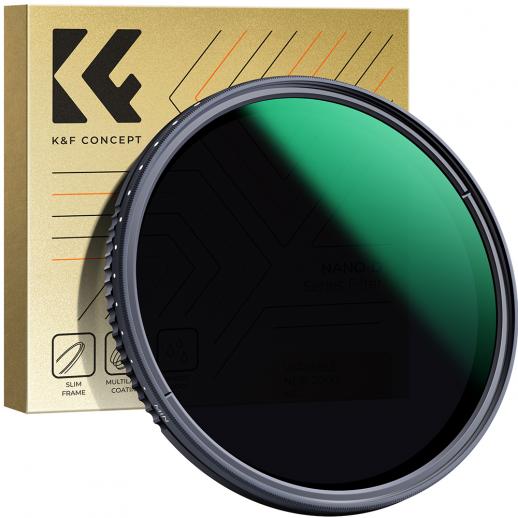
Understanding ND Filters
Before diving into the specifics of choosing the right density, it's essential to understand what an ND filter does. An ND filter effectively reduces the amount of light entering the camera lens, allowing for greater control over exposure time and aperture settings. This functionality helps in several photographic scenarios, such as achieving motion blur in waterfalls or rivers, reducing depth of field in bright lighting, and avoiding overexposure in long-exposure shots.
Types of ND Filters
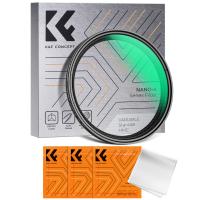
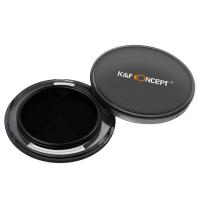
ND filters come with varying densities, typically rated in stops, which denote the number of stops of light they block. Common densities include 1-stop (ND2), 3-stop (ND8), 6-stop (ND64), 10-stop (ND1000), and even 15-stop (ND32000) filters. Each density serves different purposes and is suited to various lighting conditions and photographic needs.
1. 1-Stop and 3-Stop ND Filters (ND2 and ND8)
These are the lightest ND filters, reducing light by 1 and 3 stops, respectively. They are ideal for slightly reducing the brightness in already moderately lit conditions. Common uses include:
- Capturing subtle motion blur in fast-moving water while still retaining detail.
- Balancing exposure in portraits under bright light to avoid overexposing the background without affecting depth of field significantly.
2. 6-Stop ND Filter (ND64)
A 6-stop ND filter is versatile and offers substantial light reduction, making it suitable for a range of creative techniques, such as:
- Achieving significant motion blur for creative shots of clouds, flowing water, or busy urban scenes.
- Extending exposure in moderate lighting to create ethereal, smooth effects.
3. 10-Stop ND Filter (ND1000)
Stronger than the 6-stop filter, the 10-stop ND filter is designed for extreme light reduction, which is highly useful in scenarios including:
- Capturing long exposure photographs in bright daylight, transforming passing people or cars into streaks or vanishing points.
- Producing minimalist images with smooth, glass-like water surfaces and surreal, elongated cloud movements.
4. 15-Stop ND Filter (ND32000)
The 15-stop ND filter is less commonly used due to its extreme light reduction but is perfect for ultra-long exposure techniques:
- Allowing for several minutes of exposure even in daylight conditions, ideal for creating ultra-smooth, dreamy landscapes and architectural shots.
- Enabling significant motion blur to the extent of making moving objects virtually disappear in the frame.
Determining the Appropriate ND Filter
Choosing the right ND filter density heavily depends on the desired effects and the ambient lighting conditions during shooting. Here are some considerations to help you decide:
- Ambient Light Conditions: Assess the natural light available. Brighter conditions typically require denser ND filters (6-stop or higher), whereas moderate lighting might only need 1-stop or 3-stop filters.
- Desired Effect: Your creative vision for the image will dictate your choice. For subtle motions, lighter densities are adequate. For dramatic motion blurs or ultra-long exposures, higher densities are necessary.
- Camera Settings: Consider your camera settings, such as aperture and ISO. Using lower ISO and narrow apertures can also help manage light if a mid-density filter is used.
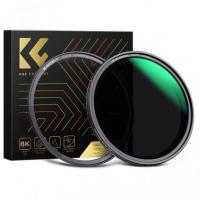
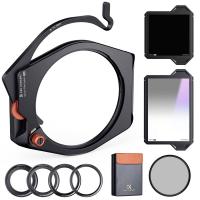
- Versatility: If you wish to use ND filters across various scenarios, having a set of different densities or using a variable ND filter can provide flexibility.
Practical Applications and Examples
To illustrate the practical application of different ND filters, let’s consider some photography scenarios:
1. Seascapes and Waterfalls: Photographers frequently use ND filters to capture the serene, silky effect of moving water. For these shots, a 6-stop or 10-stop ND filter is typically preferable. For instance, photographing a waterfall at midday might require a 10-stop ND filter to extend the shutter speed to several seconds, thereby transforming the water into a soft, flowing curtain.
2. Urban Photography: In bustling cityscapes, a 6-stop ND filter can help create dynamic images where pedestrians and vehicles turn into indistinguishable blurs, highlighting the static beauty of urban architecture. A 3-stop ND filter may suffice during twilight hours where ambient light is lower, providing just enough light reduction to achieve the desired blur without overexposing the image.
3. Portraits in Bright Light: Balancing exposure between a well-lit background and the subject is critical in portrait photography. A 3-stop ND filter can effectively control light without compromising the sharpness and detail of the subject. For example, shooting a portrait with a shallow depth of field on a sunny day might necessitate a 3-stop ND filter to prevent the background from blowing out.
4. Astrophotography: For capturing star trails or milky way shots, a 10-stop ND filter can be used to manage light pollution and allow for a more extended exposure, enhancing the clarity and detail of celestial bodies. The reduced light enables longer exposures needed to capture the faint details of the night sky.
Maximizing the Use of ND Filters
To take full advantage of ND filters, consider the following tips:
- Use a Tripod: Long exposures necessitate stability to avoid camera shake. A sturdy tripod ensures sharp images, especially when using higher-density filters.
- Manual Mode: Control over exposure settings is crucial. Shooting in manual mode allows you to adjust shutter speed, aperture, and ISO independently to achieve your desired result.
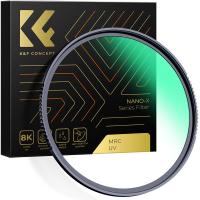
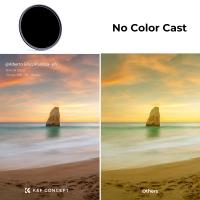
- Filter Quality: Invest in high-quality ND filters from reputable brands to avoid issues like color cast, vignetting, and poor image sharpness.
- Pre-Visualization: Plan your shot considering the light conditions and the effect you aim to achieve. This foresight ensures that you choose the correct ND filter density and adjust your settings accordingly.
Conclusion
Choosing the right ND filter density is essential for achieving specific photographic effects and managing light effectively. Understanding the functions and applications of different densities allows photographers to make informed decisions tailored to their creative needs. Whether you are blurring dynamic waterfalls, capturing urban frenzy, or enhancing portraits, the right ND filter can transform your images, pushing the boundaries of what’s possible in photography. By considering the light conditions, desired effects, and appropriate filter density, you can elevate your photographic prowess and consistently produce stunning, evocative images.








There are no comments for this blog.