Why Nd Filter For Video?
Neutral Density (ND) filters are an essential tool for videographers, allowing them to control exposure and achieve cinematic effects in various lighting conditions. Understanding the different user demands for ND filters can help videographers make informed decisions about their equipment. In this article, we will explore the primary reasons why ND filters are used in video production, how they can enhance your footage, and practical tips for selecting and using them effectively.
Understanding ND Filters
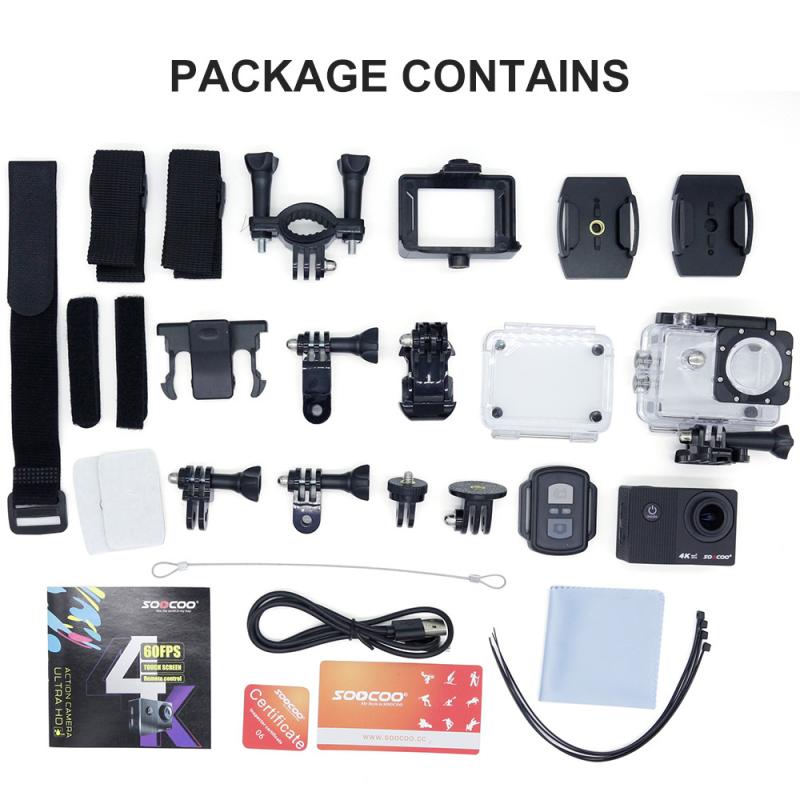
ND filters are essentially sunglasses for your camera lens. They reduce the amount of light entering the lens without affecting the color balance of the scene. This allows videographers to use wider apertures and slower shutter speeds even in bright conditions, which can be crucial for achieving specific visual effects.
Key Reasons to Use ND Filters in Video Production

1. Controlling Exposure
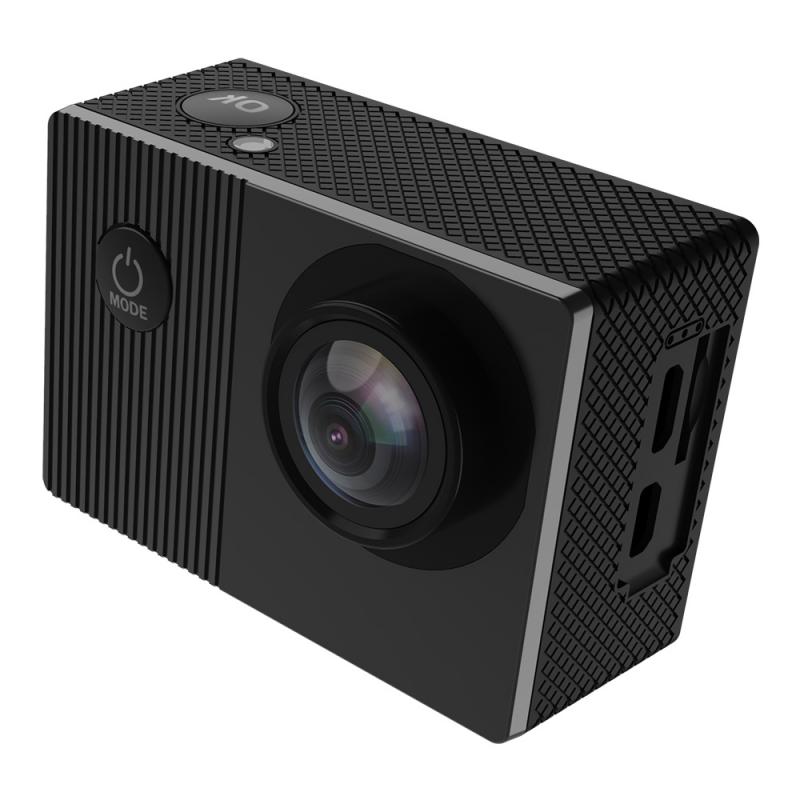
One of the most common reasons to use an ND filter is to control exposure. In bright lighting conditions, such as shooting outdoors on a sunny day, the amount of light can be overwhelming for the camera sensor. Without an ND filter, you might be forced to use a very small aperture (high f-stop number) or a very fast shutter speed, both of which can compromise the quality of your footage. An ND filter allows you to reduce the light entering the lens, enabling you to use the desired aperture and shutter speed settings.
2. Achieving Shallow Depth of Field
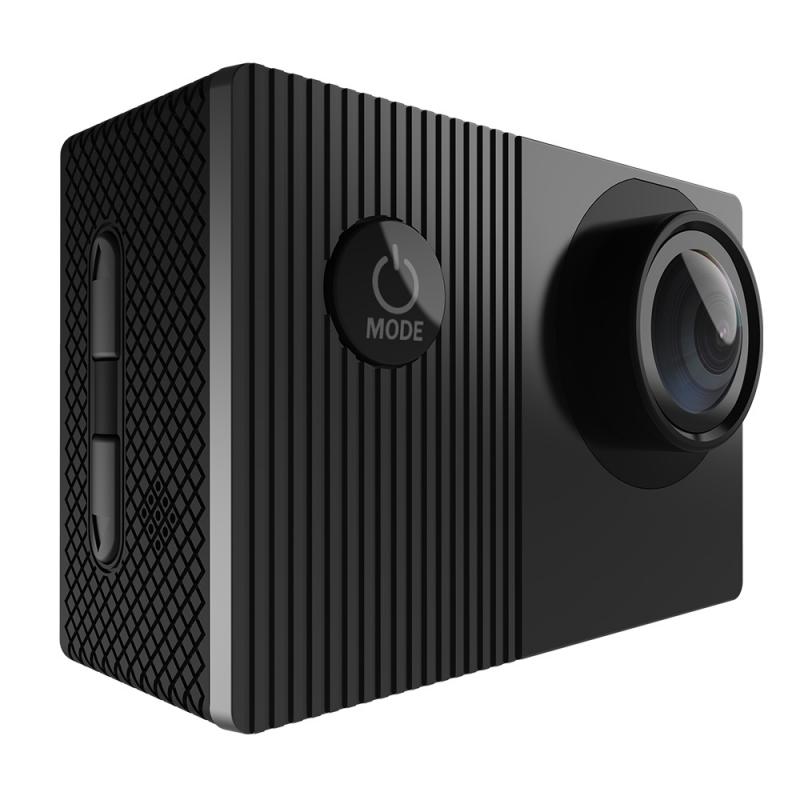
A shallow depth of field is a popular cinematic effect that isolates the subject from the background, creating a pleasing bokeh effect. To achieve this, videographers often use a wide aperture (low f-stop number). However, in bright conditions, a wide aperture can result in overexposed footage. An ND filter helps mitigate this issue by reducing the light, allowing you to maintain a wide aperture without overexposing the shot.
3. Maintaining Motion Blur
In video production, maintaining natural motion blur is crucial for creating smooth and realistic footage. The standard rule of thumb is to set the shutter speed to double the frame rate (e.g., 1/50th of a second for 24fps). In bright conditions, this can lead to overexposure. An ND filter allows you to keep the shutter speed at the desired setting while controlling the exposure, ensuring that the motion blur looks natural.
4. Enhancing Color Saturation and Contrast
ND filters can also enhance the color saturation and contrast of your footage. By reducing the amount of light entering the lens, ND filters can help prevent highlights from blowing out and shadows from becoming too dark. This results in a more balanced exposure, which can enhance the overall color and contrast of the scene.
5. Creative Effects
ND filters can be used to achieve various creative effects. For example, they can help create a dreamy, ethereal look by allowing for longer exposure times, which can blur moving elements like water or clouds. This can add a unique and artistic touch to your footage, making it stand out.
Types of ND Filters
There are several types of ND filters available, each with its own advantages and disadvantages. Understanding these can help you choose the right filter for your needs.
Fixed ND Filters
Fixed ND filters have a set level of light reduction, measured in stops. They are simple to use and provide consistent results. However, you may need to carry multiple filters to cover different lighting conditions.
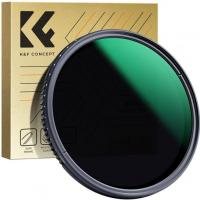
Variable ND Filters
Variable ND filters allow you to adjust the level of light reduction by rotating the filter. This provides greater flexibility and convenience, as you can fine-tune the exposure without changing filters. However, variable ND filters can sometimes introduce unwanted artifacts, such as color shifts or vignetting, especially at extreme settings.
Graduated ND Filters
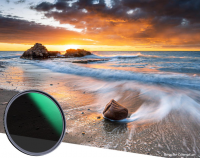
Graduated ND filters have a gradient, with one part of the filter being darker than the other. These are useful for scenes with a high dynamic range, such as landscapes with a bright sky and darker foreground. They help balance the exposure between different parts of the scene.
Practical Tips for Using ND Filters
1. Choose the Right Strength
ND filters come in different strengths, typically measured in stops. Common strengths include 3-stop, 6-stop, and 10-stop filters. The right strength depends on the lighting conditions and the effect you want to achieve. For general outdoor shooting, a 3-stop or 6-stop filter is usually sufficient. For more extreme conditions or creative effects, you might need a stronger filter.
2. Check for Compatibility
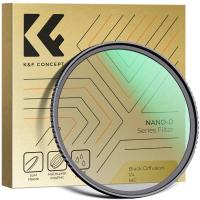
Ensure that the ND filter you choose is compatible with your lens. Filters come in different sizes, so you need to match the filter diameter to your lens diameter. Some filters also have special coatings to reduce reflections and improve image quality, which can be beneficial.
3. Be Aware of Potential Issues
While ND filters are incredibly useful, they can introduce some issues, such as color shifts or vignetting. It's essential to test your filters and be aware of these potential problems. Some high-quality filters are designed to minimize these issues, so investing in a good filter can be worthwhile.
4. Use a Lens Hood
Using a lens hood can help reduce lens flare and protect your ND filter from scratches and dust. This is especially important when shooting in bright conditions, as lens flare can be more pronounced.
5. Clean Your Filters Regularly
ND filters can accumulate dust, fingerprints, and smudges, which can affect image quality. Regularly clean your filters with a microfiber cloth and lens cleaning solution to ensure optimal performance.
ND filters are a valuable tool for videographers, offering control over exposure, depth of field, motion blur, and creative effects. By understanding the different types of ND filters and how to use them effectively, you can enhance the quality of your footage and achieve your desired visual style. Whether you're shooting a cinematic masterpiece or a simple vlog, ND filters can help you take your video production to the next level.
















There are no comments for this blog.