How Measure Stops Of Nd Filter?
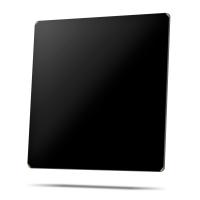
Neutral Density (ND) filters are essential tools in the arsenal of photographers and videographers. They allow for greater control over exposure by reducing the amount of light entering the lens without affecting the color of the image. This capability is particularly useful in bright conditions or when a slower shutter speed or wider aperture is desired. However, understanding how to measure the stops of an ND filter can be a bit perplexing for beginners. This article aims to demystify the process and provide practical guidance on how to measure and utilize ND filters effectively.
Understanding ND Filters and Stops
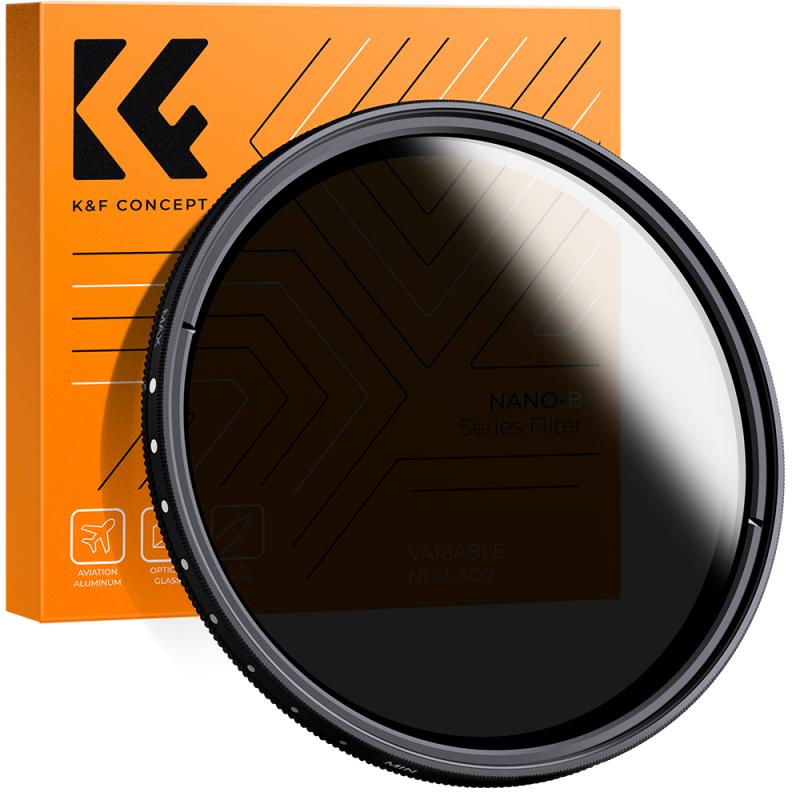
Before diving into the measurement process, it’s crucial to understand what ND filters and stops are. ND filters are essentially darkened pieces of glass or resin that reduce the intensity of light passing through the lens. The term "stop" refers to a doubling or halving of the amount of light. For instance, a 1-stop ND filter cuts the light by half, a 2-stop ND filter cuts it by a quarter, and so on.
Types of ND Filters
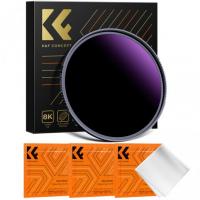
ND filters come in various strengths, typically denoted by their optical density or the number of stops they reduce. Common types include:
- ND2 (1-stop)
- ND4 (2-stops)
- ND8 (3-stops)
- ND16 (4-stops)
- ND32 (5-stops)
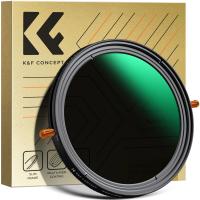
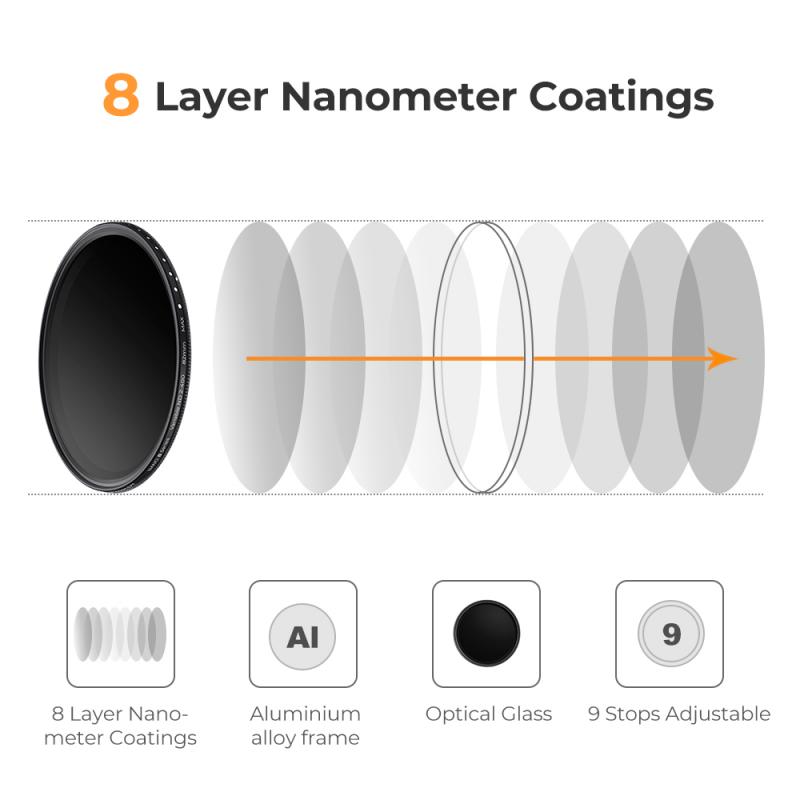
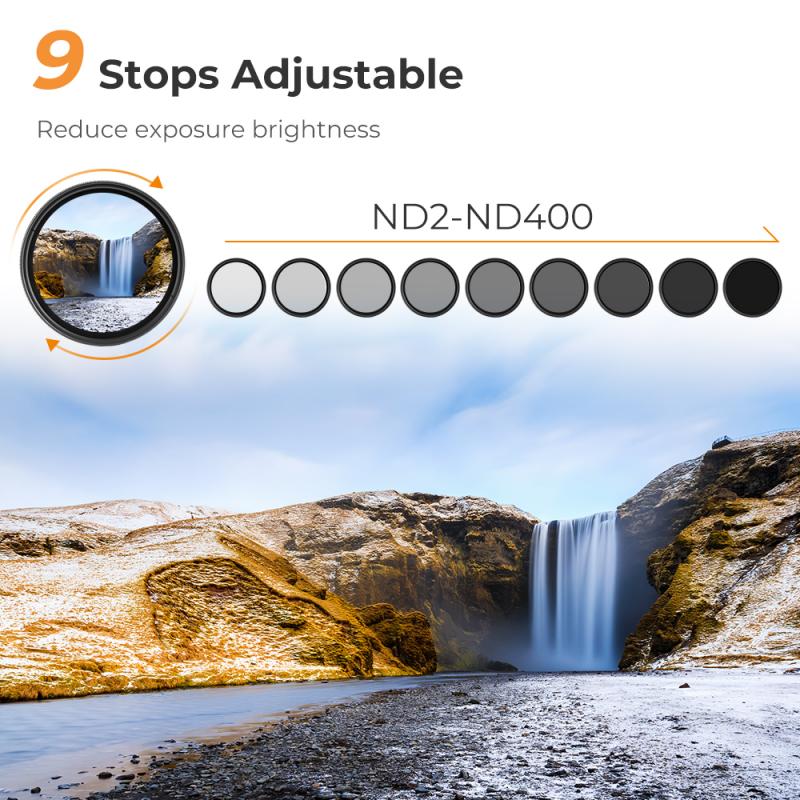
There are also variable ND filters that allow you to adjust the density by rotating the filter, providing a range of stops in one filter.
Measuring the Stops of an ND Filter
Measuring the stops of an ND filter involves determining how much light the filter blocks. Here are the steps to measure the stops accurately:
1. Use a Light Meter
A light meter is a device that measures the amount of light in a scene. To measure the stops of an ND filter:
- Step 1: Measure the light without the ND filter. Note the exposure settings (aperture, shutter speed, and ISO).
- Step 2: Attach the ND filter to the lens and measure the light again.
- Step 3: Compare the two readings. The difference in exposure settings will give you the number of stops the ND filter reduces.
For example, if the initial reading without the filter is 1/100s at f/8 and the reading with the ND filter is 1/25s at f/8, the filter reduces the light by 2 stops (since 1/25s is two stops slower than 1/100s).
2. Use a Camera’s Built-in Meter
Most modern cameras have built-in light meters that can be used to measure the stops of an ND filter:
- Step 1: Set the camera to manual mode and take a meter reading without the ND filter.
- Step 2: Attach the ND filter and take another meter reading.
- Step 3: The difference in the shutter speed or aperture will indicate the number of stops.
For instance, if the camera suggests a shutter speed of 1/200s without the filter and 1/50s with the filter, the ND filter is reducing the light by 2 stops.
3. Use a Smartphone App
There are several smartphone apps available that can measure light and calculate the stops of an ND filter. These apps use the phone’s camera to measure the light and provide exposure settings. The process is similar to using a light meter:
- Step 1: Measure the light without the ND filter using the app.
- Step 2: Attach the ND filter and measure the light again.
- Step 3: Compare the readings to determine the number of stops.
Practical Applications of ND Filters
Understanding how to measure the stops of an ND filter is essential, but knowing when and how to use them is equally important. Here are some practical applications:
1. Long Exposure Photography
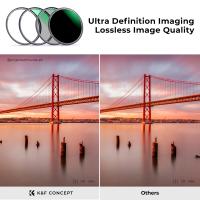
ND filters are indispensable for long exposure photography, allowing you to use slower shutter speeds even in bright conditions. This technique is often used to create smooth, flowing water effects or to capture motion blur in clouds.
2. Wide Aperture in Bright Light
Photographers often want to use a wide aperture to achieve a shallow depth of field, but bright light can make this difficult. An ND filter allows you to use a wide aperture without overexposing the image.
3. Video Recording
In video recording, maintaining a specific shutter speed is crucial for achieving a natural motion blur. ND filters help videographers control exposure without altering the shutter speed, especially in bright conditions.
Tips for Using ND Filters
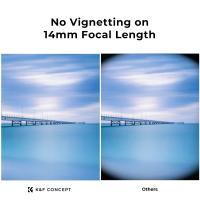
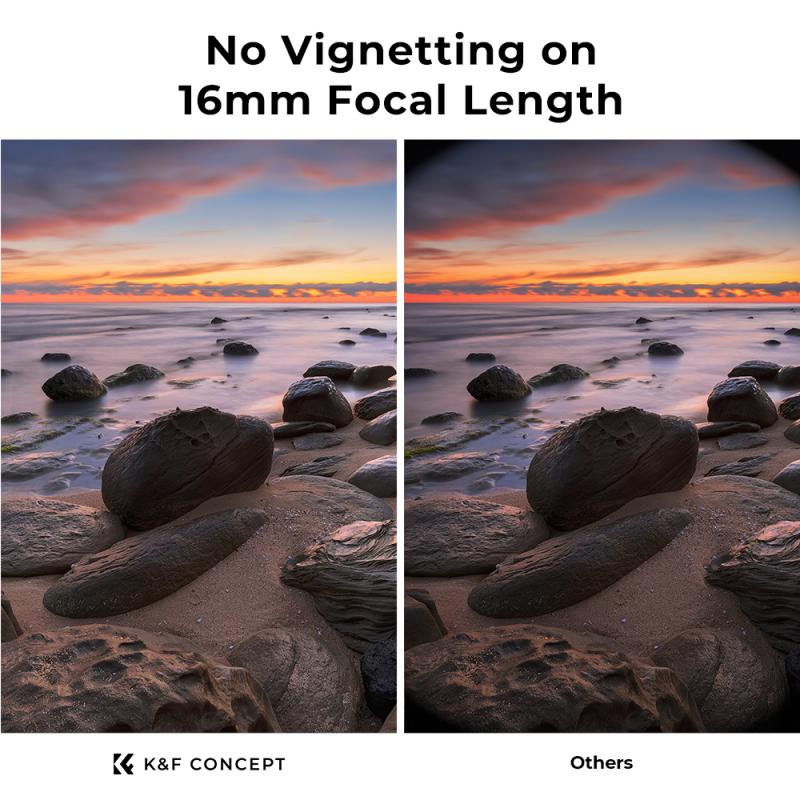
- Stacking Filters: While it’s possible to stack multiple ND filters to achieve a higher density, this can introduce vignetting and color casts. It’s generally better to use a single filter of the desired density.
- Variable ND Filters: These are convenient but can sometimes produce uneven exposure or a cross-polarization effect at higher densities. Use them with caution and test before critical shoots.
- Cleaning and Maintenance: ND filters can easily get smudged or dirty, affecting image quality. Keep them clean and store them in a protective case when not in use.
Conclusion
Measuring the stops of an ND filter is a fundamental skill for photographers and videographers who want to have precise control over their exposure settings. Whether you use a light meter, your camera’s built-in meter, or a smartphone app, understanding how to measure and apply ND filters can significantly enhance your creative capabilities. By mastering the use of ND filters, you can achieve stunning long exposures, maintain wide apertures in bright light, and ensure consistent exposure in video recording. With practice and the right tools, you’ll be able to harness the full potential of ND filters in your photographic endeavors.


